Wholesale price stable quality Wire Strippers & Cable Cutters with single color handle Factory from Muscat
Short Description:
Product Detail
Product Tags
In the past few years, our company absorbed and digested advanced technologies both at home and abroad. Meanwhile, our company staffs a team of experts devoted to the development of Wholesale price stable quality Wire Strippers & Cable Cutters with single color handle Factory from Muscat, Welcome to build the well and long standing business relationships with our company to create a glorious future together .customers' satisfaction is our eternal pursuit
Basic Information
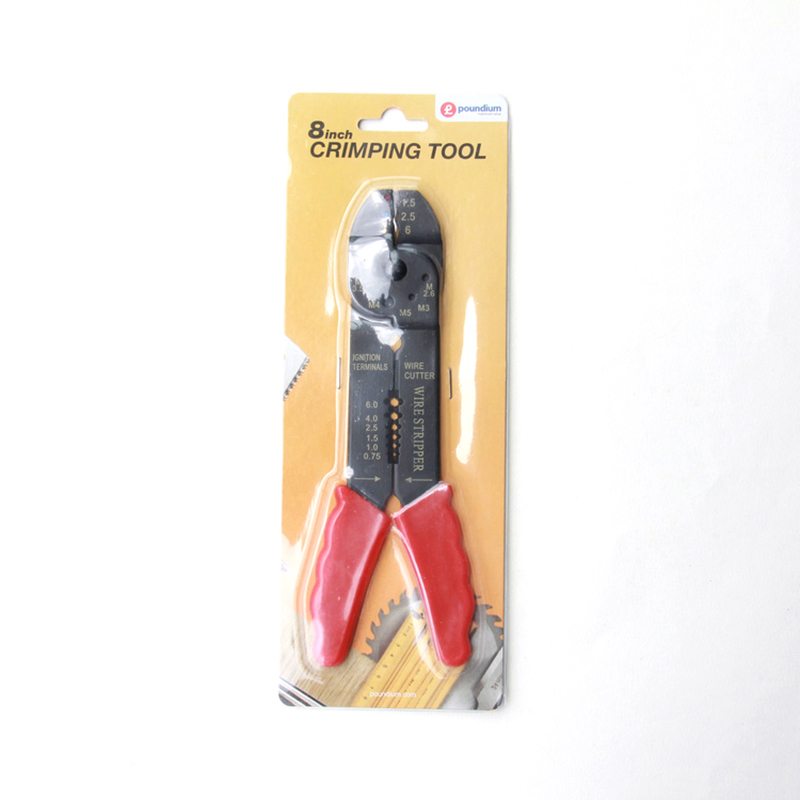
■Model Number: RL-YXQ001A
Additional Information
■Material: A3# Steel
■Size: 8”
■Surface Treatment: Coated
■Handle: PVC
■Color: Optional
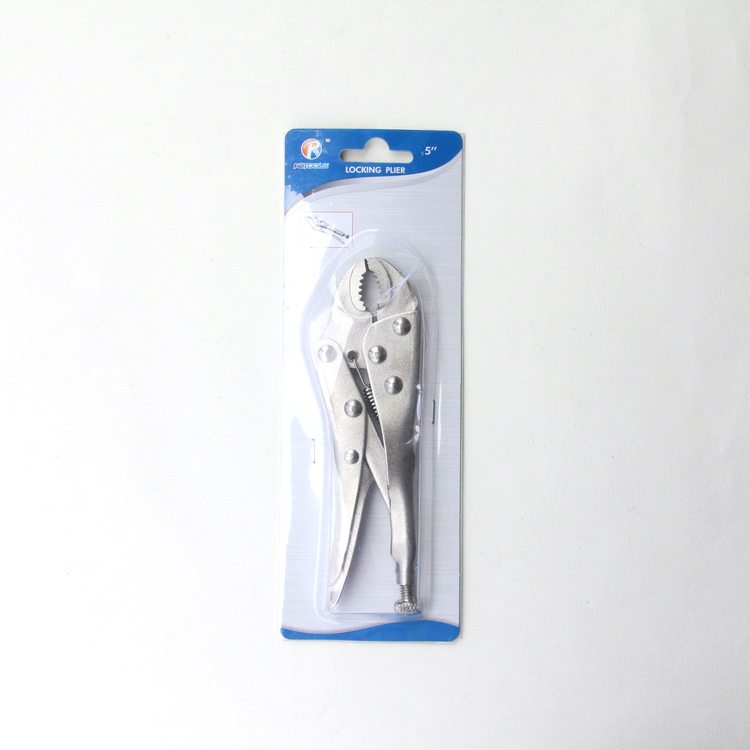
■Package: Insert Card
■OEM: Acceptable
■Samples: For FREE
■Delivery Time: Always 30 working days depending on the order quantity
■Packing: By standard cartons
Product Description
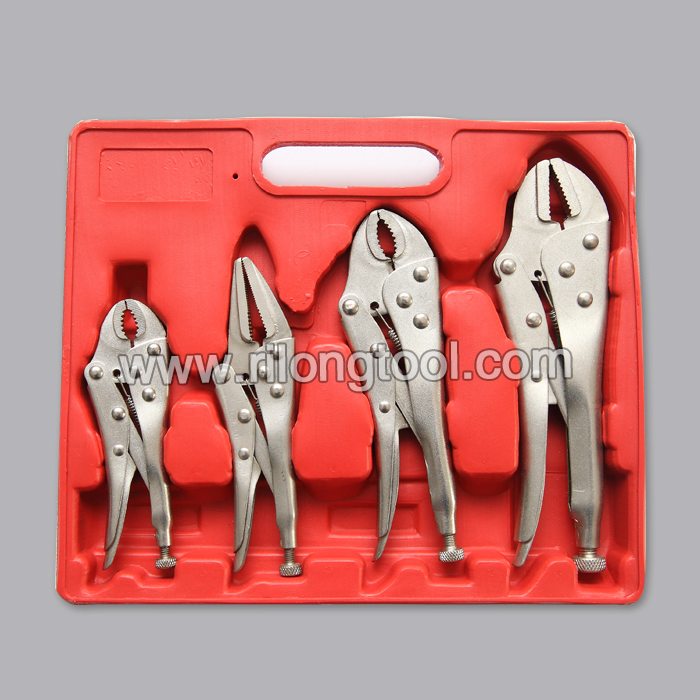
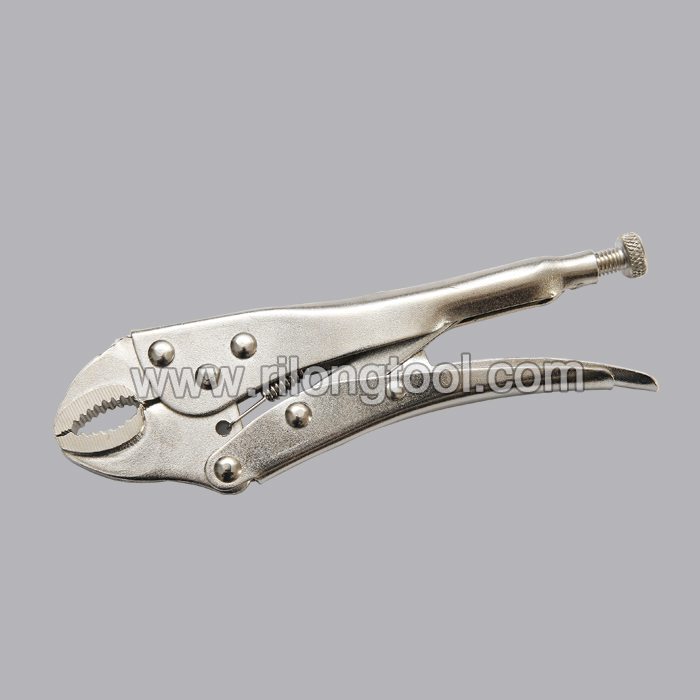
■Ningbo Rilong Hardware Tools Factory, can provide various kinds of hardware tools.
Product Image
For all the jewelry components you see in this video, visit https://www.gempacked.com
Today we will be showing you how to wire wrap a bead onto a plain link chain, but you can use the same techniques in this tutorial to make your own chains from scratch using only wire and beads. This is a really important skill all jewelry designers should have because you can apply it to so many different designs.
Here are the tools and materials you need. We are using 22 gauge half hard for this type of wire wrapping because it holds its shape much better than soft ones. To make the loop we need a round nose plier, and one flat nose. I have two flat noses, but you really only need one. And you will also need a wire cutter as well. So lets get to making the loop. Start by putting the wire on the round nose and bending it into a circle. The size of the loop doesn’t have to be perfect on the first try, you can still adjust it at this point. Just make sure you leave around a quarter inch or half inch after the loop to complete the wrap. After you make the loop the size you want, pull the chain into the loop like this and grab the loop end of the wire like this using your flat nose plier. Grab the short end of the loop using a flat nose or round nose plier and wrap it in a neat coil like this. You should only be bending the short end, the long end should stay straight. I am just going to show you what it looks like with a single coil now because after you do more than one coil, it becomes difficult to go back. Anyways, this looks good so we will continue with one more coil to make sure it’s nice and strong. As I mentioned earlier, we are using 22G wire which is a bit thicker so two coils is fine. For thinner gauges like 26G or 28G it’s probably better to do 2 or 3 coils depending on how much weight the wire wrap needs to bear. Thicker gauges may only require one or two coils to be safe.
The best part is that it’s really easy once you get the hang of it and looks so clean when its finished.
So we are almost half way there. We can cut off this short end, just remember to wear safety glasses because you don’t want bits of wire flying in your face. Part of the wire is still sticking out and I will just flatten it with the flat nose. Now I can put the bead into the wire and we will basically repeat the steps from before. The only difference this time is when you are making your loop, you need to leave a little bit of space to allow for those two coils. Again, you don’t need to get it right on the first try—you can make your loop and adjust it afterwards before you make your coil. Now that we have it we will attach the other end of the chain. Hold the loop with the flat nose just like the first time around and pull the loose end around. This time I will just use my hands since it is pretty stable. After we have those two loops I will just tighten it with the flat nose and cut it right here where the third coil would have begun. A little trick that I do is that I don’t actually cut this end of the wire because its hard to get in there. I just leave a small mark that is not enough to actually cut through and I kind of bend it back and forth until it breaks on the weak spot that I left. This way the wire that is left over at the end is shorter and easier to tuck in with the flat nose. It also wastes less wire so that we have more for our next wire wrap. So I will do that here and we are done. Nice and even.
Now, this tutorial took about 5 minutes but when you get used to it, they will take a minute each or even less. As you do more of these, your wraps will be more even, you will become more comfortable with different gauges, and you will work much faster. This is really a case of practice makes perfect.
-Made in Germany of chrome vanadium electric steel, forged, oil hardened
-Box joint design provides high stability for heavy duty use due to double guide
-Will grip round, square, hex or flat surfaces
-Built-in pinch guard protects against finger-pinching and blood blisters