Wholesale price for Plastic winding tools for bathroom & toilet for Bulgaria Factory
Short Description:
Product Detail
Product Tags
With a sound business credit, excellent after-sales service and modern manufacturing facilities, we have earned an excellent reputation among our customers across the world for Wholesale price for Plastic winding tools for bathroom & toilet for Bulgaria Factory, If you have any comments about our company or products, please feel free to contact us, your coming mail will be highly appreciated.
Basic Information
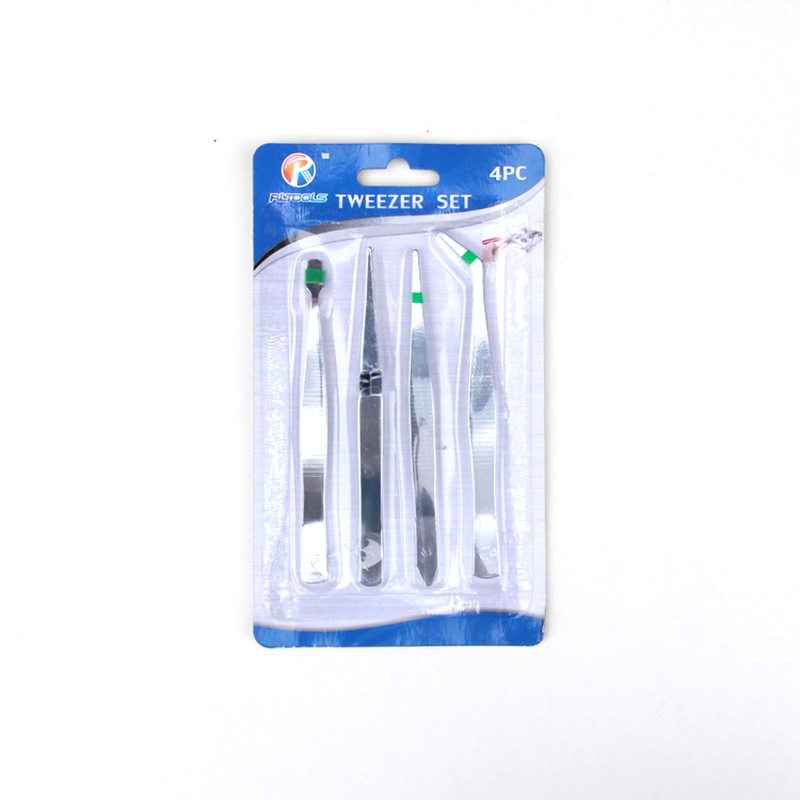
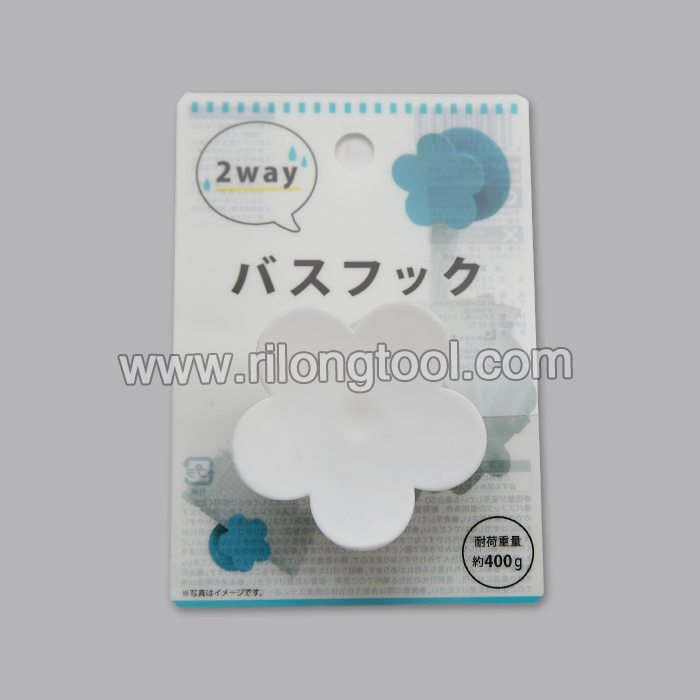
■Model Number: RL-WY002
Additional Information
■Material: Plastic
■Package: Insert Card
■OEM: Acceptable
■Samples: For FREE
■Delivery Time: Always 30 working days depending on the order quantity
■Packing: By standard cartons
Product Description
■Ningbo Rilong Hardware Tools Factory can provide various kinds of accessories products for bathroom and toilet.
Product Image
https://www.homeownerseries.com
This is video #1 of a 3-part series. The videos are:
Compression Ring Removal = https://youtu.be/6wNYj57PqSw?hd=1
Compression Ring Puller = https://youtu.be/HGRQpuUWQ38?hd=1
Power Grinder = https://youtu.be/yo1C-UPMr1I?hd=1
To watch the Compression Ring Removal Playlist = https://www.youtube.com/view_play_list?p=4BFD3E3C616B5A7C
Water Supply Valve Compression Ring Removal
When replacing a water supply valve, there are circumstances where the existing compression ring and nut will adequately perform from one valve to the next, however, sometimes the compression ring will become damaged and will need to be removed and replaced.
There are two ways to remove a damaged compression ring and nut. The first and best way is to use a compression ring puller. This tool can be purchased at a hardware or plumbing supply store. The second way to remove the compression ring and nut is to use a hand-held power grinder. This is, however, less recommended because of the damage that can occur to the copper pipe during grinding.
Tools Needed
The tools needed to perform this repair will either be a compression ring puller, or a set of rib-joint pliers, a hand held power grinder, and a flat-head screwdriver, depending on the technique that will be used.
To remove the compression ring and nut using the compression ring puller, first place the coupling guide inside the tube of the copper pipe. Insert the threaded stem of the puller into the coupling and place the forks of the puller behind the compression ring and nut. Next, turn the puller handle clockwise until the compression ring and nut are pulled loose from the copper pipe.
To grind the nut off of the copper water pipe, take the rib-joint pliers and securely hold the compression nut with them while slowly grinding with the power grinder. It is important to evenly grind the nut without moving too close to the copper pipe, as any scoring on the copper pipe will make it more prone to leaking. Once the compression nut is mostly cut through, take the flat head screwdriver and pry the opening on the nut further apart until it is able to slide over the compression ring and off of the copper water pipe. Be careful not to touch this area, as it will most likely be hot from the grinding.
With the compression nut off of the water pipe, take the handheld power grinder, and begin to grind through the compression ring. Be extremely careful not to grind into the copper pipe. When the compression ring is cut enough to remove, use the flat head screwdriver to pry it loose from the copper water pipe. Now take the rib joint pliers and remove the compression ring off of the pipe.
Now that both the compression ring and nut are completely removed from the water supply pipe, a new water supply valve can be installed.
KINCROME How To: Use a Grease Gun
STEP 1:
Ensure you have the correct parts
Note: Parts included and usage of grease gun may vary slightly between models.
STEP 2:
Unscrew the cap
STEP 3:
Pull back the plunger and lock the rod in place by placing it into the locking notch.
If your model has a locking switch, it will lock automatically.
To release, press down the switch.
STEP 4:
Remove the cap and pop tab from the grease cartridge.
STEP 5:
Insert the grease cartridge into the barrel and push down as far as possible.
Note: You may use the back end of a pair of pliers or a secondary grease cartridge for extra force.
STEP 6:
Secure the cap back on half way and release the lock and plunger.
STEP 7:
Purge the air inside the grease gun by pumping until grease begins to flow from the nozzle.
STEP 8:
Tighten the cap completely.
STEP 9:
Test that the grease gun is working correctly.
STEP 10:
To attach the hose, first wrap the threaded end with Teflon tape to avoid any air pockets forming while operating the grease gun.
STEP 11:
Screw the hose onto the nozzle of the grease gun’s cap.
STEP 12:
Ensure that the grease gun is operating correctly.
Some models will include a flexible hose. The same process can be used to attach to the grease gun cap.
For more information and details of your nearest stockist visit the Kincrome website https://www.kincrome.com.au
Find us on Facebook: https://www.facebook.com/Kincrome