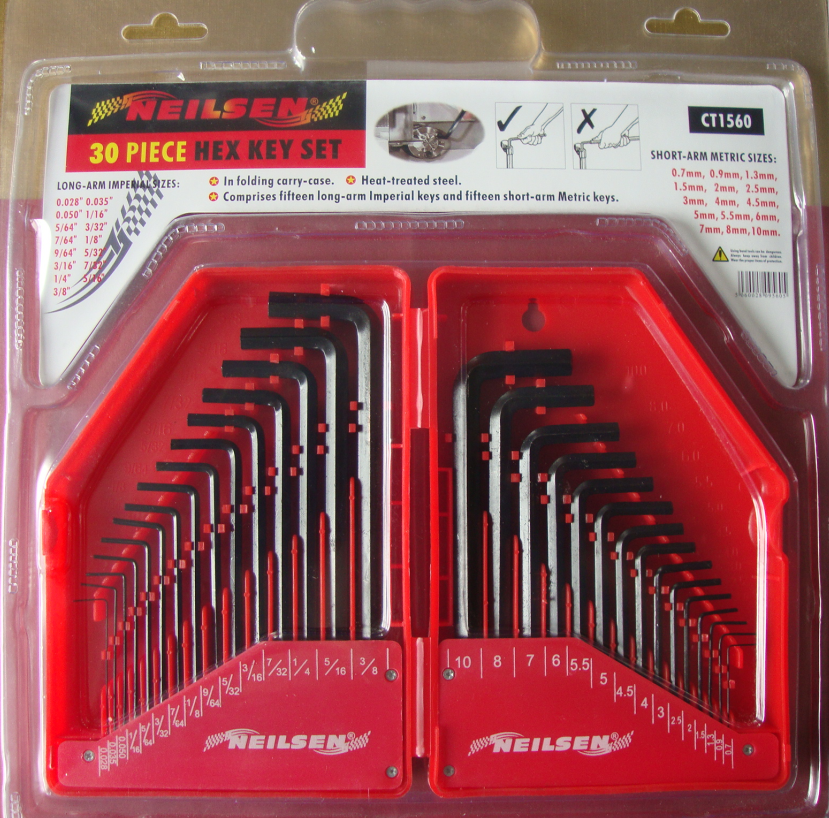
Wholesale 100% Original 30-PCS Hex Key Sets packaged by BMC surface by Black Oxide to Venezuela Manufacturer
Short Description:
Product Detail
Product Tags
Our products are widely recognized and trusted by users and can meet continuously changing economic and social needs for Wholesale 100% Original 30-PCS Hex Key Sets packaged by BMC surface by Black Oxide to Venezuela Manufacturer, We sincerely welcome friends from all over the world to cooperate with us on the basis of long-term mutual benefits.
Basic Information
■Model Number: RL-NLJ015A
Additional Information
■Material: 45# Carbon Steel
■Size: 0.028″-3/8″, 0.7mm-10mm
■Surface Treatment: Black Oxide
■Heat Treatment: Optional
■Package: BMC + Double Blister Card
■OEM: Acceptable
■HS Code: 8204110000
■Samples: For FREE
■Delivery Time: Always 30 working days depending on the order quantity
■Packing: By standard cartons
Product Description
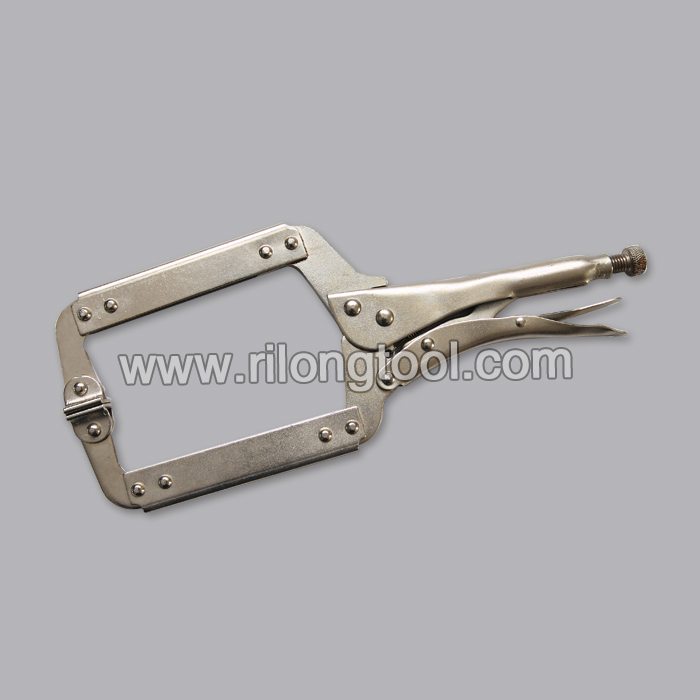
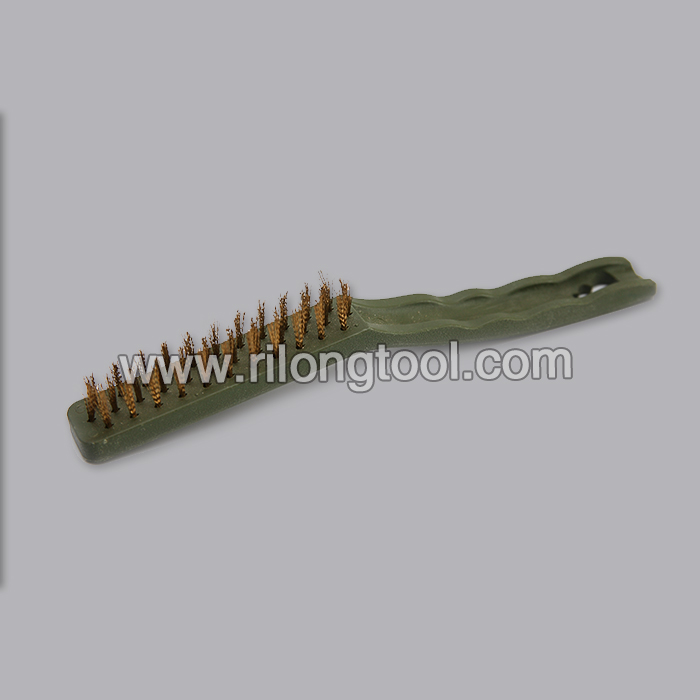
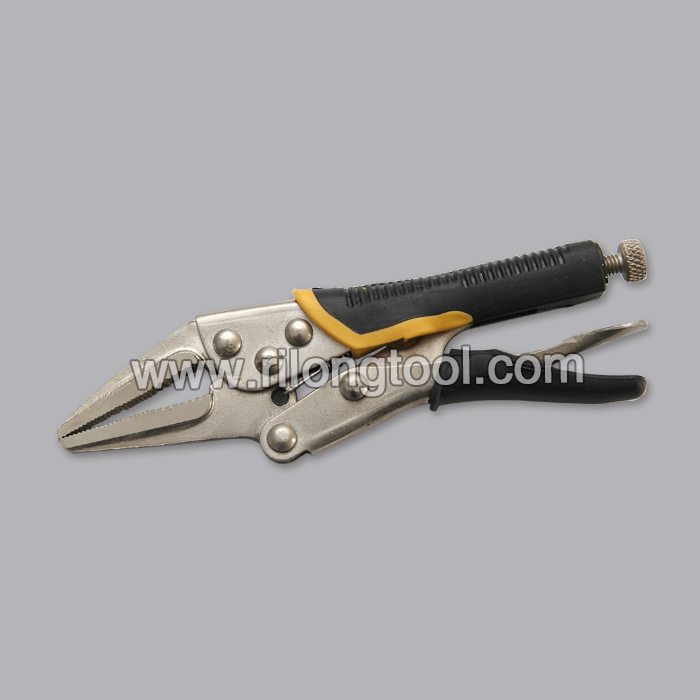
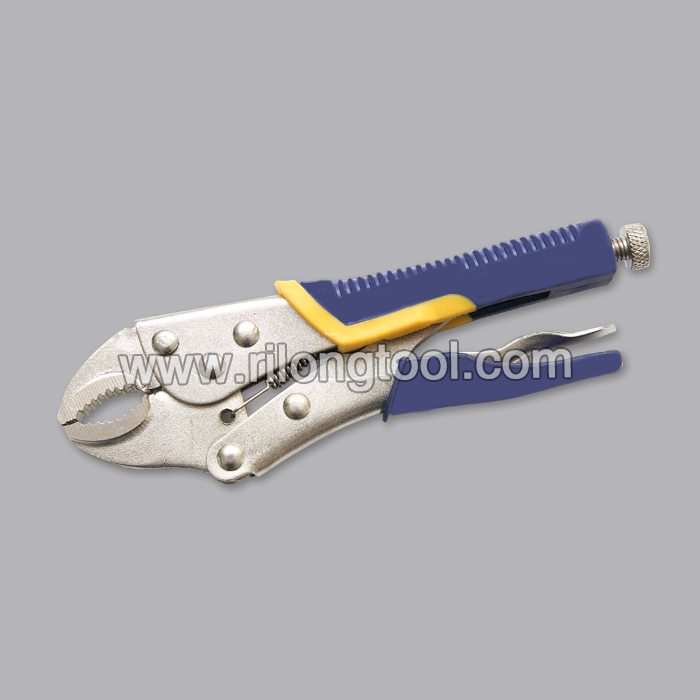
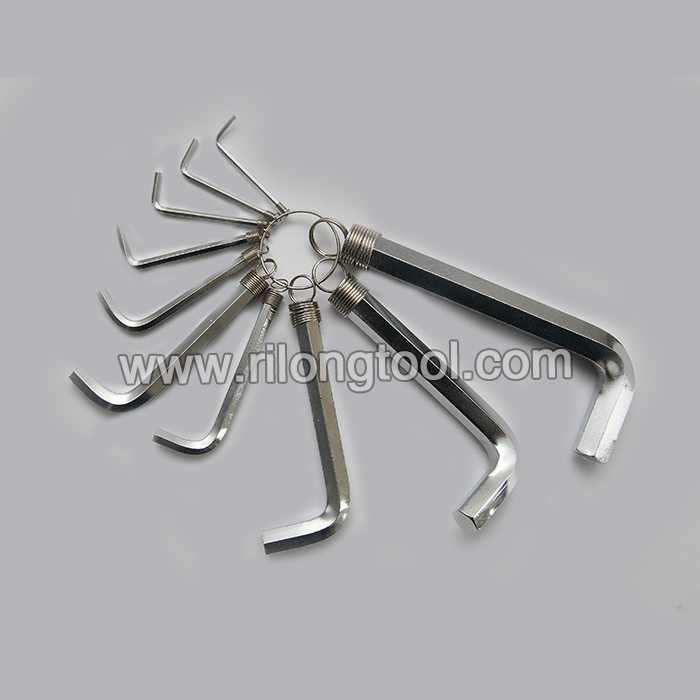
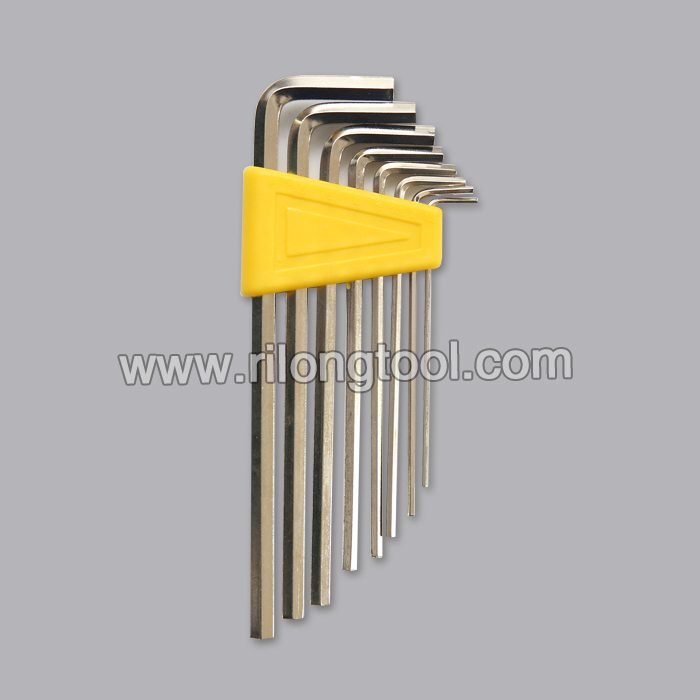
■Ningbo Rilong Hardware Tools Factory can provide various kinds of Hex Key with different sizes and packages.
Product Image
Chain nose pliers with short jaws and fine tips, measuring 0.06”. Short jaw provides increased stiffness to resist deforming when working with heavier gauge wire. Featuring rounded inner edges, a bearing ring lap joint design, with stainless steel leaf spring and ESD-safe cushioned handles. Long ergonomic handle. 0.715” (18.1mm) jaw length. ERGONOMIC HANDLE: Yes. HEAD STYLE: Round. JAW TYPE: Smooth. Made in the USA.
An introduction and install video for Turbo’s Switch Grip