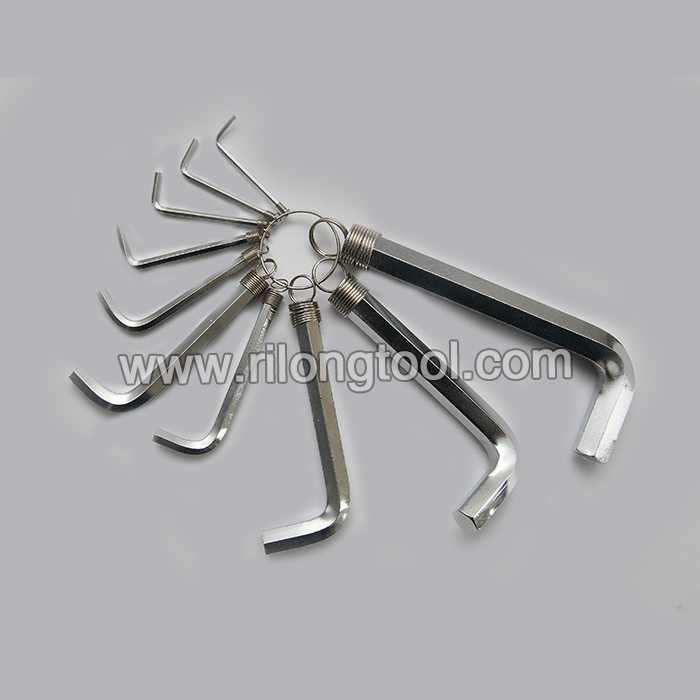
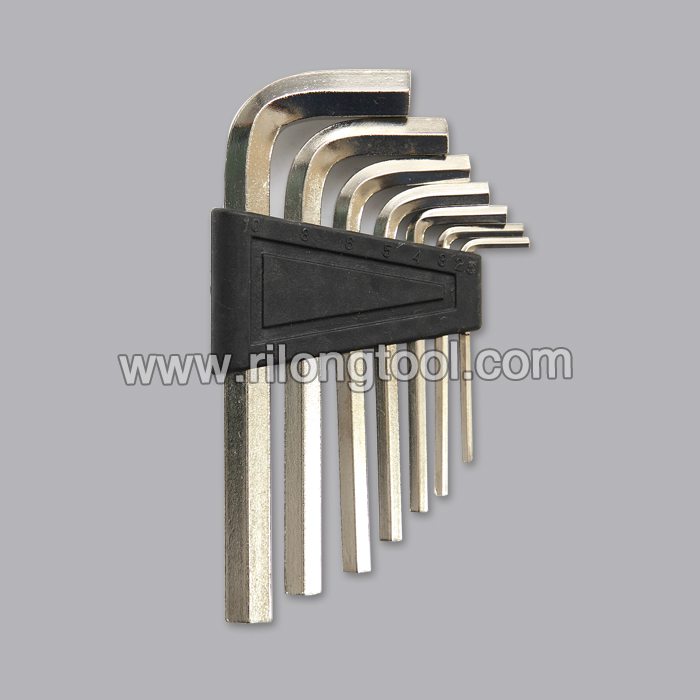
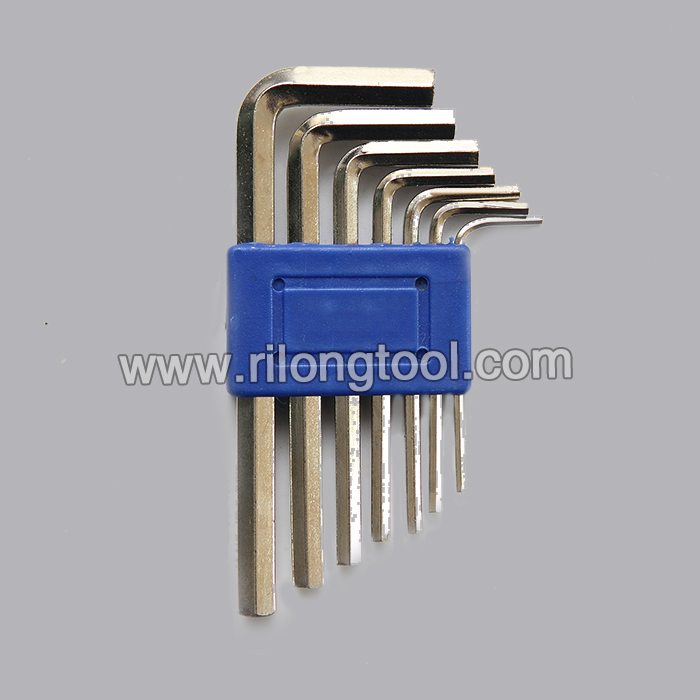
Newly Arrival 7-PCS Hex Key Sets packaged by plastic frame Supply to Indonesia
Short Description:
Product Detail
Product Tags
It is a good way to improve our products and service. Our mission is to develop creative products to customers with a good experience for Newly Arrival 7-PCS Hex Key Sets packaged by plastic frame Supply to Indonesia, Our company will continue to adhere to the " superior quality, reputable, the user first " principle wholeheartedly. We warmly welcome friends from all walks of life to visit and give guidance, work together and create a brilliant future!
Basic Information
■Model Number: RL-NLJ007
Additional Information
■Material: 45# Carbon Steel
■Size: 1/16″-3/8″, 1.5mm-10mm
■Surface Treatment: Zinc-plated, Black Oxide
■Heat Treatment: Optional
■Package: Plastic Frame
■OEM: Acceptable
■HS Code: 8204110000
■Samples: For FREE
■Delivery Time: Always 30 working days depending on the order quantity
■Packing: By standard cartons
Product Description
■Ningbo Rilong Hardware Tools Factory can provide various kinds of Hex Key with different sizes and packages.
Product Image
https://www.homeownerseries.com
This is video #1 of a 3-part series. The videos are:
Part 1 = https://youtu.be/8xlJXrSK3ag?hd=1
Part 2 = https://youtu.be/BLDvTRZlyCo?hd=1
Part Overview = https://youtu.be/KCPlbiTcLc4?hd=1
To watch the Flush Valve Playlist = https://www.youtube.com/view_play_list?p=31C570921B83280C
Flush Valve
Diagnostic
The toilet’s flush valve assembly is most often the center of any leaking in the toilet’s tank. It has moving parts that seal and drain, so as such is prone to be highly affected by corrosion or deterioration. The flush valve assembly consists of the Overflow Tube, Seat, Flapper Valve, and the Sponge Gasket. Each of these parts will develop problems over time, causing an internal leak that is hard to trace. Whenever the flush valve is going to be replaced, the sponge gasket and tank mounting bolts should also be replaced at that time.
To replace the flush valve the entire tank will have to be removed from the bowl of the toilet, exposing the sponge gasket and the nut holding the valve in place. It may be difficult to identify which of these parts are malfunctioning because any defect may be too small to see, for this very reason, whenever the flush valve, sponge gasket, or tank mounting bolts are worn-out, all of these items should be replaced at the same time.
Parts Needed
Before this project is started a new flush valve kit will need to be purchased at a hardware or plumbing supply store. This kit should include the flush valve assembly, which is the overflow tube and seat, seals and lock nut, flapper valve with lift chain and a sponge gasket. Additionally, a supplemental sponge gasket may need to be purchased depending on the curvature of the connection between the tank and the base. The last items that need to be purchased are new tank mounting bolts. Generally, a tank will require two or three mounting bolts so purchase enough for your given toilet.
Tools Needed
The tools necessary for this project are an adjustable open-end wrench or socket wrench, a large sponge, a flat-head screwdriver, a pair of rib-joint pliers, a cement mixing tub, a small plastic container, and possibly a mini-hacksaw.
https://www.delmarfans.com/educate/install/hunter-auberville-ceiling-fan/
Del Mar Fans & Lighting demonstrates how to install the whisper-quiet Hunter Auberville ceiling fan. The traditional ceiling fan is 90 percent pre-assembled and includes Easy Lock blades for easy assembly. The Hunter Auberville fan is suitable for installation in rooms ranging in size from 75 square feet to 150 square feet such as bedrooms and kitchens. The versatile ceiling fan is appropriate for standard, angled, and flush mount installations.
For the Hunter Auberville ceiling fan installation, a Phillips-head screwdriver, pliers, and ladder are required. First, install the mounting bracket and secure with the screws provided. Then, hang the ceiling fan from the mounting bracket, connect the wires, and secure the canopy. Then, attach the fan blades to the blade irons. Afterward, connect the switch housing plugs and attach the assembly securely. Lastly, attach the candelabra bulbs, pull chains, and glass bowl. Secure with the finial.
Del Mar Fans & Lighting is an online ceiling fan and light fixture distributor with 19 years of industry experience. We work with the most trusted and sought after brands like the Hunter Fan Company to provide affordable and lasting cooling and lighting solutions. We strive to provide quality products, outstanding customer services, unbeatable prices, and in-depth product knowledge. Visit us at https://www.delmarfans.com/
Subscribe to Del Mar Fans & Lighting’s YouTube channel for more home improvement and how to videos: https://www.youtube.com/subscription_center?add_user=delmardesigns
Connect with us through our other social media channels for news, sales and contests, and other ceiling fan and lighting resources:
Facebook: https://www.facebook.com/DelMarFans
Google+: https://plus.google.com/+Delmarfans/
Twitter: https://twitter.com/DelMarFans
Pinterest: https://pinterest.com/delmarfans/
Education Center: https://www.delmarfans.com/educate/