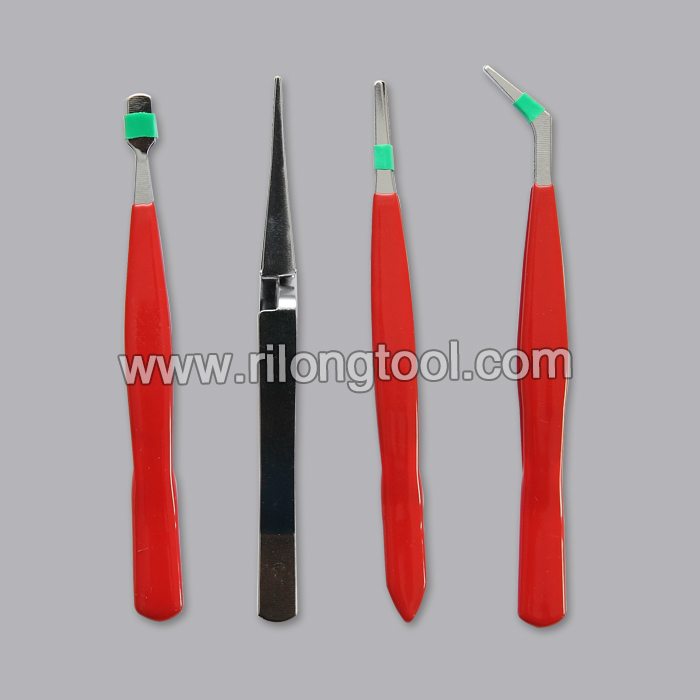
factory wholesale good quality 4-PCS Anti-static Tweezer Sets Stuttgart Manufacturers
Short Description:
Product Detail
Product Tags
We always think and practice corresponding to the change of circumstance, and grow up. We aim at the achievement of a richer mind and body and the living for factory wholesale good quality 4-PCS Anti-static Tweezer Sets Stuttgart Manufacturers, We are sincere and open. We look forward to your visit and establishing trustworthy and long-term standing relationship.
Basic Information
■Model Number: RL-NZ004
Additional Information
■Material: Q195 Cold-rolled Steel
■Thickness: 0.8mm, 1.0mm, 1.2mm
■Surface Treatment: Chrome Plated
■Finish: Polished
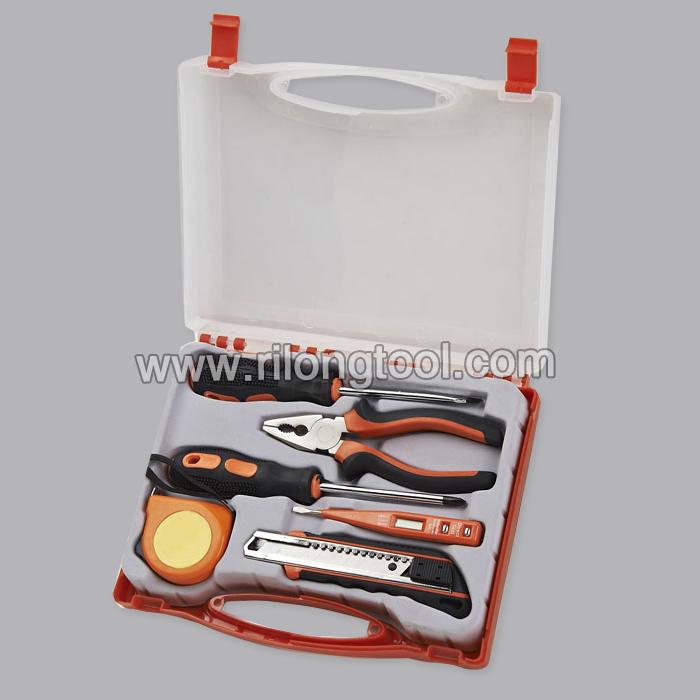
■Package: Suction Card
■OEM: Acceptable
■HS Code: 8203200000
■Samples: For FREE
■Delivery Time: Always 30 working days depending on the order quantity
■Packing: By standard cartons
Attention
■Do not heat it.
■Do not take acid drugs with it.
■Keep it clean after using it.
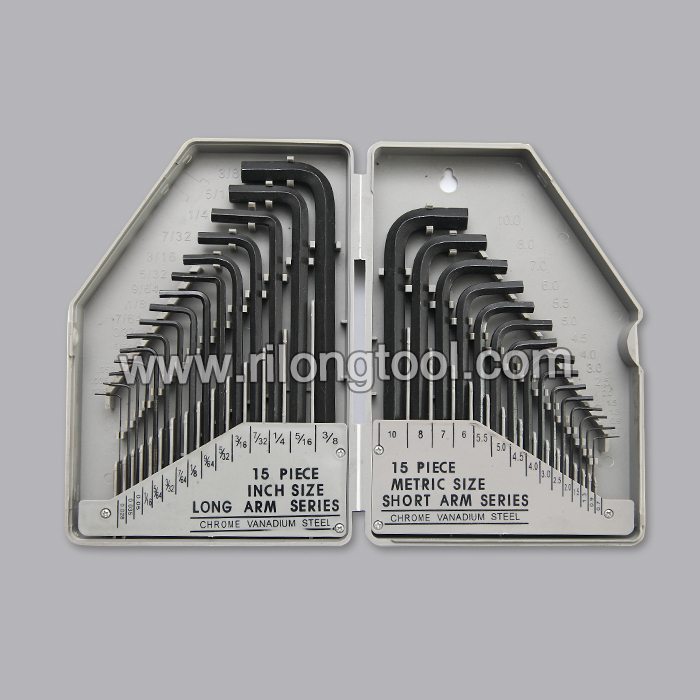
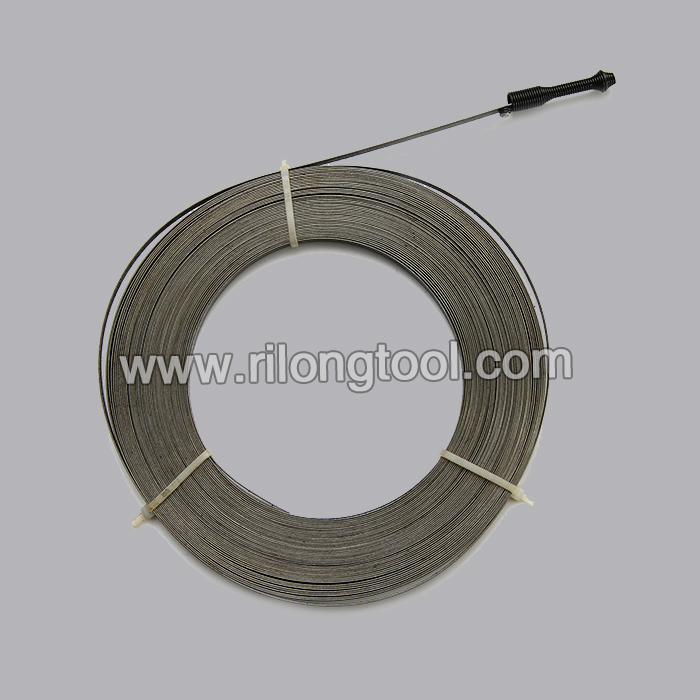
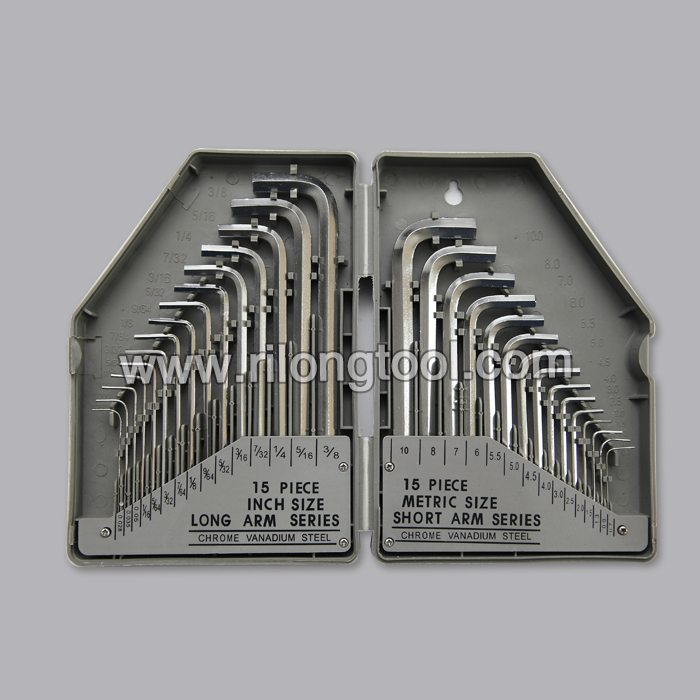
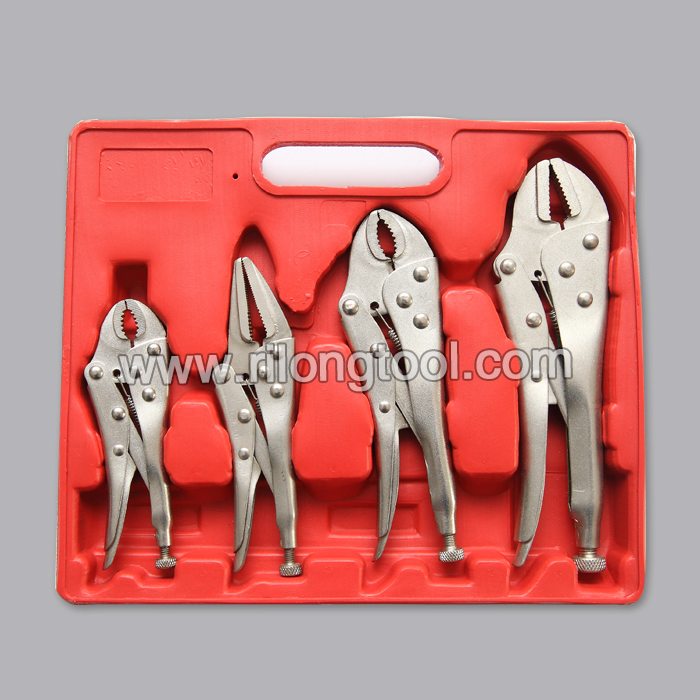
Product Image
Before you put your continuous hoops on, make sure you have a mirror nearby. All of our continuous hoops have a metal tube (the hoop itself) and a thin wire post (which goes in your piercing). Start by gently pulling the wire post out of the tube. Once they are separated, place the wire post into your piercing. After the post is through, simply look in your mirror and insert the post back into the tube. This process may be a bit more difficult for hoops less than 20mm long; the overall hoop is smaller so it can be tricky finding where the wire fits in the tube. Once your continuous hoops are secure, you can leave them in for days!
plastik kaplı tel örgü ve pvc tel örgü ile ilgili her türlü bilgiye www.altuntel.com.tr adresinden ulaşabilirsiniz.