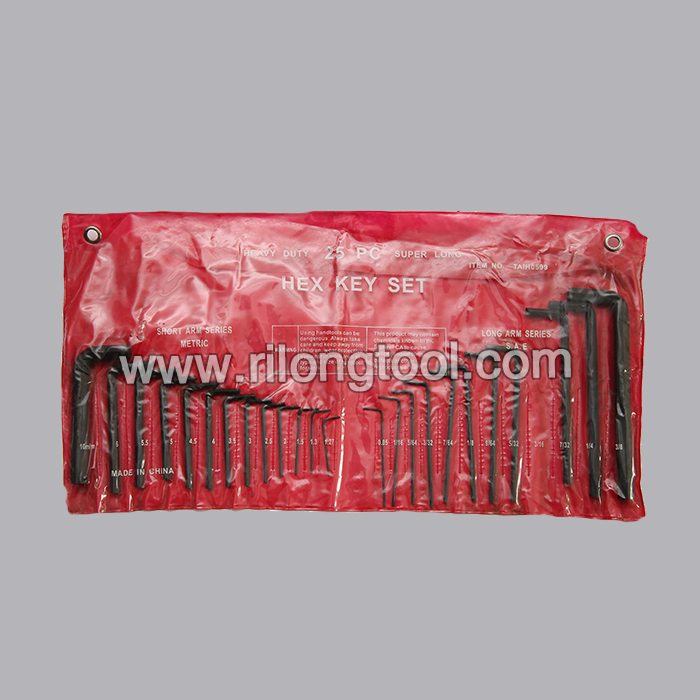
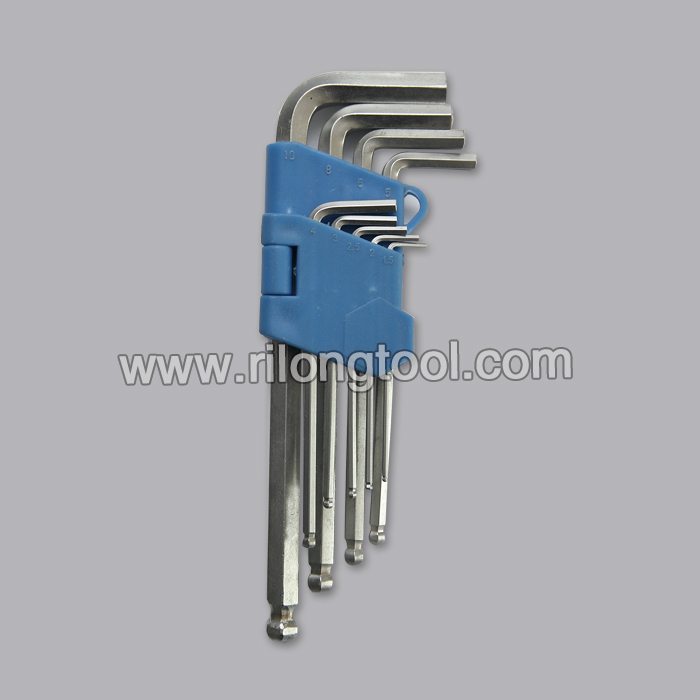
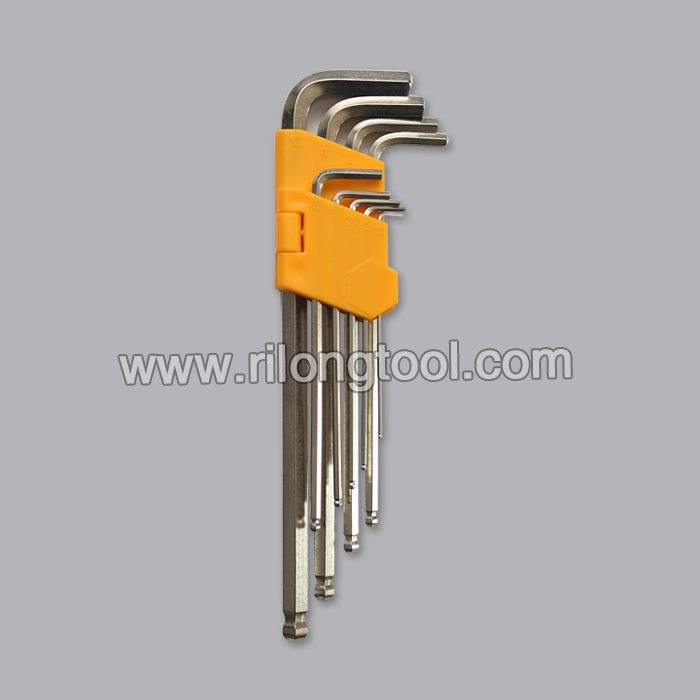
Factory provide nice price 9-PCS Ball-point Hex Key Sets packaged by folded plastic frame Wholesale to Japan
Short Description:
Product Detail
Product Tags
Our company promises all users of the first-class products and the most satisfying post-sale service. We warmly welcome our regular and new customers to join us for Factory provide nice price 9-PCS Ball-point Hex Key Sets packaged by folded plastic frame Wholesale to Japan, We encourage you to make contact as we are looking for partners in our venture. We are sure you will find doing business with us not only fruitful but also profitable. We are ready to serve you with what you require.
Basic Information
■Model Number: RL-NLJ012
Additional Information
■Material: 45# Carbon Steel
■Size: 1/16″-3/8″, 1.5mm-10mm
■Surface Treatment: Zinc-plated, Black Oxide
■Heat Treatment: Optional
■Package: Plastic Frame
■OEM: Acceptable
■HS Code: 8204110000
■Samples: For FREE
■Delivery Time: Always 30 working days depending on the order quantity
■Packing: By standard cartons
Product Description
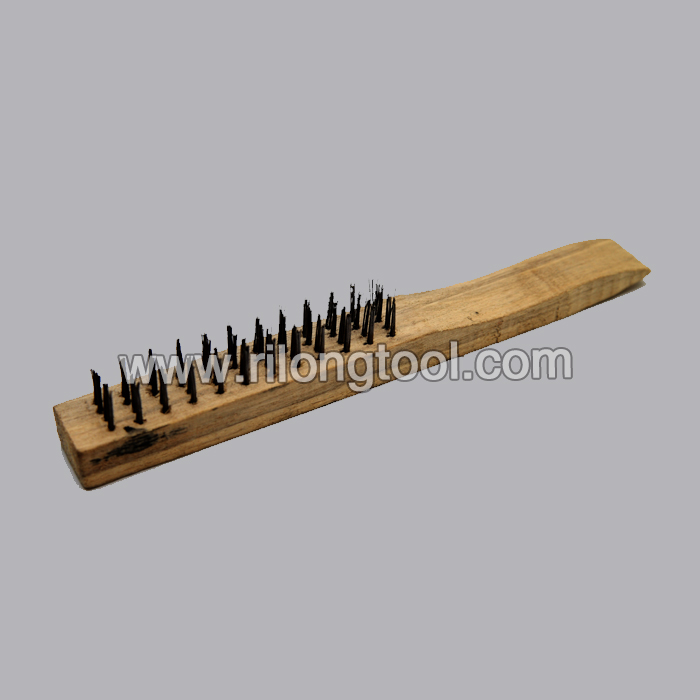
■Ningbo Rilong Hardware Tools Factory can provide various kinds of Hex Key with different sizes and packages.
Product Image
This video provides step-by-step instructions on how to properly insert and remove contacts when using TE Connectivity’s DEUTSCH DT Series Connectors. Visit https://www.laddinc.com for more information.
DT Series Contact Insertion
Step 1: Grasp crimped contact approximately one inch behind the contact barrel.
Step 2: Hold connector with rear grommet facing you.
Step 3: Push contact straight into connector grommet until a click is felt. A slight tug will confirm that it is properly locked in place.
Step 4: Once all contacts are in place, insert the wedgelock into the housing.
DT Series Contact Removal
Step 1: Remove the wedgelock using a DT-RT1 removal tool, a screwdriver, a hooked tool or a pair of needle nose pliers.
Step 2: To remove the contacts, gently pull wire backwards, while at the same time releasing the locking finger by moving it away from the contact with a screwdriver.
Step 3: Hold the rear seal in place, as removing the contact will displace the seal.
Its all for the fans, wherever they may be. Enjoy!
Xandra – Guardian II: Rise
Subscribe! https://goo.gl/Cqrqt9
Twitter: https://twitter.com/paymoneywubby
Twitch: https://www.twitch.tv/paymoneywubby