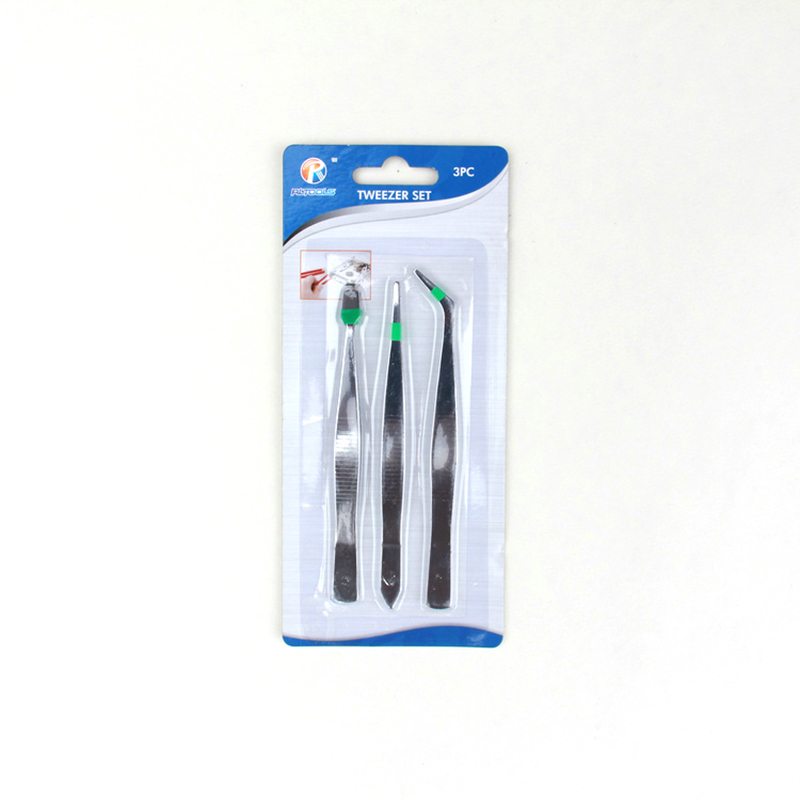
Factory Outlets 3-PCS Small Tweezer Sets Export to kazan
Short Description:
Product Detail
Product Tags
Fast and good quotations, informed advisers to help you choose the correct product that suits all your needs, a short production time, responsible quality control and different services for paying and shipping affairs for Factory Outlets 3-PCS Small Tweezer Sets Export to kazan, Our professional technical team will be wholeheartedly at your service. We sincerely welcome you to visit our website and company and send us your inquiry.
Basic Information
■Model Number: RL-NZ002A
Additional Information
■Material: Q195 Cold-rolled Steel
■Thickness: 0.8mm, 1.0mm, 1.2mm
■Surface Treatment: Chrome Plated
■Finish: Polished
■Package: Suction Card
■OEM: Acceptable
■HS Code: 8203200000
■Samples: For FREE
■Delivery Time: Always 30 working days depending on the order quantity
■Packing: By standard cartons
Attention
■Do not heat it.
■Do not take acid drugs with it.
■Keep it clean after using it.
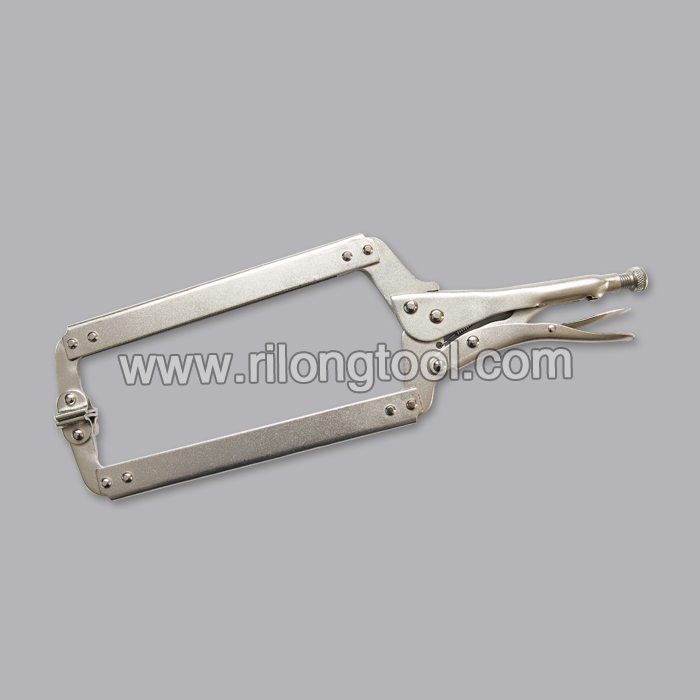
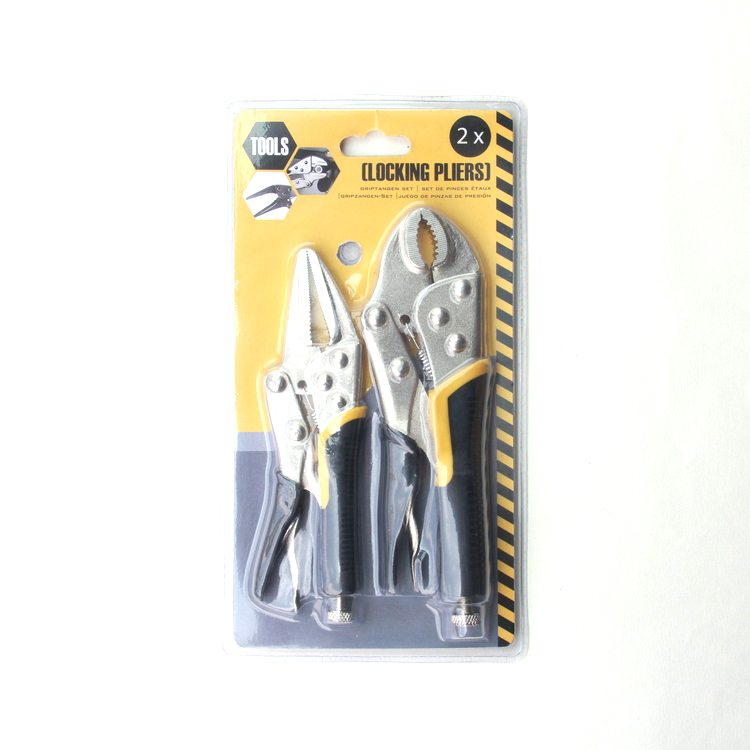
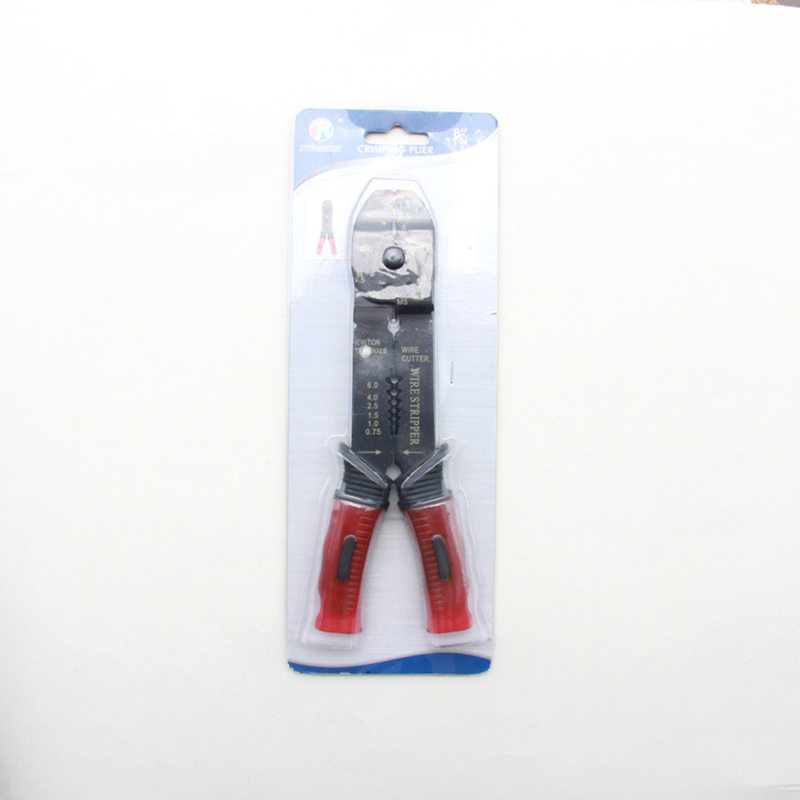
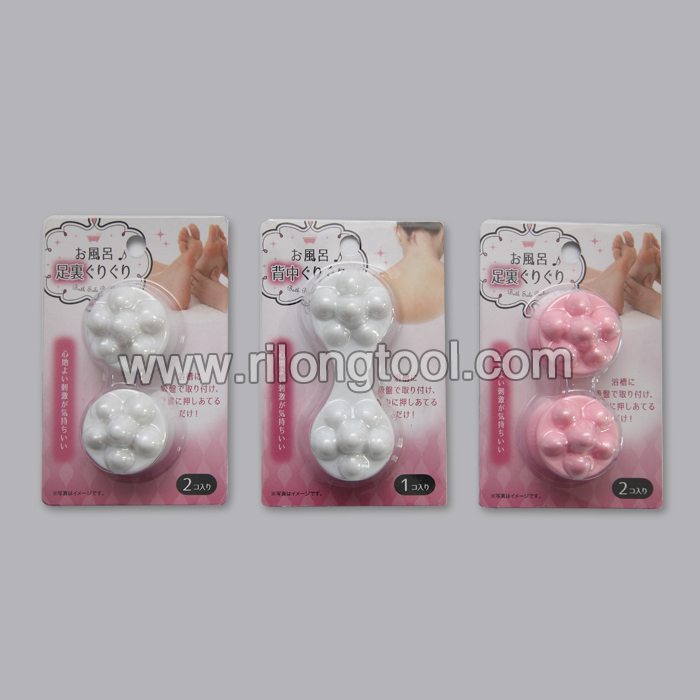
Product Image
https://www.homeownerseries.com
Ballcock Supply Valve Repair = https://youtu.be/Pvj9QJDy1MQ?hd=1
Ballcock Supply Valve Part Overview = https://youtu.be/vEZMFf4mOH8?hd=1
To view the Ballcock Supply Valve Playlist = https://www.youtube.com/view_play_list?p=AE976779F4DFE50E
Replacing the Ball-Cock
Diagnostic
A toilet’s water level is controlled by the Ball-Cock supply valve and float ball. This assembly will need to be repaired or replaced if the Ball-Cock supply valve is corroded, the float rod is bent or broken, and or if the float ball is no longer buoyant. Since the Ball-Cock supply valve is an older design and takes up more room in the tank, it should when replaced, be with a new toilet fill valve system. However, if a fill valve is not available, a new Ball-Cock supply valve assembly can be installed.
Parts
Purchase a Ball-Cock supply valve at a hardware, or plumbing supply store. This kit should include the valve assembly with float ball, connecting rod, and plastic fill tube. Additionally, a small bin to collect excess water will be needed when the old Ball-Cock supply valve is removed.
Tools
The tools needed to perform this repair are a pair of rib-joint pliers, an adjustable open-ended wrench, and a flat-head screwdriver.
Replacement
Begin the replacement of the Ball-cock supply valve and Float Ball by turning off the water supply valve. Then remove the tank’s lid and flushing the toilet. With the tank empty, position a plastic bin to collect water under the Ball-Cock supply valve’s shank. Unscrew the hose from the base of the tank, having any water drain into the plastic bin below. Now with the open-ended adjustable wrench or rib-joint pliers unscrew the lock nut located on the bottom of the Ball-Cock supply valve’s shank. With the nut removed the entire assembly can be pulled out of the tank. The old assembly should be placed into the bin as it may continue to drain water.
With the old assembly removed, take the new Ball-Cock Supply valve and slide the tank gasket fully onto the shank. Then adjust the height to best suit the height of the tank usually about 1/2 inch below the edge of the tank and aligned with the overflow tube. Insert the threaded end into the hole where the previously assembly was removed. Position the new assembly and thread the lock nut by hand securing the tube upright. Once hand-tight secure the lock nut a 1/4 turn further with a wrench to insure a watertight seal. Now re-attach the water supply hose to the Ball-Cock Supply Valve’s shank below the tank. Then connect the fill hose to the top of the Ball-Cock Supply valve and attach it to the overflow tube. Once in place turn on the water-supply valve and the tank will begin to fill. Make any adjustments to the water level by twisting the screw at the top of the ball-cock assembly. The tank’s water level is best at about 1 inch below the top of overflow tube located in the center of the toilet. Inspect the new connections to make sure they are not leaking water and test the toilet’s function. Once in order replace the tank’s lid to complete the project.