Europe style for 2-PCS Locking Pliers Sets with Jackets Australia Factory
Short Description:
Product Detail
Product Tags
We always stick to the principle "Quality First, Prestige Supreme". We are fully committed to providing our clients with competitively priced quality products, prompt delivery and professional service for Europe style for 2-PCS Locking Pliers Sets with Jackets Australia Factory, If you are interested in any of our products or would like to discuss a custom order, please feel free to contact us.
Basic Information
■Model Number: RL-DLQ026
Additional Information
■Material: A3# steel (Q235) or 45# steel
■Size: 5”, 6.5″, 7″, 10″
■Surface Treatment: Nickel-plated, Zinc-plated, Black Oxide, Electrophoresis
■Heat Treatment: Optional
■Package: Blister Card, Suction Card, Double Blister Card
■OEM: Acceptable
■HS Code: 8203200000
■Samples: For FREE
■Delivery Time: Always 30 working days depending on the order quantity
■Packing: By standard cartons
Product Description
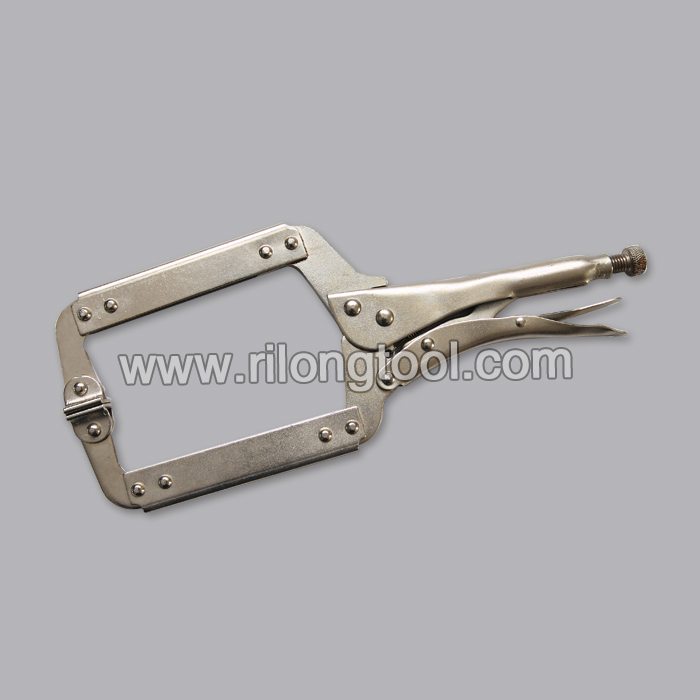
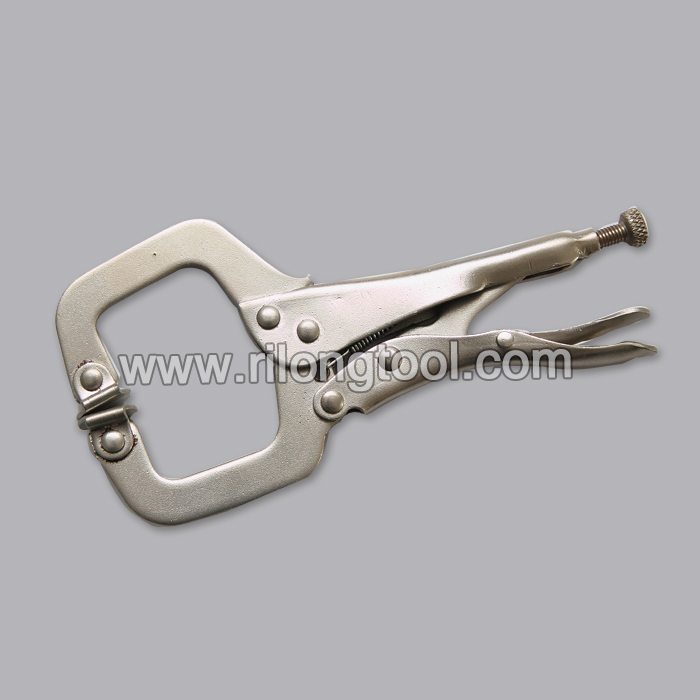
■Mainly used for clamping parts to rivet, weld, grind and so on, which is characterized by the powerful clamp force produced by the jaw. It can lock tight so that the parts won’t fetch away. Besides, jaws have a lot of levels to adjust for the use of different thickness of parts, and it also can be used as a wrench.
■Flexible using, long life and good tenacity.
■The screw tuning button can give the best clamp size easily.
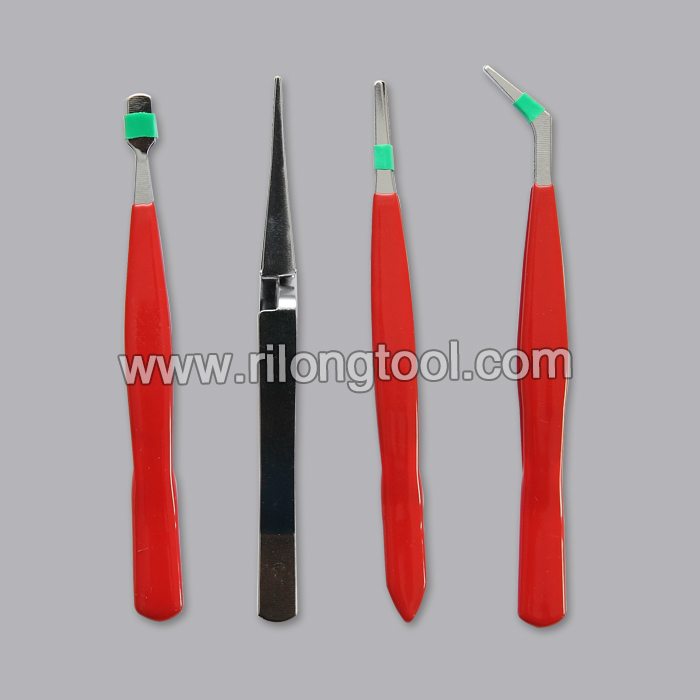
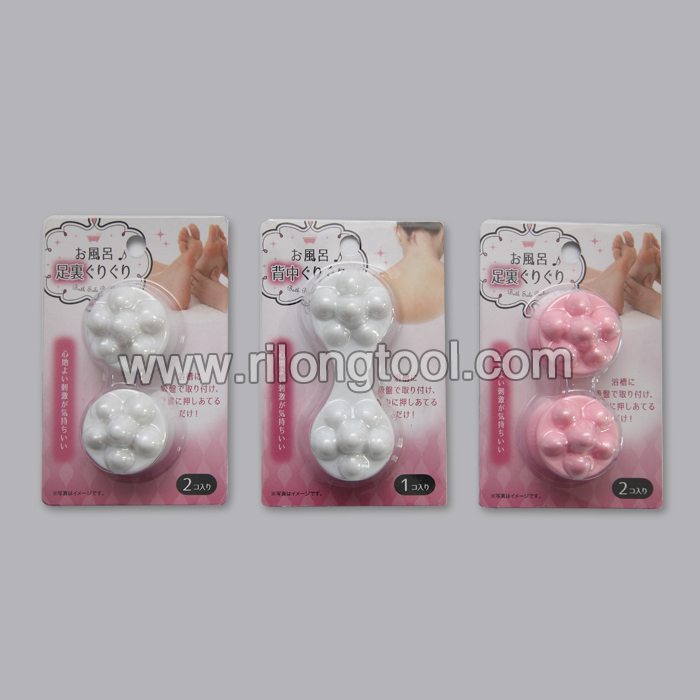
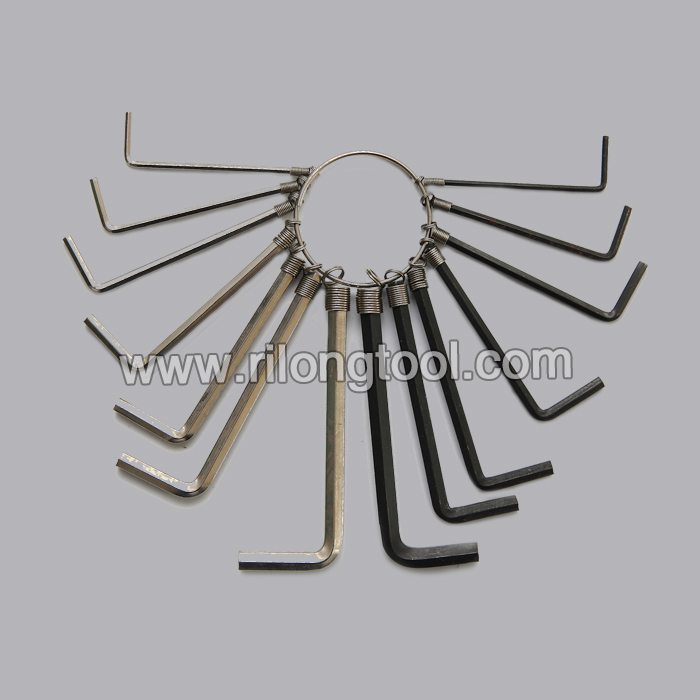
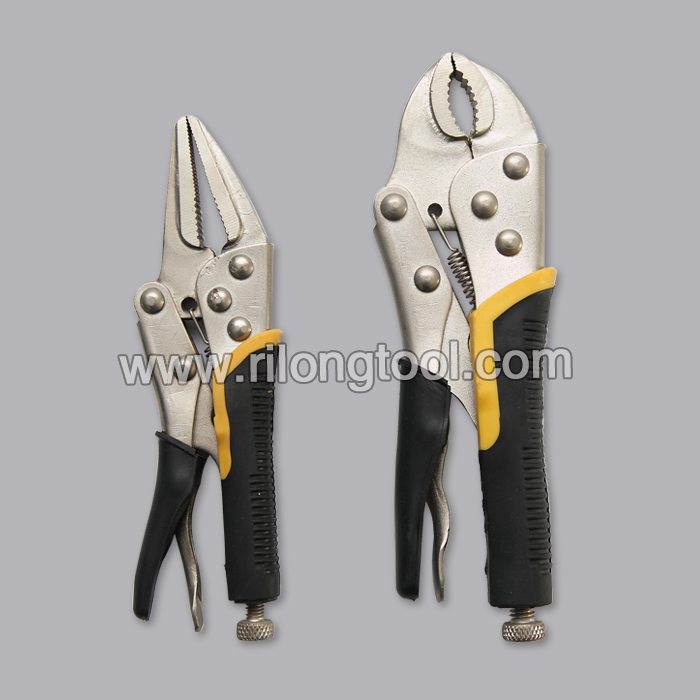
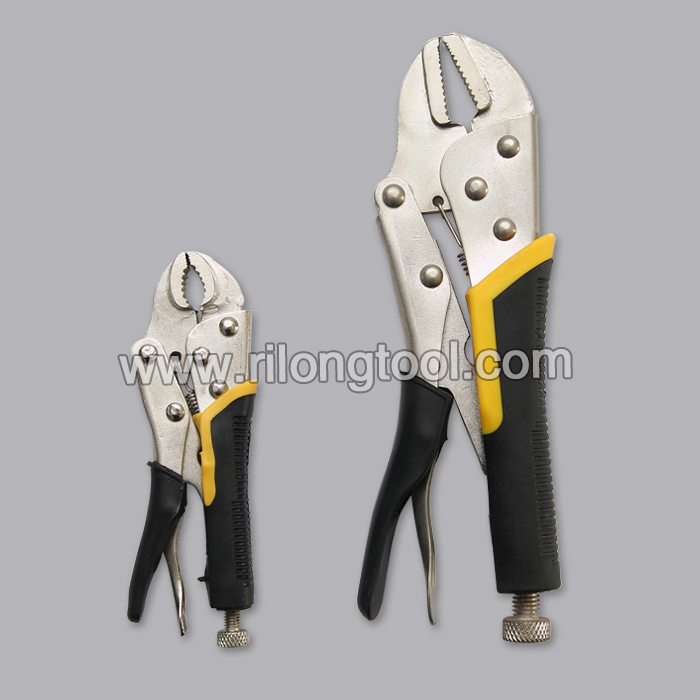
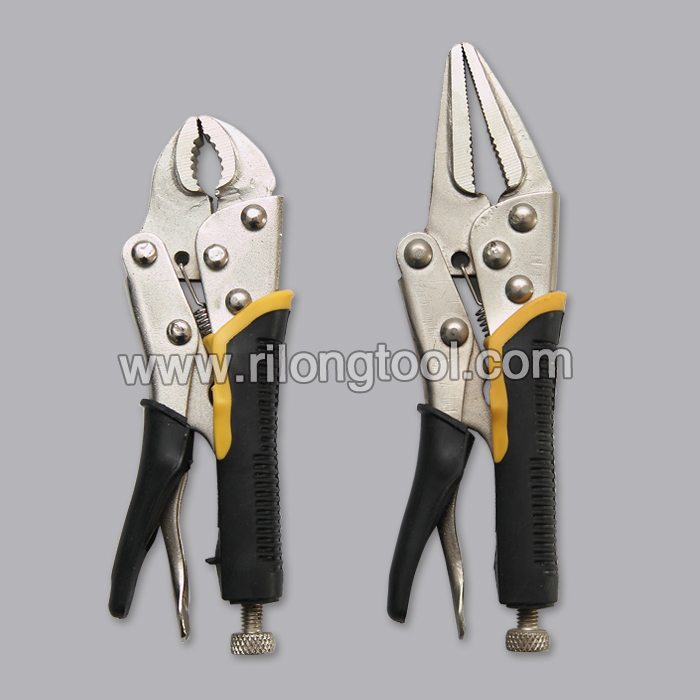
Product Image
https://www.masterlockingpliers.com/
Master Locking Pliers™ | eBay
https://www.ebay.com/itm/Master-Locking-Pliers-/231051662649
Master Locking Pliers™ | Amazon :
https://www.amazon.com/Master-Locking-Pliers-Screwdrivers-features/dp/B00BUOF6IG
Master Locking Pliers | Facebook :
https://www.facebook.com/pages/Master-Locking-Pliers/377982208967549
Master Locking Pliers™, Are A New and Super Revolutionary Type Of Hand tools, namely, combination of locking pliers and screw driver all in one, that comes in different configurations such as straight jaw, straight jaw with wire cutter, curve jaw, curve jaw with wire cutters, long nose, long nose with wire cutters, needle-nose, wrenches, and clamps, in various shapes and many different sizes, Also features; bits, bits holders, for hand tools, namely, bits and hex bits for screwdrivers for your Everyday Needs….
You Can Use Master Locking Pliers™, To Grip An Object, or You Can Use Them as Screwdrivers like: Phillips, Flat, Star, Hex, Etc, etc, etc…. Like No Other Locking Pliers in The Market….
The Benefits of This Great Invention are Many, I Guarantee You!….
The Choice Is There For The Smart Buyers To Make!…. Master Locking Pliers™, For Your Everyday Needs!… Another Level Of Imagination!…
Do Not Accept Cheap Immitations!…Master Locking Pliers™, Are Exclusively From Me And My Company!… You Can’t Find Master Locking Pliers™ Anywhere Else!…
The Choice Is Yours!…
Sincerely
Juan Pineda Sanchez
The new IRWIN VISE-GRIP Cutting Pliers are made in Germany with high-quality steel durable enough to cut even the thickest, toughest materials such as ACSR, nails, screws and even piano wire.
Designed with an industry-leading, three-zone comfort grip, the handles are contoured for optimal cushion and control, allowing the user to make more cuts comfortably. The handles are engineered with integrated hooks designed to attach to the IRWIN Performance Lanyard System. This exclusive lanyard system allows the user to attach the pliers to help prevent accidental drops when working in elevated conditions and provides easy retrieval when stored in a pouch or pocket. The High Leverage Diagonal Cutting Pliers are backed by the IRWIN Lifetime Guarantee.
Fine out more at www.irwin.com