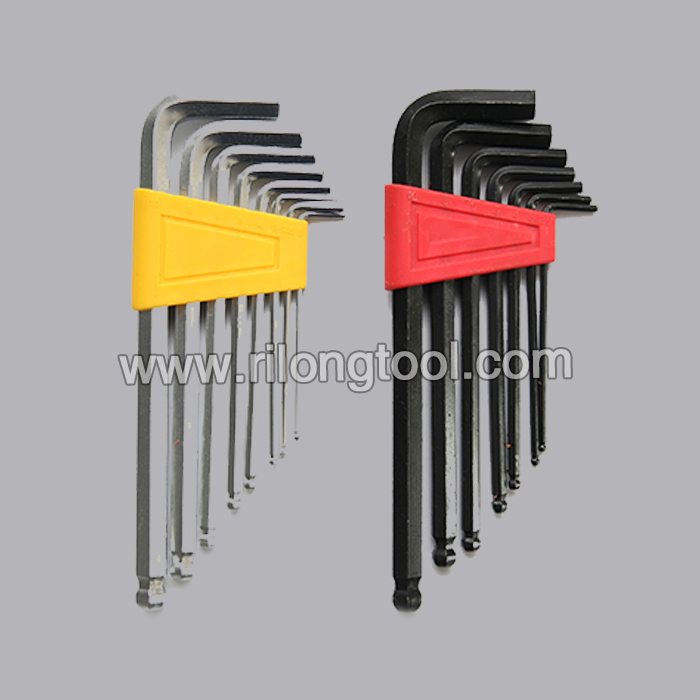
China supplier OEM 8-PCS Ball-point Hex Key Sets packaged by plastic frame Wholesale to Sacramento
Short Description:
Product Detail
Product Tags
We enjoy a very good reputation among our customers for our excellent product quality, competitive price and the best service for China supplier OEM 8-PCS Ball-point Hex Key Sets packaged by plastic frame Wholesale to Sacramento, We welcome new and old customers from all walks of life to contact us for future business relationships and mutual success!
Basic Information
■Model Number: RL-NLJ009
Additional Information
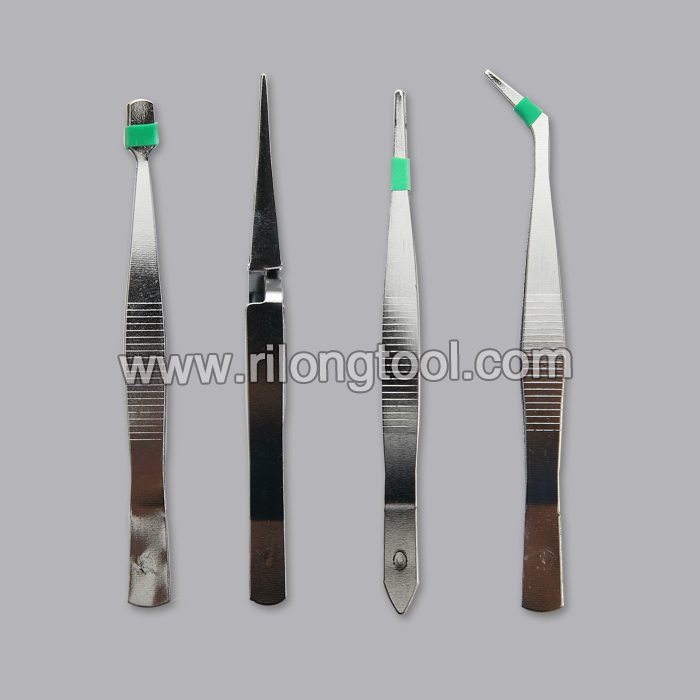
■Material: 45# Carbon Steel
■Size: 1/16″-3/8″, 1.5mm-10mm
■Surface Treatment: Zinc-plated, Black Oxide
■Heat Treatment: Optional
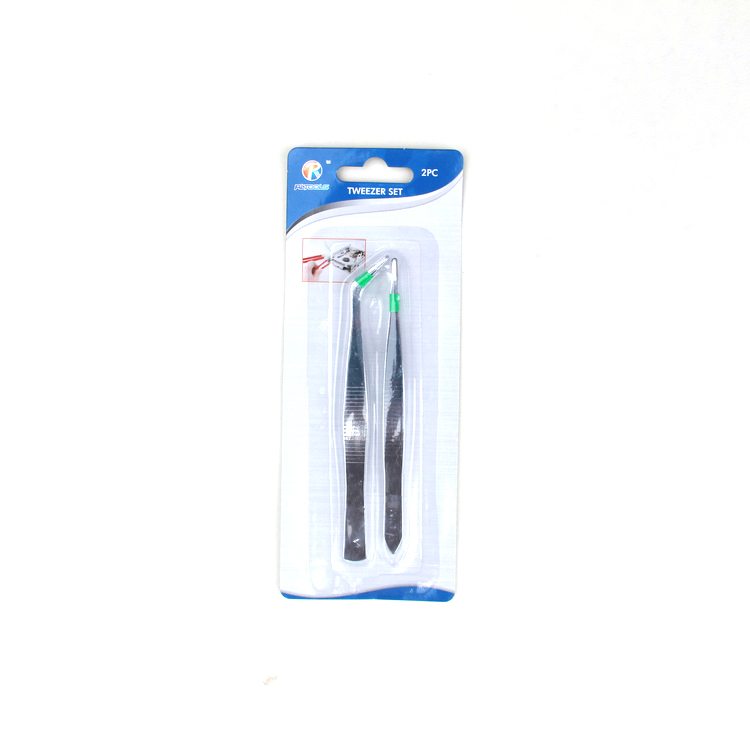
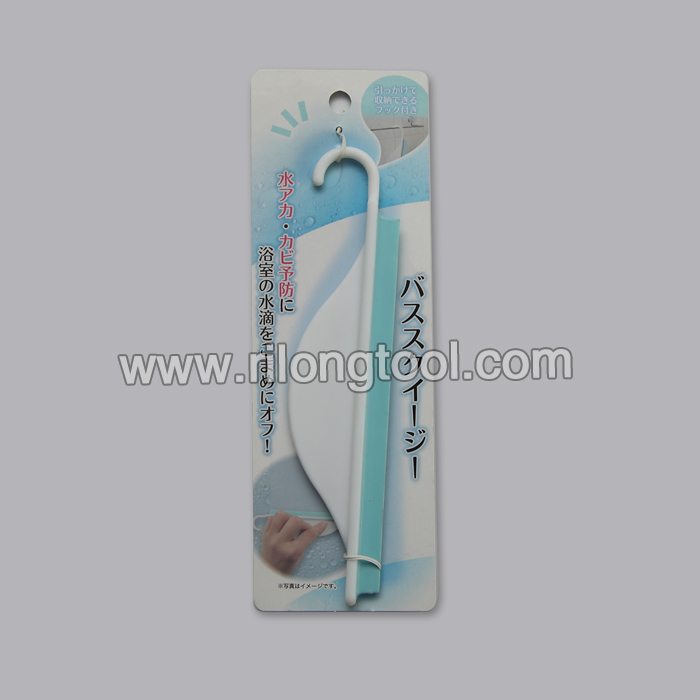
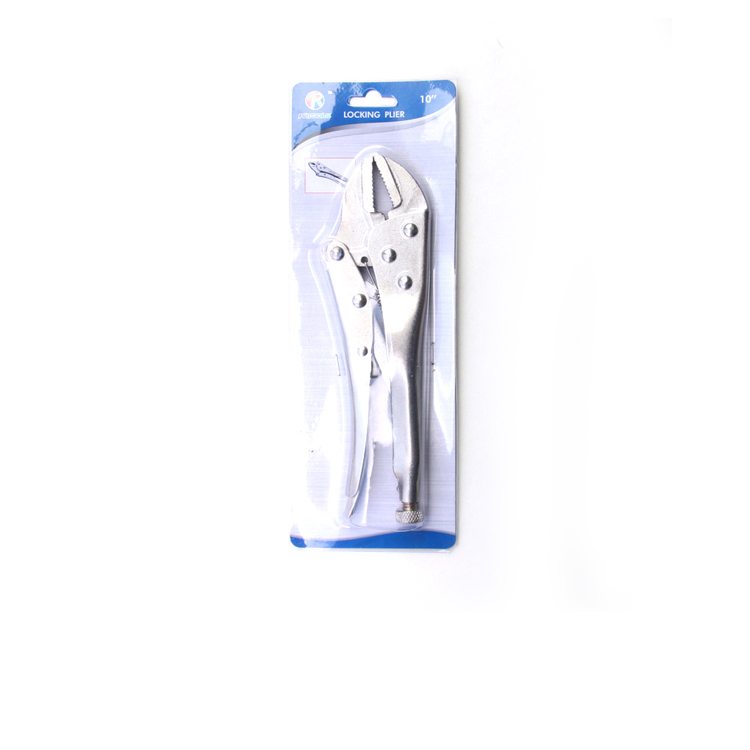
■Package: Plastic Frame
■OEM: Acceptable
■HS Code: 8204110000
■Samples: For FREE
■Delivery Time: Always 30 working days depending on the order quantity
■Packing: By standard cartons
Product Description
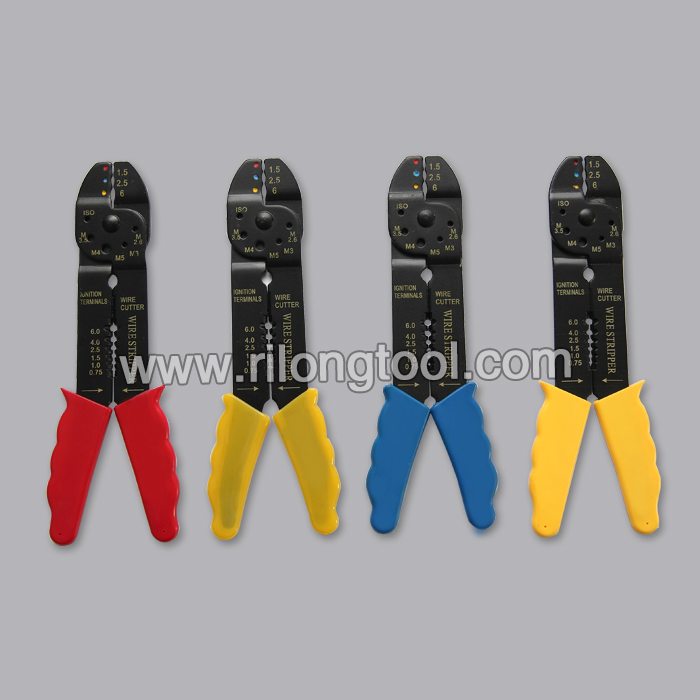
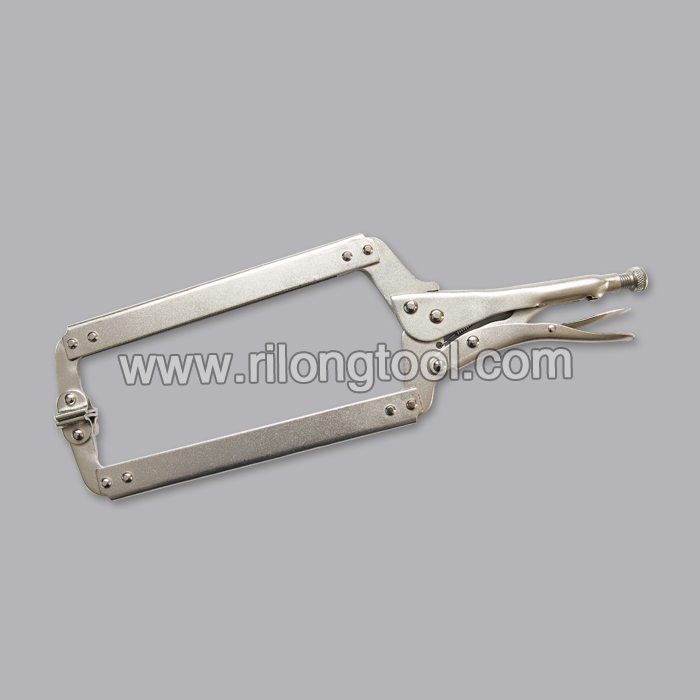
■Ningbo Rilong Hardware Tools Factory can provide various kinds of Hex Key with different sizes and packages.
Product Image
https://elma-shop.com/pliers/171534001.php
PICASSO PS-B005 9 in 1 Multi-Tool Pliers
WATCH IN HD
Jeweller Dave Wilson of https://www.celticdreams.co.uk/
demonstrates the fantastic Tronex bent nose pliers.
Please give me a “like” and subscribe to my channel. Call back soon for lots more great tool videos, reviews and tutorials.
Thanks for watching. Dave Wilson.
https://www.youtube.com/channel/UCAhIjQwyiluRV25AbC-eLfA