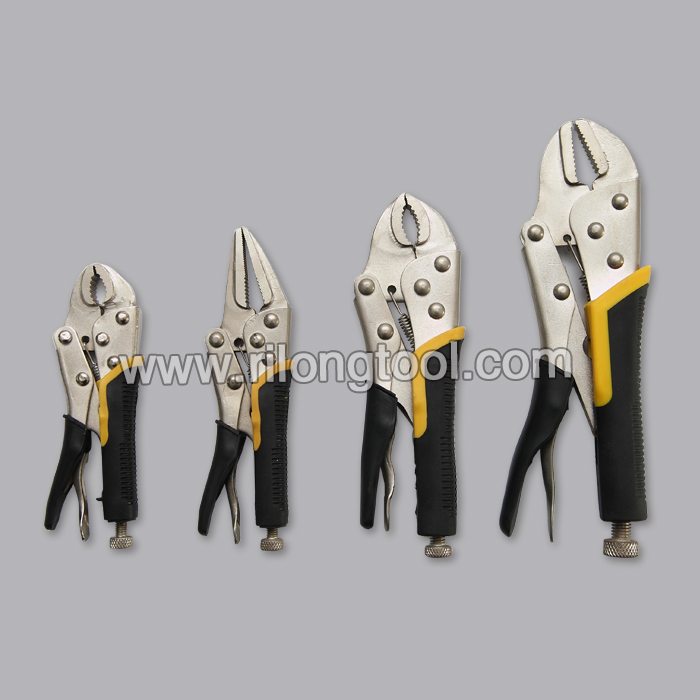
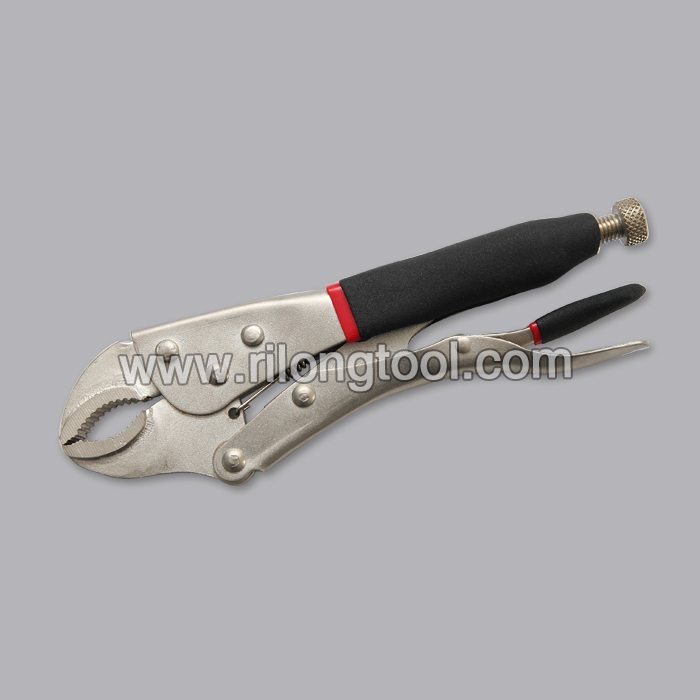
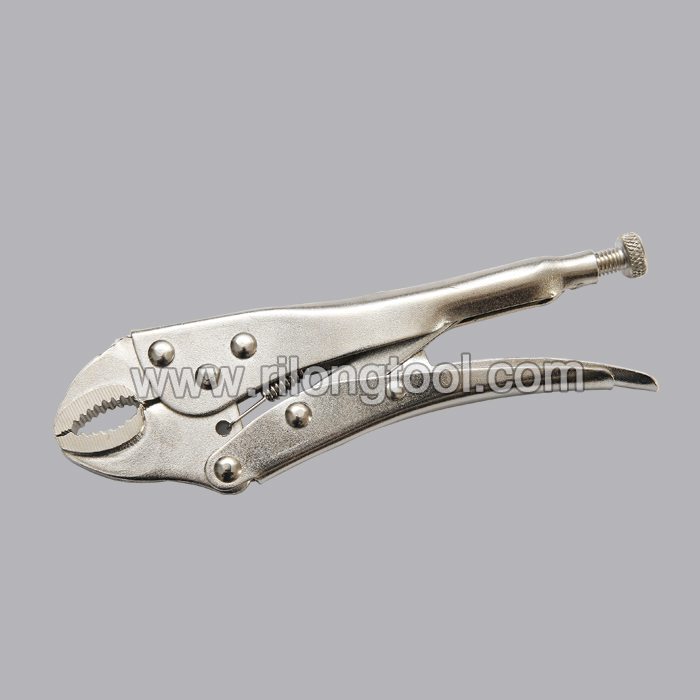
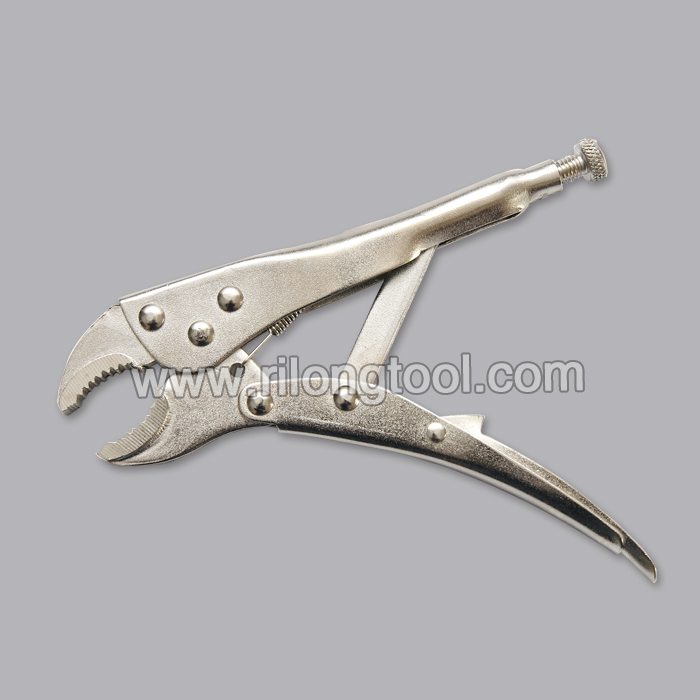
China supplier OEM 7″ Forehand Round-Jaw Locking Pliers Export to St. Petersburg
Short Description:
Product Detail
Product Tags
In the past few years, our company absorbed and digested advanced technologies both at home and abroad. Meanwhile, our company staffs a team of experts devoted to the development of China supplier OEM 7″ Forehand Round-Jaw Locking Pliers Export to St. Petersburg, We, with open arms, invite all interested buyers to visit our website or contact us directly for further information.
Basic Information
■Model Number: RL-DLQ003
Additional Information
■Material: A3# steel (Q235) or 45# steel
■Size: 7”
■Surface Treatment: Nickel-plated, Zinc-plated, Black Oxide, Electrophoresis
■Heat Treatment: Optional
■Package: Blister Card, Suction Card, Tie Card, Double Blister Card
■OEM: Acceptable
■HS Code: 8203200000
■Samples: For FREE
■Delivery Time: Always 30 working days depending on the order quantity
■Packing: By standard cartons
Product Description
■Mainly used for clamping parts to rivet, weld, grind and so on, which is characterized by the powerful clamp force produced by the jaw. It can lock tight so that the parts won’t fetch away. Besides, jaws have a lot of levels to adjust for the use of different thickness of parts, and it also can be used as a wrench.
■Flexible using, long life and good tenacity.
■The screw tuning button can give the best clamp size easily.
Product Image
Irwin 2078306 Vise Grip 6-Inch Diagonal Cutting Plier
Best Price https://az.sb311.com/B000A0S4YO
Irwin 2078306 Vise Grip 6-Inch Diagonal Cutting Plier Details:
~ Induction hardened cutting edge
~ ProTouch Grips
~ Available in 3 sizes: 6″, 7″ & 8″
~ A brand you trust – VISE-GRIP
Get More Reviews and Discount Price Now https://az.sb311.com/B000A0S4YO
Irwin 2078306 Vise Grip 6-Inch Diagonal Cutting Plier Best Price
Irwin 2078306 Vise Grip 6-Inch Diagonal Cutting Plier Best Deal
Irwin 2078306 Vise Grip 6-Inch Diagonal Cutting Plier Discount Price
Irwin 2078306 Vise Grip 6-Inch Diagonal Cutting Plier Promo Code
Irwin 2078306 Vise Grip 6-Inch Diagonal Cutting Plier Reviews
Irwin 2078306 Vise Grip 6-Inch Diagonal Cutting Plier Actual Review
Irwin 2078306 Vise Grip 6-Inch Diagonal Cutting Plier Online Store
This guide shows you How To Work With Locking Pliers.
Watch This and Other Related films here – https://www.videojug.com/film/how-to-use-locking-pliers
Subscribe! https://www.youtube.com/subscription_center?add_user=videojugdiygardening
Check out our channel – https://www.youtube.com/user/videojugdiygardening
Like us on Facebook – https://www.facebook.com/videojug
Follow us on Twitter – https://www.twitter.com/videojug