Best-Selling Wire Strippers & Cable Cutters with double colors handle for Niger Factory
Short Description:
Product Detail
Product Tags
Sticking to the belief of "Creating products of high quality and making friends with people from all over the world", we always put the interest of customers in the first place for Best-Selling Wire Strippers & Cable Cutters with double colors handle for Niger Factory, winning customers' trust is the gold key to our success! If you are interested in our products, please feel free to visit our web site or contact us.
Basic Information
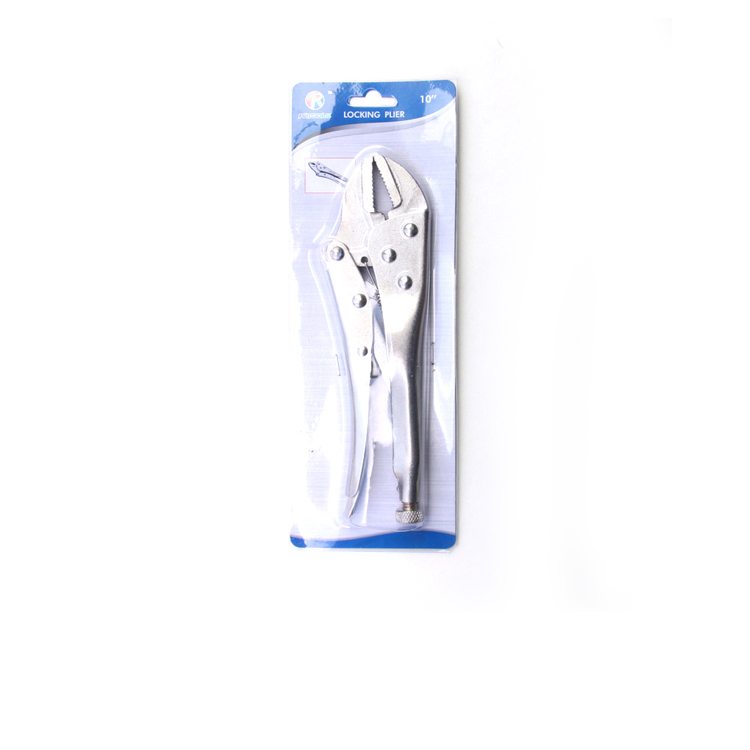
■Model Number: RL-YXQ002
Additional Information
■Material: A3# Steel
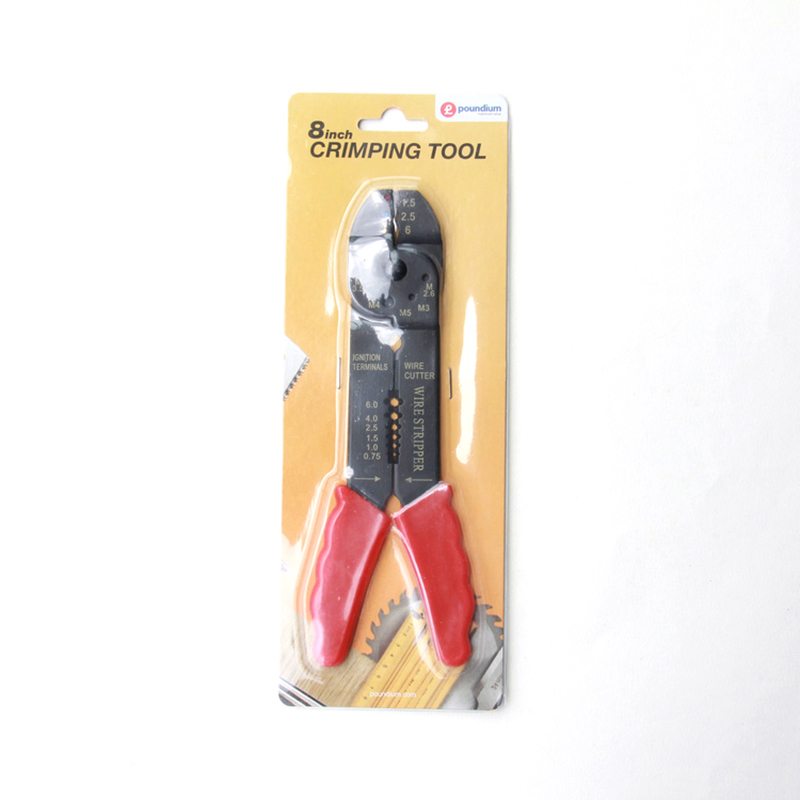
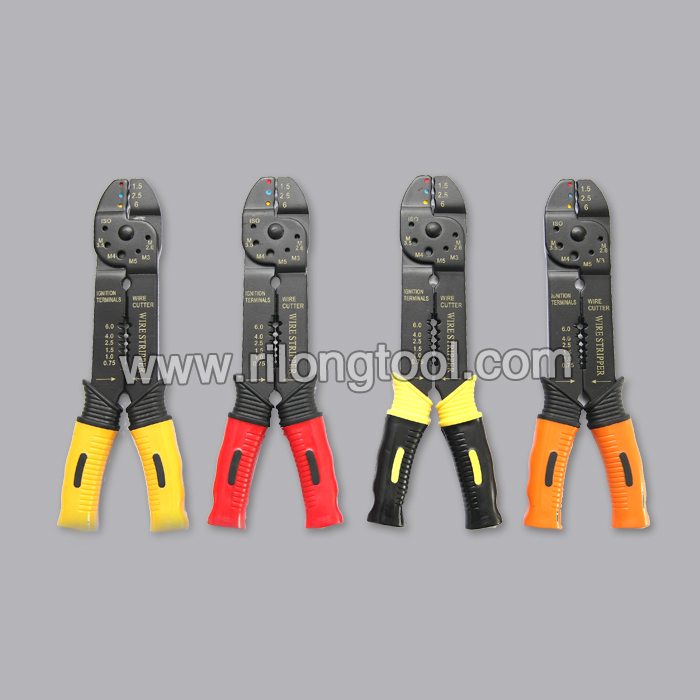
■Size: 8”
■Surface Treatment: Coated
■Handle: PVC
■Color: Optional
■Package: Suction Card, Tie Card, Insert Card
■OEM: Acceptable
■Samples: For FREE
■Delivery Time: Always 30 working days depending on the order quantity
■Packing: By standard cartons
Product Description
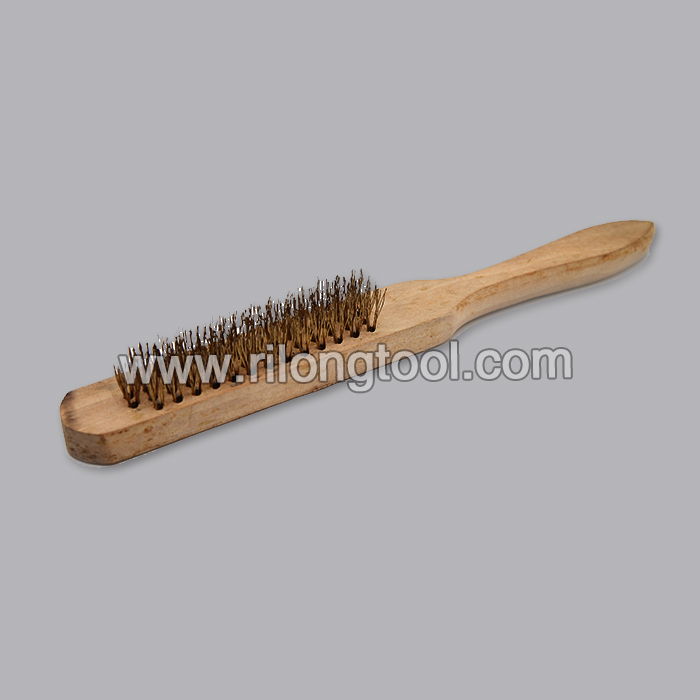
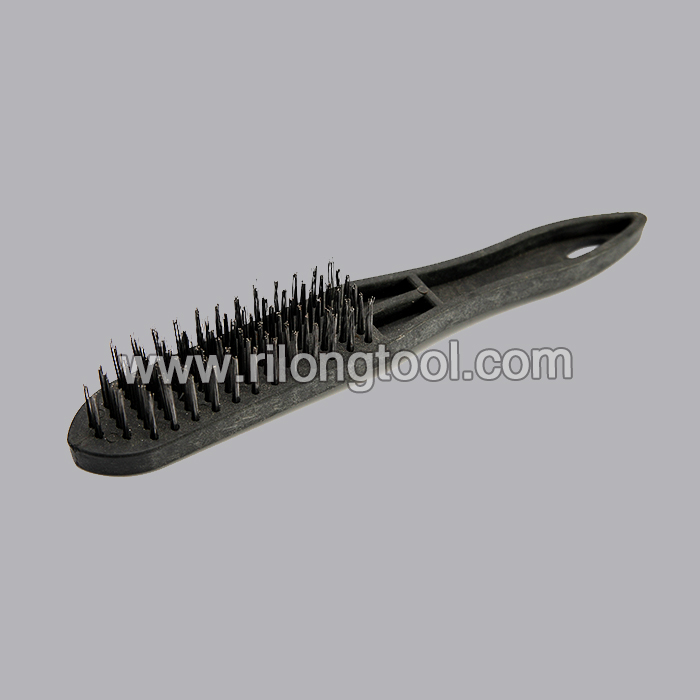
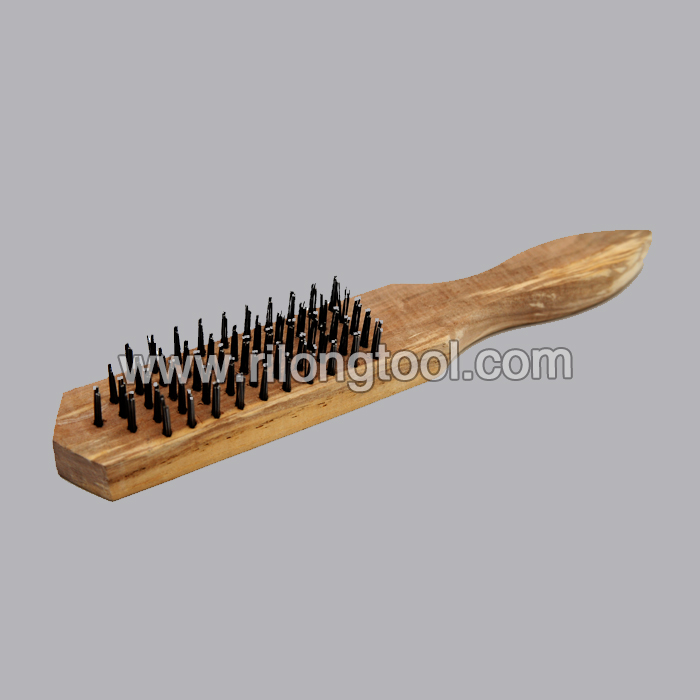
■Ningbo Rilong Hardware Tools Factory, can provide various kinds of hardware tools.
Product Image
Hood Release Stuck? How do you open a stuck hood? If the hood of your car is not opening or the hood cable is going bad, this video is for you! I show you how to open a hood with a broken cable and how to replace the hood cable with some helpful tips and tricks to make the job easy!
Panel Clip Pliers: https://amzn.to/1OEQ85Q
Pry Bar: https://amzn.to/1TwsTAu
Ramps: https://amzn.to/1NCZKDj
How to Restore Junkyard Wheels: https://youtu.be/9WQiqYlpxoY?list=PLDD611CFB36FC65F2
How to Fix Your AC System: https://www.youtube.com/watch?v=pCv7rCdcXsc&index=113&list=PLDD611CFB36FC65F2
How to Fix Parking Sensors: https://www.youtube.com/watch?v=8ECB-Nyx2bo
Become a ChrisFix Subscriber→ https://www.youtube.com/subscription_center?add_user=paintballoo7
Instagram→ https://www.instagram.com/chrisfixit
Facebook→ https://www.facebook.com/chrisfix8
Website → https://www.ChrisFixed.com
My Channel Home Page → https://www.youtube.com/ChrisFix
**If the video was helpful, remember to give it a “thumbs up” and consider subscribing. New videos every Thursday**
Disclaimer:
Due to factors beyond the control of ChrisFix, I cannot guarantee against improper use or unauthorized modifications of this information. ChrisFix assumes no liability for property damage or injury incurred as a result of any of the information contained in this video. Use this information at your own risk. ChrisFix recommends safe practices when working on vehicles and or with tools seen or implied in this video. Due to factors beyond the control of ChrisFix, no information contained in this video shall create any expressed or implied warranty or guarantee of any particular result. Any injury, damage, or loss that may result from improper use of these tools, equipment, or from the information contained in this video is the sole responsibility of the user and not ChrisFix.
KNIPEX Diagonal Cutters easily cut nails and all types of wire with high performance precision. Available with a straight or angled head. 8″ and 10″ versions. High leverage axel design requires 25% less effort. The 12 degree angled head version cuts objects to a near flat finish. A fixed, forged axle rivet joint ensures continuous and smooth operation. Precision matched, induction-hardened cutting edges. Cuts copper, aluminum, nails, piano wire, and ACSR wire. Available in 10 different styles and with 1000V insulated handles. Dual Component Comfort Grip handles are also available.