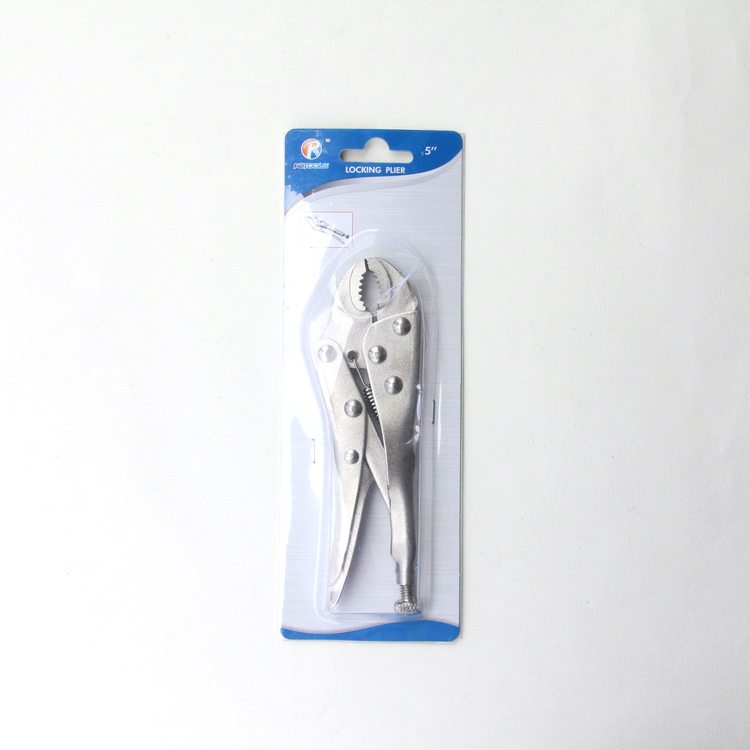
90% OFF Price For 5″ Forehand Round-Jaw Locking Pliers Mozambique Importers
Short Description:
Product Detail
Product Tags
Our personnel are always in the spirit of "continuous improvement and excellence", and with the superior quality products, favorable price and good after-sales services, we try to win every customer's trust for 90% OFF Price For 5″ Forehand Round-Jaw Locking Pliers Mozambique Importers, Welcome to contact us if you are interested in our product, we will give you a surprice for Qulity and Price.
Basic Information
■Model Number: RL-DLQ001A
Additional Information
■Material: A3# steel (Q235)
■Size: 5”
■Surface Treatment: Nickel-plated
■Heat Treatment: Optional
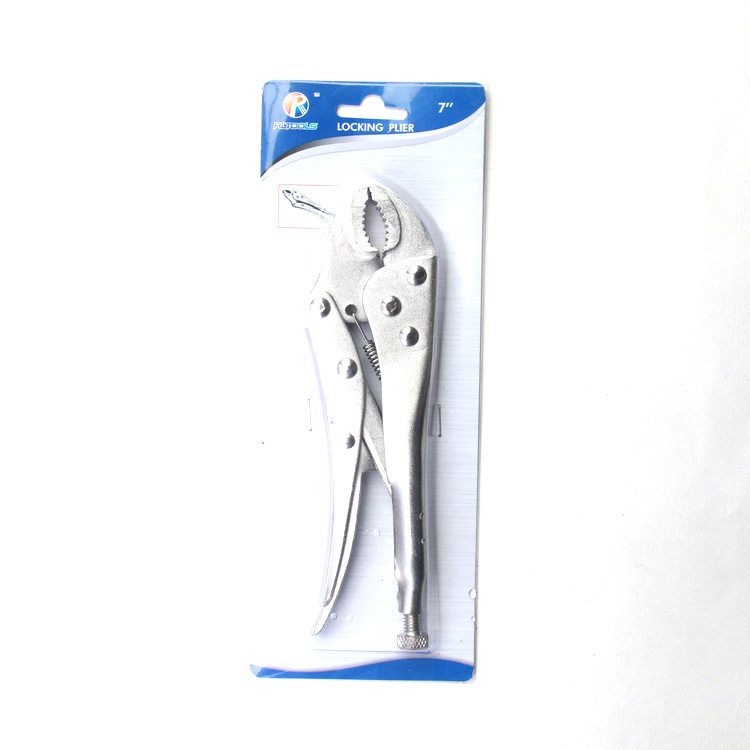
■Package: Suction Card
■OEM: Acceptable
■HS Code: 8203200000
■Samples: For FREE
■Delivery Time: Always 30 working days depending on the order quantity
■Packing: By standard cartons
Product Description
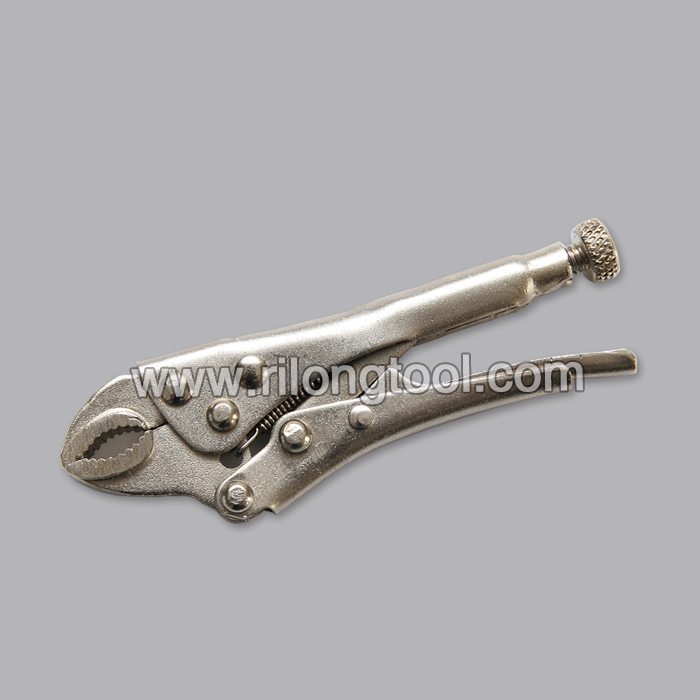
■Mainly used for clamping parts to rivet, weld, grind and so on, which is characterized by the powerful clamp force produced by the jaw. It can lock tight so that the parts won’t fetch away. Besides, jaws have a lot of levels to adjust for the use of different thickness of parts, and it also can be used as a wrench.
■Flexible using, long life and good tenacity.
■The screw tuning button can give the best clamp size easily.
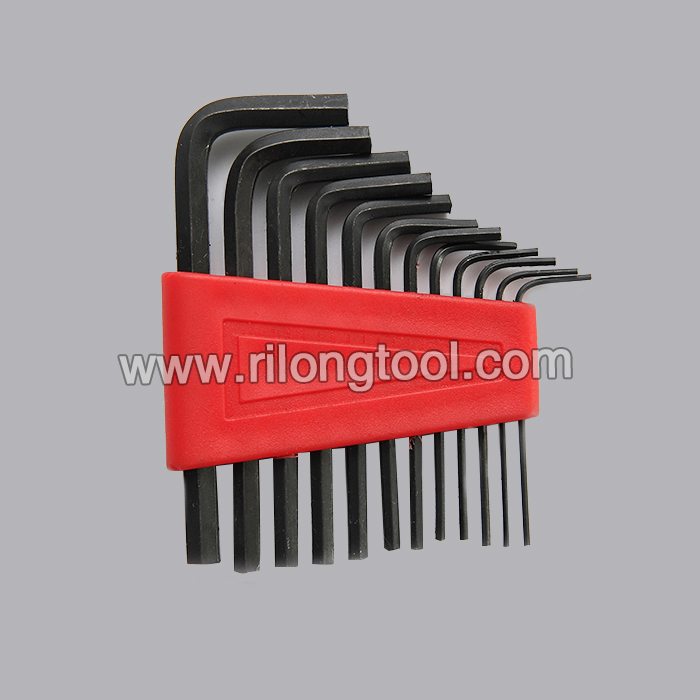
Product Image
I wasn’t going to upload this for multiple reasons, but someone out there will find it useful. It’s better to use real AN wrenches rather than the stuff I’m using in this video because they’re less likely to scratch or mark up the anodized finish on your fittings. Some of the footage is out of focus or frame and I’m not to happy about that, but you can still tell what’s going on and it’s repetitive. But lastly, I wanted to try the brick-splitter method & I’m doing it wrong. Still, I hate that method. I linked to the proper way to use that method… to someone else’s video at the end. I don’t like that method because the edges don’t “just straighten right out”. The rubber lining on the inside usually gets cracked and it seems to stay football-shaped.
Plus, making hoses is snooze material. It’s monkey work. You do it once and you never forget how. The fittings that these things connect to, or the process of installing them on your car where you want to use these hoses is much more challenging, and interesting. Usually requires hunting down bastardized 3/4″ BSP-to-AN and Metric-to-AN fittings or having to weld things. That’s the fun part. Become familiar with Pegasus Auto Racing Supplies for some of that stuff, and the community of DSM tuners developing specialized adapters for others.
www.ongreenperformance.com sells metric-to-8 AN fittings for the ’90 oil filter housing.
Pegasus Auto Racing Supplies sells some BSP fittings, but those things are hard to hunt down. The factory ones are tapered, but nobody sells tapered adapter fitting, they’ll be straight-thread BSP, but they’ll fit. They have a lot of other handy stuff like metric-to-? AN banjo bolts that fit turbine housings.
Summit is where I got all my Russell hose ends, o-rings, cushion clamps, NPT tees, fuel filter, etc… I’m sure I have more than $500 worth of fittings throughout my car. Much more if you count shipping…
1,5,This video shows the repair of the|compressed air system on the new Actros.||
6,9,Operations have to be performed |on both air compressors.||
10,15,Here, the operations are performed on |a freestanding engine for better viewing.||
16,18,First remove the following parts:|||
19,28,resonance head, intake manifold, downpipe,|exhaust manifold, compressor line, …||
29,33,… the two coolant lines (feed and return),|oil line, supply line, …||
34,36,… detach the AdBlue timer |from the compressor.||
37,43,If there is a problem with the horizontal|air compressor, assembly is performed in the|same way as on the vertical air compressor.|
44,47,There are two options for removing|the compressors:||
48,50,Option 1: Both are removed.|||
51,53,In this case, make sure that|the parts do not get mixed up.||
54,58,Option 2: First one compressor is removed |and reinstalled and then the other.||
59,62,With the last variant, |no parts can get mixed up.||
63,66,For this reason, the second and |safer variant is shown here.||
67,73,Start at the cylinder head – in this case|on the vertical compressor.||
74,80,Unscrew the cap from the TDC hole.|||
81,90,The turning device can then |be fitted to the timing case.||
95,100,When turning, make sure that the engine|turns in the correct direction.||
101,108,If the piston is not at the|top dead center position:||
109,115,Turn the turning device until|the piston reaches TDC.||
116,124,Detach the cylinder liner.|||
127,129,Then detach the seal.|||
130,138,Wipe off the grease before|installing the new seal.||
139,146,The cylinder liner and air compressor|piston can now be replaced.||
147,149,New tools are available for|the installation:||
150,168,Piston ring compressor pliers and two piston|ring compressor bands in different sizes.||
171,181,These tools were specially developed |to simplify piston installation.||
182,187,The piston ring compressor band can |easily be held with the new piston ring |compressor pliers.|
188,208,In addition, the compressor band |can be easily adjusted to the piston.||
211,222,Mount the cylinder head.|||
224,226,Fasten the four bolts |on the cylinder head.||
227,236,Tighten the bolts to 20 Nm in the first stage,|and to 40 Nm in the second stage.||
237,240,The horizontal compressor is removed|in the same way as the vertical compressor.||
241,248,Installation is shown next.|||
249,252,The horizontal angle makes|installation more difficult.||
253,264,The cylinder liner also |makes things difficult.||
278,284,Adjust the new seal precisely|to the cylinder liner.||
284,292,Otherwise, the bolts which fix the cylinder |head and cylinder liner to the timing case |will not fit through the holes.|
293,302,First tighten the four bolts on the cylinder |head to 20 Nm and then to 40 Nm |in the second stage.|
303,307,The remaining parts are installed|in reverse order.||
308,312,Finally, remove the turning device|from the timing case.||
313,319,The repair of the compressed air system|is thus complete.||