80% OFF Price For 6.5″ Backhand Long-nose Locking Pliers for Nepal Factories


Short Description:
Product Detail
Product Tags
With the "Client-Oriented" business philosophy, a rigorous quality control system, advanced manufacturing equipment and a strong R&D team, we always provide high quality products, excellent services and competitive prices for 80% OFF Price For 6.5″ Backhand Long-nose Locking Pliers for Nepal Factories, We stick to providing integration solutions for customers and hope to build long-term, stable, sincere and mutual beneficial relationships with customers. We sincerely look forward to your visit.
Basic Information
■Model Number: RL-DLQ008
Additional Information
■Material: A3# steel (Q235) or 45# steel
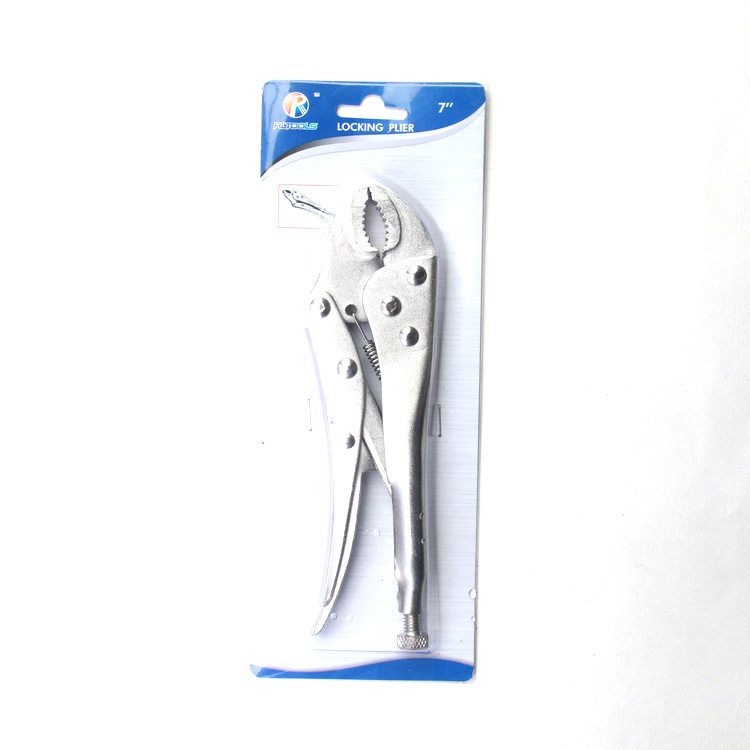
■Size: 6.5”
■Surface Treatment: Nickel-plated, Zinc-plated, Black Oxide, Electrophoresis
■Heat Treatment: Optional
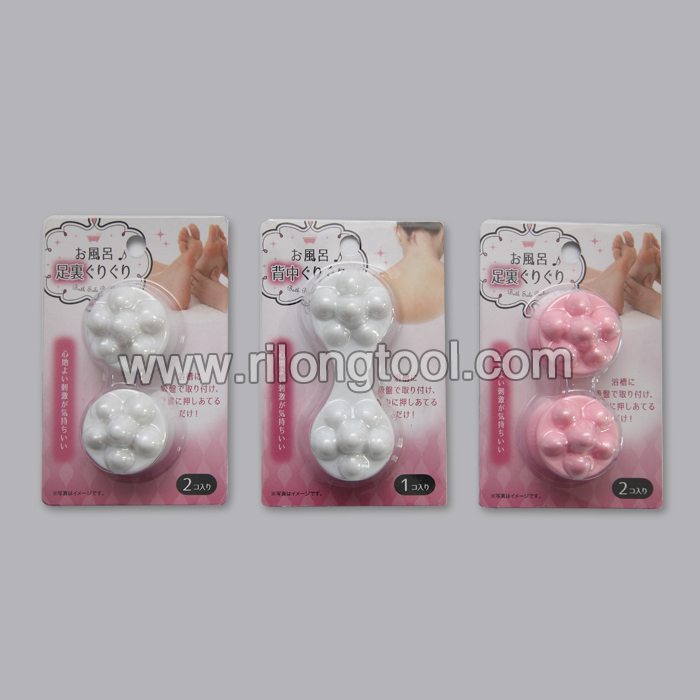
■Package: Blister Card, Suction Card, Tie Card, Double Blister Card
■OEM: Acceptable
■HS Code: 8203200000
■Samples: For FREE
■Delivery Time: Always 30 working days depending on the order quantity
■Packing: By standard cartons
Product Description
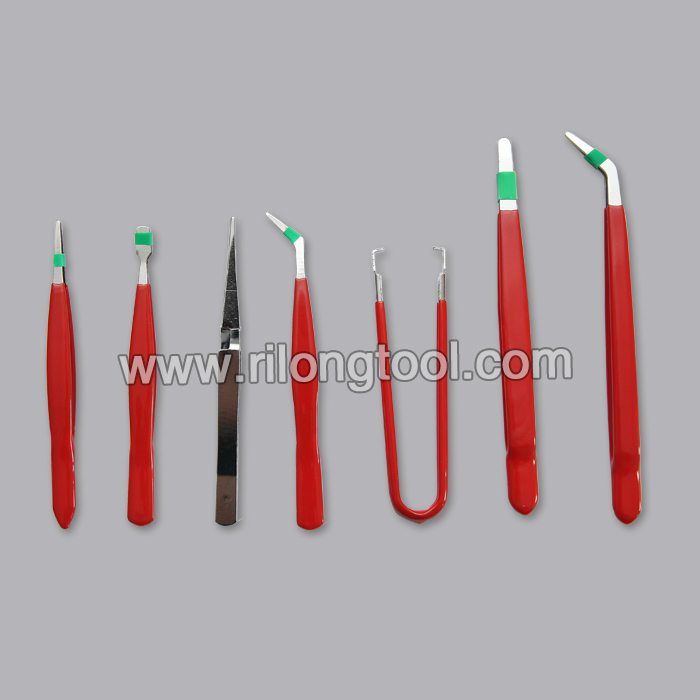
■Mainly used for clamping parts to rivet, weld, grind and so on, which is characterized by the powerful clamp force produced by the jaw. It can lock tight so that the parts won’t fetch away. Besides, jaws have a lot of levels to adjust for the use of different thickness of parts, and it also can be used as a wrench.
■Flexible using, long life and good tenacity.
■The screw tuning button can give the best clamp size easily.
Product Image
This is a tutorial on how to make a parachute cord bracelet with 2 colors.
Please Click Show More
*A Quick Disclaimer: In my area, these bracelets with 2 colors are a very popular craft project for kids to make and wear, and most of the time aren’t made for survival purposes. They are, however, still loosely referred to as a “survival bracelet”. If you want a true survival bracelet, make a single colored bracelet – they are much more useful (because after unraveling a single colored bracelet you’d have one long cord, instead of 2 shorter ones). There are many good single color survival bracelet tutorials on youtube.
**Here are the directions, in case you can’t see them well in the video:
*You will need: a small plastic buckle, lighter, scissors, pliers, and one foot of paracord per inch of the bracelet length.
*(So if you want an 8 inch bracelet, you’ll need 8 feet of paracord. Since we are doing a 2 color bracelet, you’ll need half that amount of each color)
*First, trim all of the white thread that is sticking out
*Melt one end, and flatten it as small as possible with the pliers.
*Next, take the other color and melt it, but don’t flatten it.
*Stick the other color inside it while it’s still melted, and flatten both together with the pliers.
*Melt again if necessary.
*Take one end of the buckle and stick both ends through. Then pull the ends back through the loop, forming a loop around the buckle.
*Put the other ends into the other half of the buckle.
*Slide the buckle up to the length you want the bracelet to be.
*It’s helpful to use another bracelet for reference.
*Turn the bracelet around to start weaving.
*Choose which color will go on top (this color will show more) Make an “L” on top with this color. In this video, this is pink (color 1).
*Put color 2 over color 1, then stick it up through the loop made by color 1.
(Color 1 = pink) (color 2 = black)
*You are basically just tying a knot around the two middle cords.
*Then pull tight.
*Repeat this process until you get to the end of the bracelet.
*Once you get to the end, trim the cords leaving an inch or so.
*Melt and flatten the ends.
*If you want to finish it off the traditional way, melt the ends together and to the back of the bracelet. This may take a few tries!
*If you can’t get it to stay, or if you don’t want to do it this way, use this method:
*Put glue on the ends and clamp them tightly to the back of the bracelet until the glue bonds.
That’s it!
Instagram: https://www.instagram.com/wherethecreativethingsare/
This video shows how I made 4 star wooden knobs. They come in handy for adjusting fences on various woodworking jigs. These knobs are going on a future drill table top with an adjustable fence.
Hope you can gain some assembly procedures that will help you make your knobs.