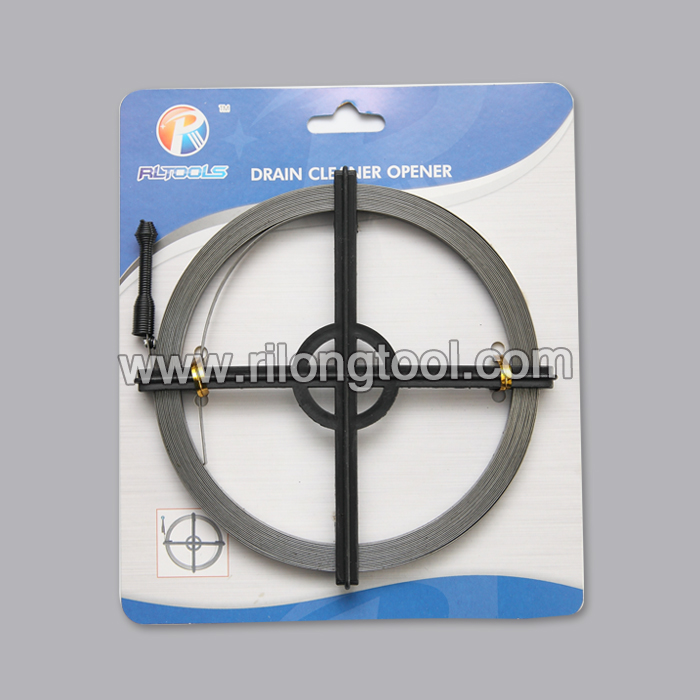
8 Years Factory Metal Drain Cleaner packing by cross for Latvia Factories
Short Description:
Product Detail
Product Tags
Our company since its inception, always regards product quality as enterprise life, continuously improve production technology, improve product quality and continuously strengthen enterprise total quality management, in strict accordance with the national standard ISO 9001:2000 for 8 Years Factory Metal Drain Cleaner packing by cross for Latvia Factories, As we are moving forward, we keep an eye on our ever-expanding product range and make improvement to our services.
Basic Information
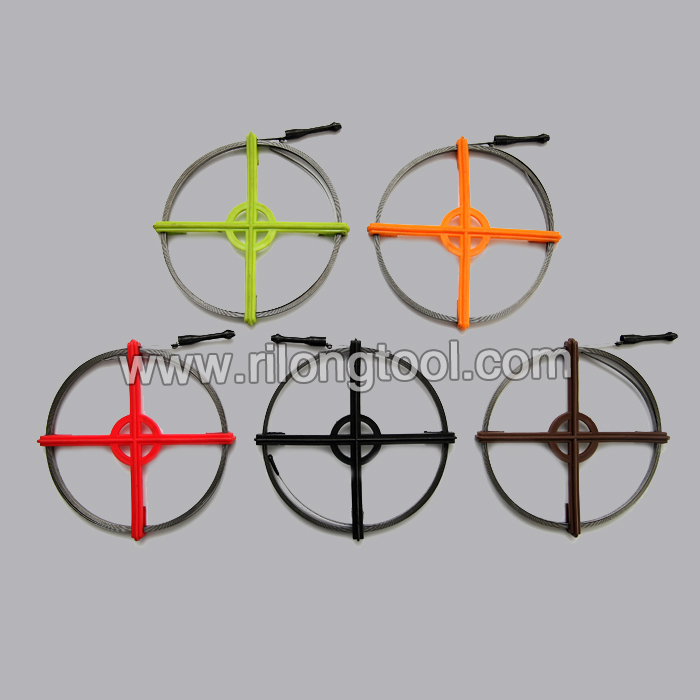
■Model Number: RL-STQ002
Additional Information
■Material: Carbon Steel
■Size: 3-7.5M
■Width: 5-10mm
■Package: Packing by Cross
■OEM: Acceptable
■Samples: For FREE
■Delivery Time: Always 30 working days depending on the order quantity
■Packing: By standard cartons
Product Description
■This drain cleaner can be used in various types and sizes of pipelines of household toilet, squatting pan, water channel and so on.
Product Image
in this tutorial video i will sketch plier in solidworks i hope you will enjoy, there are 3 parts, and assembly at the end of tutorial.
Thanks for watching.
https://www.youtube.com/c/CADCAMTUTORIAL
Watch the full episode: https://www.thisoldhouse.com/toh/tv/ask-toh/video/0,,20965952,00.html
Lighting expert Scott Caron shows a homeowner how to brighten up a dark closet and never have to flip on a light switch. (See below for a shopping list, tools, and steps.)
Shopping List for How to Add Automatic Lighting to a Closet:
- 14-gauge, 2-conductor indoor, non-metallic wire
- T-5 fluorescent light bulbs
- Ball switch
- Motion-activated light switch
- Electrical junction box
- Plastic old-work electrical box
- Low-voltage wiring
- Transformer switch
Tools for How to Add Automatic Lighting to a Closet:
- Wire cutters
- Screwdriver
- Power drill
- Wire connector nuts
- Sliding saw
- Spade bit
Steps for How to Add Automatic Lighting to a Closet:
1. Find an existing power source near the location of your closets and shut off the power.
2. Cut the current power source line with wire cutters.
3. Add in an electrical junction box.
4. Splice new 14-guage wires to the old connection using pliers and wire connecting nuts.
5. Locate space between the studs in the ceiling and drill a hole using the power drill. This will be the location for the switch.
6. Place two pieces of 14-gauge wire down the hole to the closet location behind the drywall—one to power the switch and one to power the fixture.
7. Drill a second hole in the ceiling where you want your light fixture to go.
8. Feed one of the 14-gauge wires through the hole and make the electrical connections to the light fixture using pliers and wire nuts.
9. Cut out a square hole in the closet drywall using a jab saw.
10. Feed both sets of wires through the plastic old-work electrical box, then install the box in the hole by tightening the screws in the box to secure it to the drywall.
11. Splice the wires together with pliers and wire nuts and add in a spare piece of wire to serve as a connection to the switch. Connect the motion-activated light switch to these wires using a screwdriver.
12. If using a ball switch instead of a motion-activated switch, only one power wire can be fed from the power source. A transformer is connected to the light fixture to convert 120 volts to low voltage, then low-voltage wires are fed from the transformer to the ball switch.
13. To install the ball switch in the doorjamb, drill out a hole in the frame of the closet door using a power drill and a spade bit. Insert the ball switch and low voltage wiring through the framing. You’ll likely have to take off the trim and nail it back on.
Find the TV schedule for air times in your area: https://www.thisoldhouse.com/toh/info/0,,20058777,00.html
Click here to SUBSCRIBE to the official This Old House YouTube channel: https://www.youtube.com/subscription_center?add_user=thisoldhouse
Follow This Old House and Ask This Old House:
Facebook: https://www.facebook.com/ThisOldHouse
Twitter: https://twitter.com/thisoldhouse
https://twitter.com/asktoh
Pinterest: https://www.pinterest.com/thisoldhouse/
G+: https://plus.google.com/+thisoldhouse/posts
Instagram: https://instagram.com/thisoldhouse
Tumblr: https://thisoldhouse.tumblr.com/
15 Have a licensed electrician make the final wire connections in the garage and at the main electrical panel.