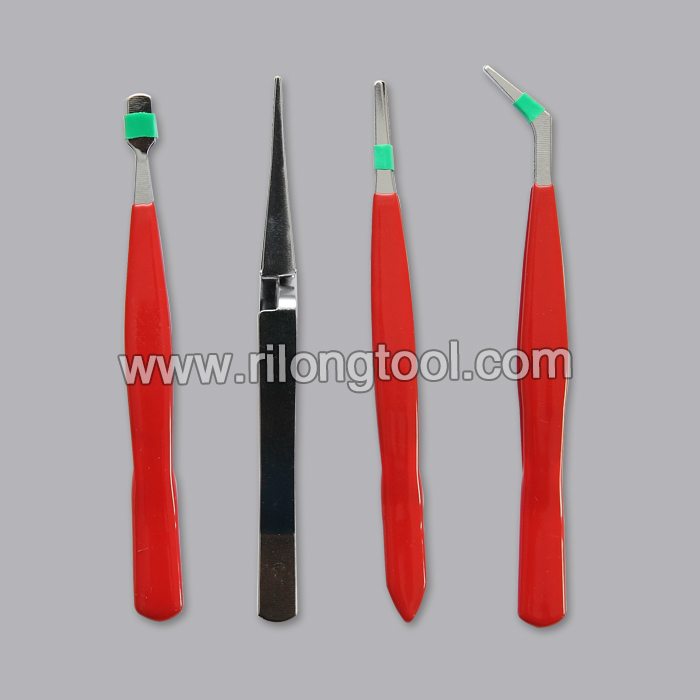
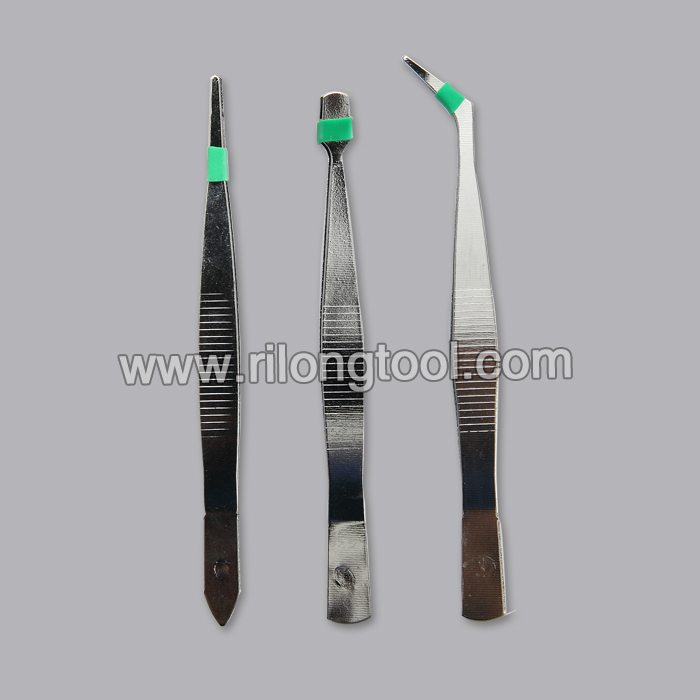
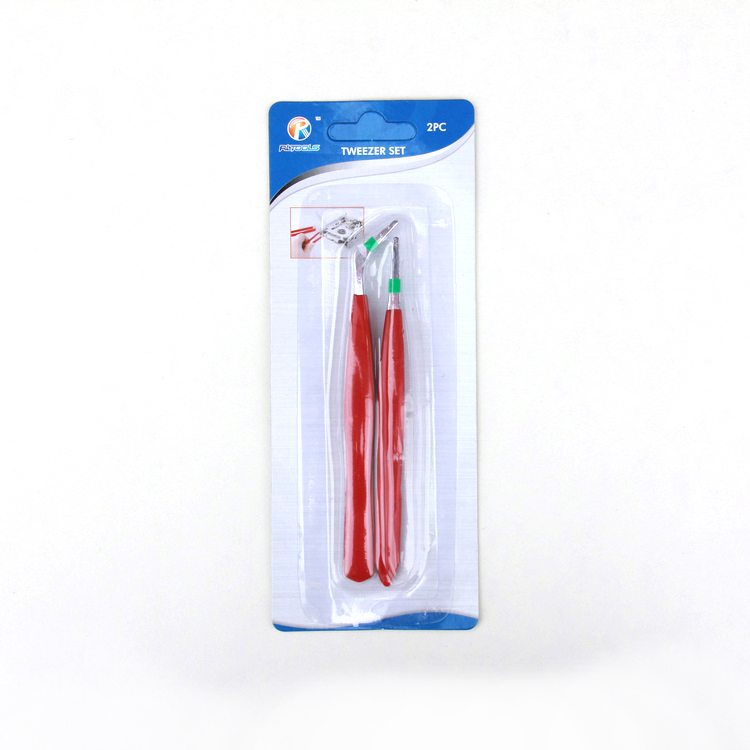
70% OFF Price For 2-PCS Anti-static Tweezer Sets Kuala Lumpur Manufacturers
Short Description:
Product Detail
Product Tags
Our primary goal is to offer our clients a serious and responsible business relationship, providing personalized attention to all of them for 70% OFF Price For 2-PCS Anti-static Tweezer Sets Kuala Lumpur Manufacturers, For further information, please do not hesitate to contact us. All inquiries from you will be highly appreciated.
Basic Information
■Model Number: RL-NZ001B
Additional Information
■Material: Q195 Cold-rolled Steel
■Thickness: 0.8mm, 1.0mm, 1.2mm
■Surface Treatment: Chrome Plated
■Finish: Polished
■Package: Suction Card
■OEM: Acceptable
■HS Code: 8203200000
■Samples: For FREE
■Delivery Time: Always 30 working days depending on the order quantity
■Packing: By standard cartons
Attention
■Do not heat it.
■Do not take acid drugs with it.
■Keep it clean after using it.
Product Image
I’ve posted steps on how I made each one on my blog here: https://wilkerdos.blogspot.com/2014/03/diy-storage-for-hand-tools.html
I was tired of having to root around in tool boxes any time I needed a hand tool, so I spent a little bit of time making a french cleat system for them. While I was at it, I also made a holder for my paddle bits.
Here’s what you’ll need!
Project credit: https://www.instructables.com/id/The-Pocket-Grill/?ALLSTEPS
Materials:
¾ x 12 inch copper pipe
⅝ x 12 inch copper pipe
3/32 inch metal drill bit
Table vise
11 bike spokes
Pliers
¾-inch copper caps
Instructions:
1. On a ¾ x 12 inch copper pipe and ⅝ x 12 inch copper pipe, measure out and mark 11 1-inch markers.
2. Carefully secure your pipe in vise. Using a 3/32 inch metal drill bit, drill through one side of your copper pipe. Do not drill all the way through.
3. On the 1st and last holes of your ¾ x 12 inch copper pipe, rotate the copper pipe 180º toward the other side of your copper pipe.
4. Using your 3/32 inch metal drill bit drill through the 1st and last holes to create a 2nd hole 180º away from the 1st and last holes.
5. Using pliers, carefully cut off the head of 11 bike spokes. The head of the bike spoke is the part that looks like a bent nail.
6. Carefully bend the bike spoke head 90º.
7. Set 2 bike spokes aside. On your remaining 9 bike spokes, carefully cut off the threaded end of the bike spoke.
8. Take your ⅝ x 12 inch copper pipe and place the 90º bend in the holes of your copper pipe. Skip the 1st and the last holes.
9. Take the 2 bike spokes with intact threaded ends and place them in the 1st and last holes of your ⅝ x 12 inch copper pipe.
10. Take your ¾ x 12 inch copper pipe and align it with your bike spokes. Insert the ends of your bike spokes through the holes on your ¾ x 12 inch copper pipe.
11. The 1st and last bike spoke, with intact thread ends should go completely through the ¾ x 12 inch copper pipe. Use 2 bike spoke ends to cap the 1st and last bike spoke. The ends will hold your grill together.
12. Add two 3/4 inch copper caps to the ends of your ¾-inch copper pipe.
13. To store your grill, disassemble the parts. Place the ⅝ x 12 inch copper pipe inside the 3/4 x 12 inch copper pipe. Place the bike spokes and ends inside the ⅝ x 12 inch copper pipe and cap with the ¾-inch copper caps.
MUSIC
Full Of Warmth
Licensed via Warner Chappell Production Music Inc.
Made by BFMP www.buzzfeed.com/videoteam
+
Project credit: https://www.instructables.com/id/The-Pocket-Grill/?ALLSTEPS