26 Years Factory Metal Drain Cleaner for pipelines for Slovakia Importers
Short Description:
Product Detail
Product Tags
We depend on sturdy technical force and continually create sophisticated technologies to meet the demand of 26 Years Factory Metal Drain Cleaner for pipelines for Slovakia Importers, we have built a reliable reputation among many customers. Quality&customer first are always our constant pursuit. We spare no efforts to make better products. Look forward to long-term cooperation and mutual benefits!
Basic Information
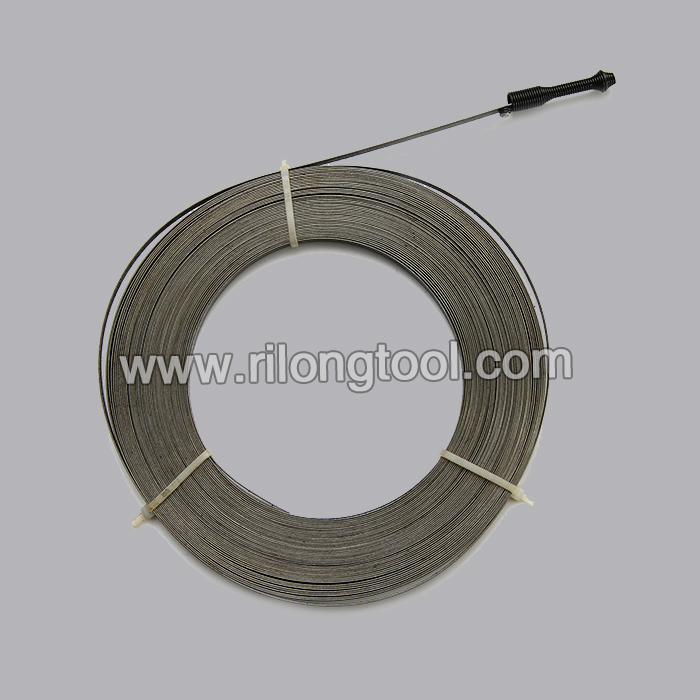
■Model Number: RL-STQ001
Additional Information
■Material: Carbon Steel
■Size: 3-20M
■Width: 5-10mm
■Package: Packing by Ribbon
■OEM: Acceptable
■Samples: For FREE
■Delivery Time: Always 30 working days depending on the order quantity
■Packing: By standard cartons
Product Description
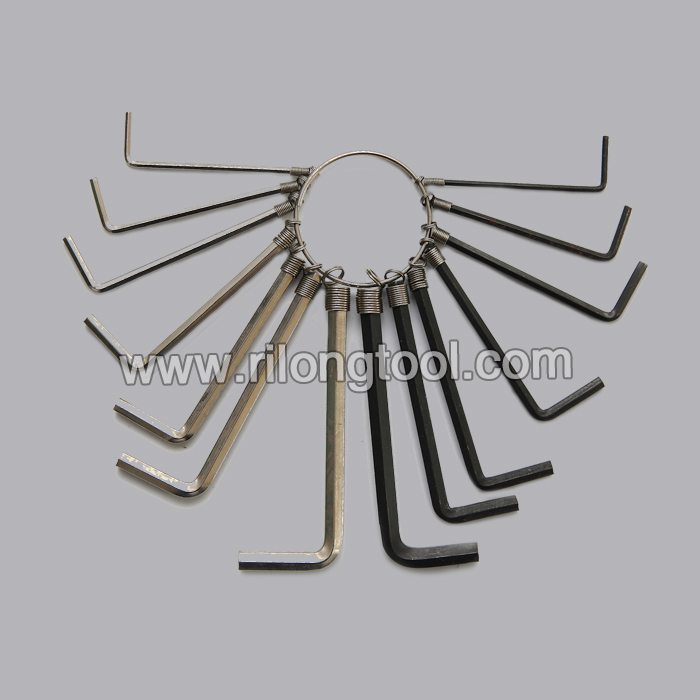
■This drain cleaner can be used in various types and sizes of pipelines of household toilet, squatting pan, water channel and so on.
Product Image
Watch the full episode: https://www.youtube.com/watch?v=qBO2pcJuHvA
This Old House plumbing and heating expert Richard Trethewey heads to Cheyenne, Wyoming, to help a homeowner install a new toilet.
Click here to SUBSCRIBE to the official This Old House YouTube channel: https://www.youtube.com/subscription_center?add_user=thisoldhouse
Shopping List for Installing a New Toilet:
- Two-piece toilet
- Toilet seat
- Wax toilet ring
- Shutoff valve
- Stainless-steel water-supply line
- Emery cloth, used to clean copper pipe
- Shallow pan or small bucket, for catching water spills
- Cloth rag, for plugging the drainpipe
- Closet flange with closet bolts, used to secure the toilet to the drainpipe
- PVC drainpipe and fittings
- PVC primer and cement, used to glue the PVC drainpipe and fittings
- Masonry screws, for screwing the flange to a tile floor
Tools List for Installing a New Toilet:
- Drill/driver
- Screwdriver
- Internal pipe cutter, used to cut PVC drainpipe
- Hammer and cold chisel, for chipping off thinset mortar
- Tubing cutter, used to cut copper pipe
- Two adjustable wrenches, for tightening the compression fitting
- Pliers, used to tighten threaded fittings
- Wrench, for tightening the nuts on the toilet-tank bolts
- Carbide-tipped masonry bit, for drilling through tile
- Mini hacksaw, used to trim the closet bolts
Steps for Installing a New Toilet:
1. Turn off the water at the meter.
2. Open all faucets on the upper level of the house, then open the tub or shower valve in the bathroom where you’re installing the toilet.
3. Use emery cloth to buff clean the copper pipe stub-out protruding from the wall.
4. Put a shallow pan or a small bucket under the pipe stub-out to catch any water.
5. Use a tubing cutter to cut the pipe stub-out to the proper length.
6. Slip a new shutoff valve onto the pipe stub-out, then tighten the compression fitting with two adjustable wrenches.
7. Close all the faucets and valves opened in Step 2.
8. Turn the water back on at the meter.
9. Temporarily plug the toilet’s PVC drainpipe with a rag to block out sewer gases.
10. Trim the PVC drainpipe to the proper height using a drill/driver fitted with an internal pipe cutter.
11. Use a hammer and a cold chisel to chip away any excess thinset mortar from around drainpipe.
12. Glue a new closet flange onto the drainpipe with PVC primer and cement, then insert two closet bolts into the slots in the flange.
13. Drill through the mounting holes in the flange and into the ceramic tile with a carbide-tip masonry bit.
14. Secure the flange to the floor with masonry screws.
15. Bolt the toilet tank to the toilet bowl, making sure to install the included rubber gasket between the two parts.
16. Attach the toilet seat to the toilet bowl with the two included plastic bolts.
17. Press a wax toilet ring onto the closet flange, then remove the rag from the drainpipe.
18. Set the toilet over the closet bolts protruding from the flange. Press down on the toilet to compress the wax ring.
19. Place the washers and nuts onto each closet bolt and alternately tighten each nut with a wrench. Do not overtighten the nuts.
20. Use a mini hacksaw to trim each bolt.
21. Snap the included plastic cap onto each closet bolt.
22. Tighten one end of a stainless-steel water-supply line to the shutoff valve. Connect the other end to the fitting on the underside of the toilet tank.
23. Open the shutoff valve to fill the toilet tank with water.
24. Put the lid on the tank, then flush the toilet to check your work.
Follow This Old House and Ask This Old House:
Facebook: https://www.facebook.com/ThisOldHouse
Twitter: https://twitter.com/thisoldhouse
https://twitter.com/asktoh
Pinterest: https://www.pinterest.com/thisoldhouse/
G+: https://plus.google.com/+thisoldhouse/posts
Instagram: https://instagram.com/thisoldhouse
Tumblr: https://thisoldhouse.tumblr.com/
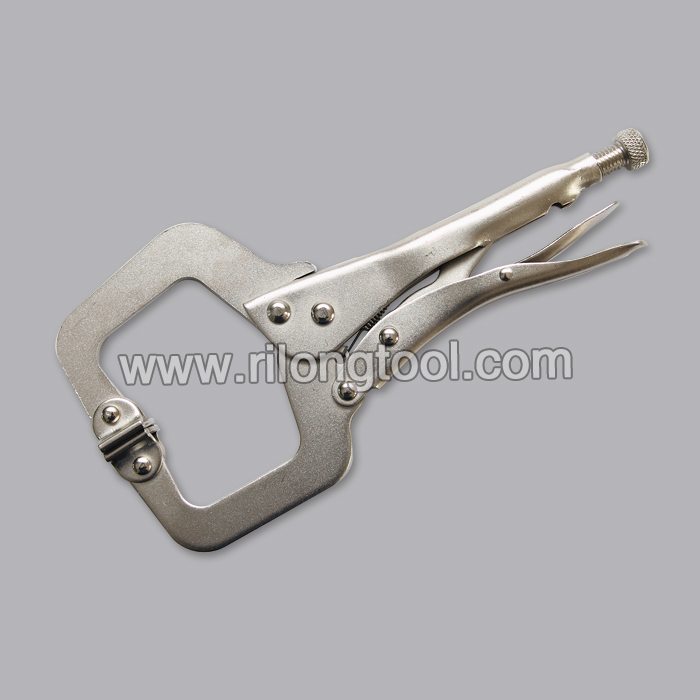
How to 1 man installation of tongue and groove Knotty Pine Bead board on cathedral ceiling, Using Nail gun, Home made scaffolding, vise grip welding clamp and a 1×5 wood board as an extra set of hands.