26 Years Factory 6.5″ Forehand Long-nose Locking Pliers Mexico Manufacturer

26 Years Factory
 6.5″ Forehand Long-nose Locking Pliers Mexico Manufacturer

Short Description:


Product Detail

Product Tags

we can offer high quality products, competitive price and best customer service. Our destination is "You come here with difficulty and we give you a smile to take away" for 26 Years Factory 6.5″ Forehand Long-nose Locking Pliers Mexico Manufacturer, We cordially welcome customers from at home and abroad to join us and cooperate with us to enjoy a better future.


Basic  Information


■Model Number: RL-DLQ007

Additional Information


■Material: A3# steel (Q235) or 45# steel

■Size: 6.5”

■Surface Treatment: Nickel-plated, Zinc-plated, Black Oxide, Electrophoresis

■Heat Treatment: Optional

■Package: Blister Card, Suction Card, Tie Card, Double Blister Card

■OEM: Acceptable

■HS Code: 8203200000

■Samples: For FREE

■Delivery Time: Always 30 working days depending on the order quantity

■Packing: By standard cartons

Product Description


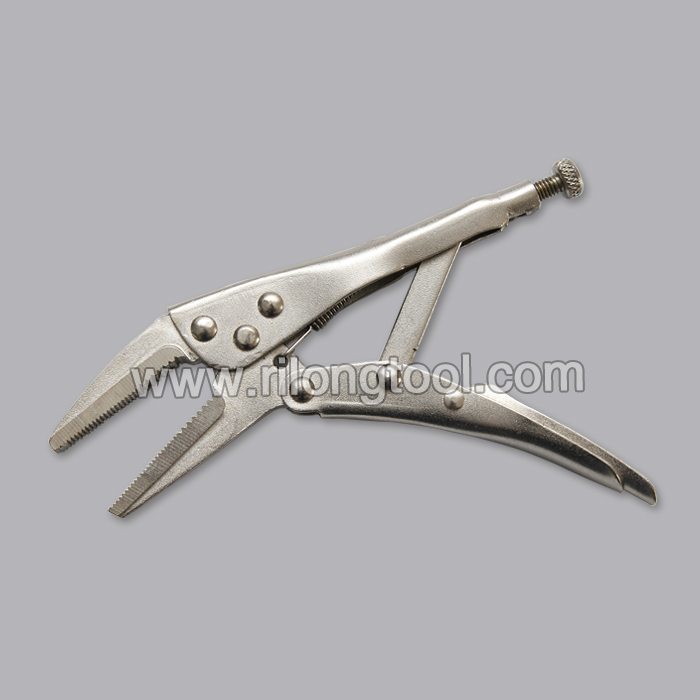
■Mainly used for clamping parts to rivet, weld, grind and so on, which is characterized by the powerful clamp force produced by the jaw. It can lock tight so that the parts won’t fetch away. Besides, jaws have a lot of levels to adjust for the use of different thickness of parts, and it also can be used as a wrench.

■Flexible using, long life and good tenacity.

■The screw tuning button can give the best clamp size easily.
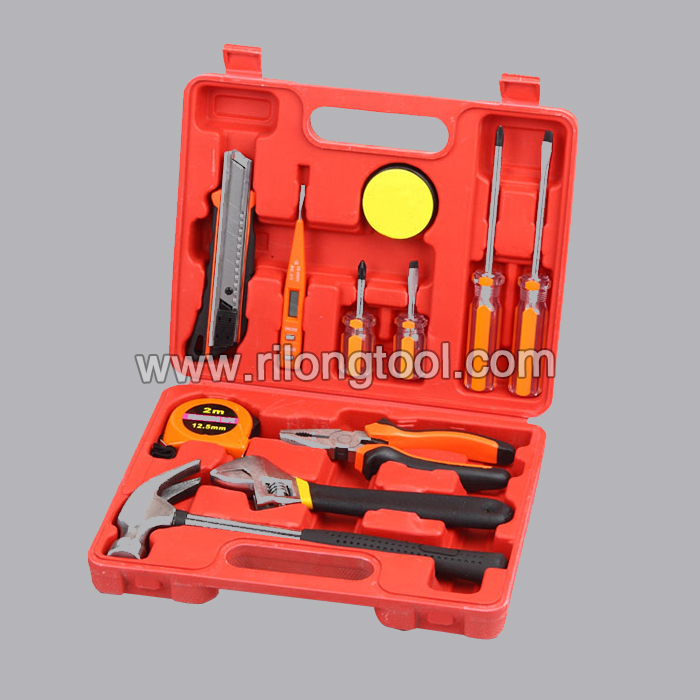
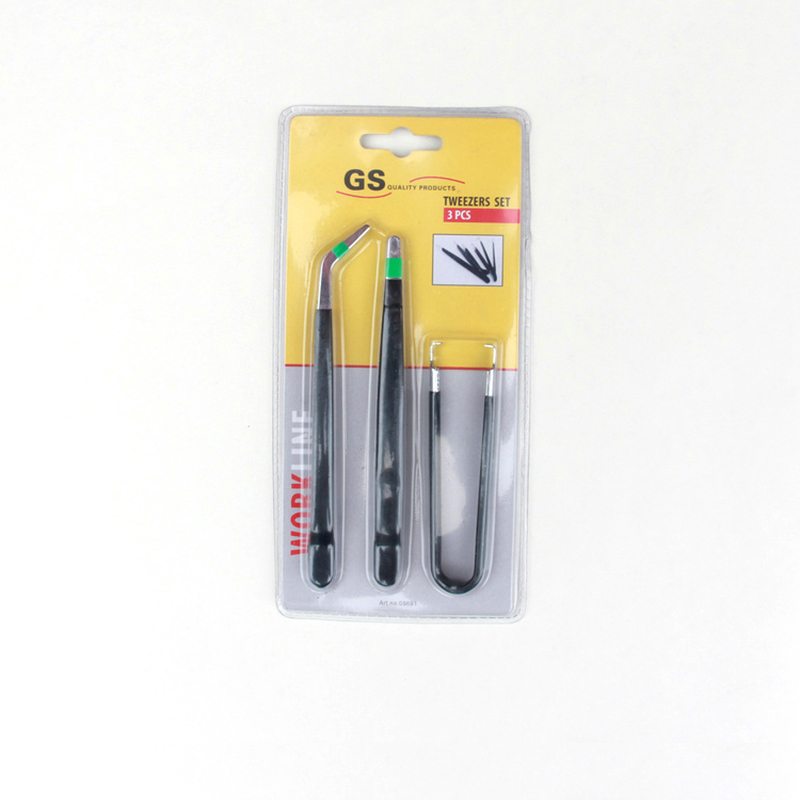
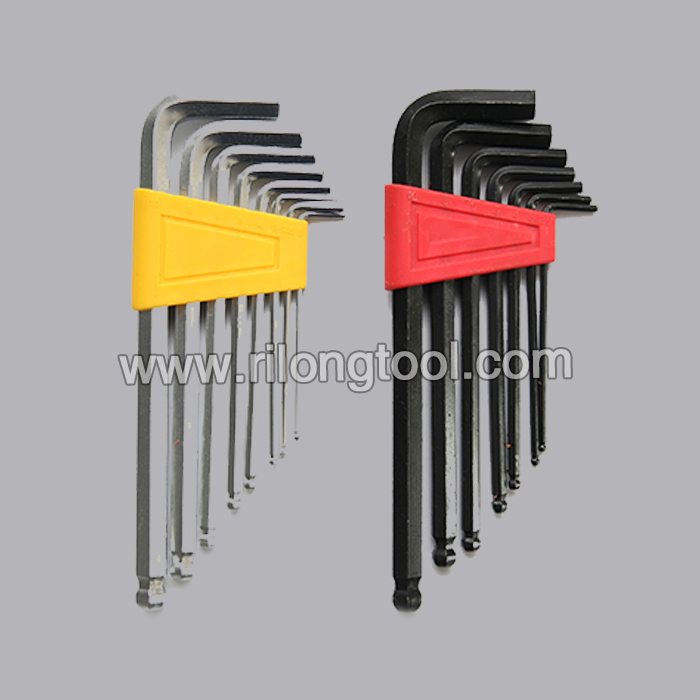
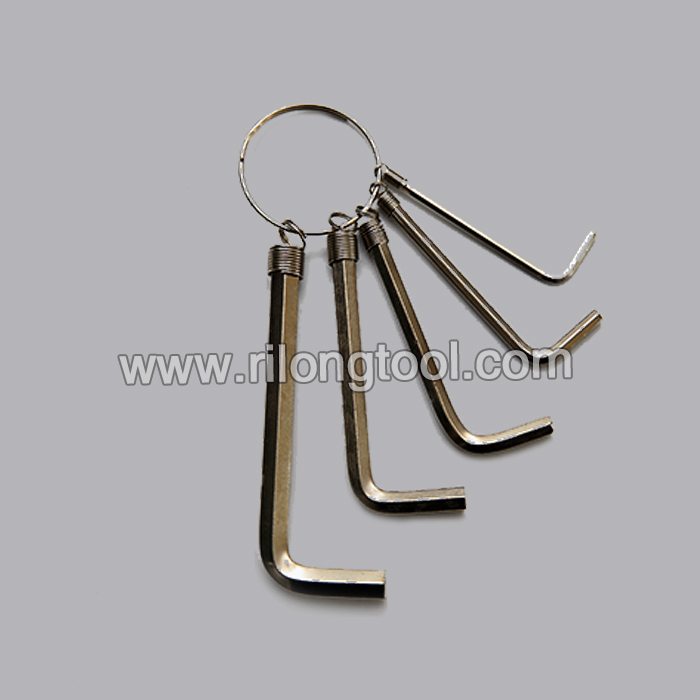
Product Image

  • Previous:
  • Next:


  • Hey everyone, today I’m going to show you how to regrease the shifter assembly in a honda S2000. Over time the grease lubricating your shifter assembly will dry out and lead to a notchy shifting feel. Luckily, you can fix this in under an hour for less than 15$. Let’s get to it.

    Difficulty: Easy
    Estimated time: 1 hour

    Tools necessary:
    - 10mm socket/ratchet w/extension
    - 14mm wrench
    - Flat Head screwdriver
    - Super Hi Temp Urea Grease – https://amzn.to/2tzzd3T
    - Rags/Paper Towel
    - Needle nose pliers (optional) – https://amzn.to/2tDKlhi

    Steps
    1. The first thing you want to do is remove your shift knob. Use a 14mm wrench to remove the lock nut and then screw the shift knob loose…
    2. Now you want to remove the center console. Carefully pry the edges of the center console away from the transmission tunnel and it should come right off. Once it is free disconnect the two wiring harnesses from underneath the center console. Pull up the e-brake and lift the center console away.
    3. Carefully remove the plastic ring holding the rubber shift boot in place by prying each tab away with a flat head screwdriver. Each tab is indicated on the ring with a triangle. Finally pull the rubber shift boot out.
    4. Now you can unbolt the shifter assembly. Use some needle nose pliers to pry away the rubber shield and then use a 10mm socket to remove the 3 bolts holding the shifter in place. With the bolts removed you can lift the shifter assembly out of place. You’ll also want to remove the spring it sits on as well. On my 140,000 mile CR you’ll notice most of the grease has dried up.
    5. Use a rag or a paper towel to wipe up any old grease on the shifter assembly and the shifter linkage. Once it is all clean inspect the pivot ball on the shifter assembly for any cracks and replace it if necessary. Once everything s cleaned up, liberally coat the shifter assembly and shifter linkage with high temp urea grease.
    If your center console and leather is as gross as mine you might want to take this opportunity to spruce it up with some leather cleaner and condition.
    6. Now you have to reinstall everything. Replace the spring and lower the shifter assembly into the shifter linkage. The shifter assembly will only fit one way so if you’re having trouble fitting it, rotate it 180 degrees. Here is the tricky part… While holding the shifter assembly down against the spring you have to install the 3 bolts that hold the shifter in place using a 10mm socket. Thread one bolt to keep the shifter from popping out and then move onto the other two bolts. Torque them to 8.7 lb-ft. Once they are fastened replace the rubber shield.
    7. Reinstall the rubber shift boot, pop the plastic ring back into place, and reinstall the foam insulation.
    8. Reconnect the two wiring harnesses underneath the center console and pop the center console back into place.
    9. Lastly, screw the shift knob tight and fasten the lock nut with a 14mm wrench.


    Irwin Tools 1402L3 6LN Original Long Nose Locking Pliers, 6-Inch
    Best Price https://az.sb311.com/B00004YO5N

    Irwin Tools 1402L3 6LN Original Long Nose Locking Pliers, 6-Inch Details:

    ~ 6″ with a jaw adjustment up to 2 1/4″
    ~ Curved jaws, knurled tips and wire cutter
    ~ Lock on instantly and release quickly
    ~ Adjust to plier action
    ~ Long nose plier

    Get More Reviews and Discount Price Now https://az.sb311.com/B00004YO5N

    Irwin Tools 1402L3 6LN Original Long Nose Locking Pliers, 6-Inch Best Price
    Irwin Tools 1402L3 6LN Original Long Nose Locking Pliers, 6-Inch Best Deal
    Irwin Tools 1402L3 6LN Original Long Nose Locking Pliers, 6-Inch Discount Price
    Irwin Tools 1402L3 6LN Original Long Nose Locking Pliers, 6-Inch Promo Code
    Irwin Tools 1402L3 6LN Original Long Nose Locking Pliers, 6-Inch Reviews
    Irwin Tools 1402L3 6LN Original Long Nose Locking Pliers, 6-Inch Actual Review
    Irwin Tools 1402L3 6LN Original Long Nose Locking Pliers, 6-Inch Online Store

    Send your message to us:

    INQUIRY NOW
    • [cf7ic]

    Related Products

    INQUIRY NOW
    • [cf7ic]
    INQUIRY NOW
    • [cf7ic]
    WhatsApp Online Chat !
    Close