24 Years Factory 9-PCS Double Star-type Hex Key Sets packaged by folded plastic frame Supply to Algeria

24 Years Factory
 9-PCS Double Star-type Hex Key Sets packaged by folded plastic frame Supply to Algeria

Short Description:


Product Detail

Product Tags

Our target is to consolidate and improve the quality and service of existing products, meanwhile constantly develop new products to meet different customers' demands for 24 Years Factory 9-PCS Double Star-type Hex Key Sets packaged by folded plastic frame Supply to Algeria, items won certifications with the regional and international primary authorities .For far more detailed information,please contact us!


Basic  Information


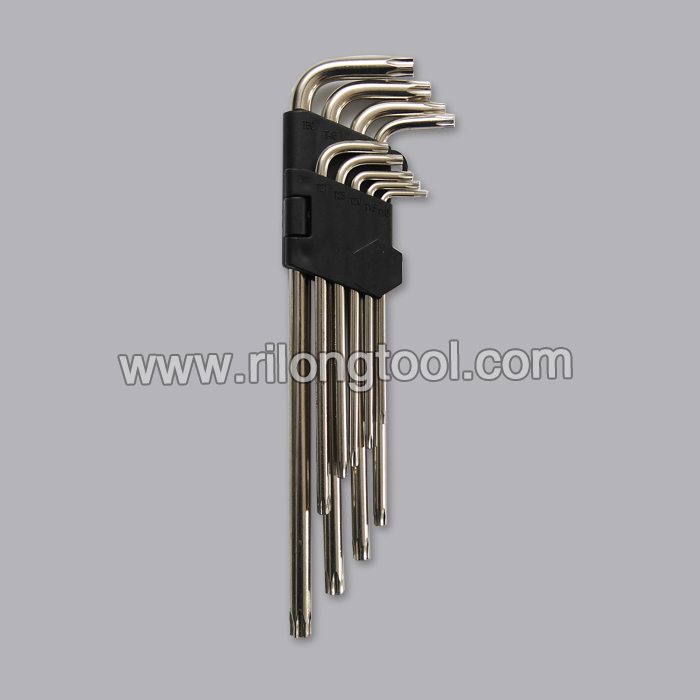
■Model Number: RL-NLJ013

Additional Information


■Material: 45# Carbon Steel

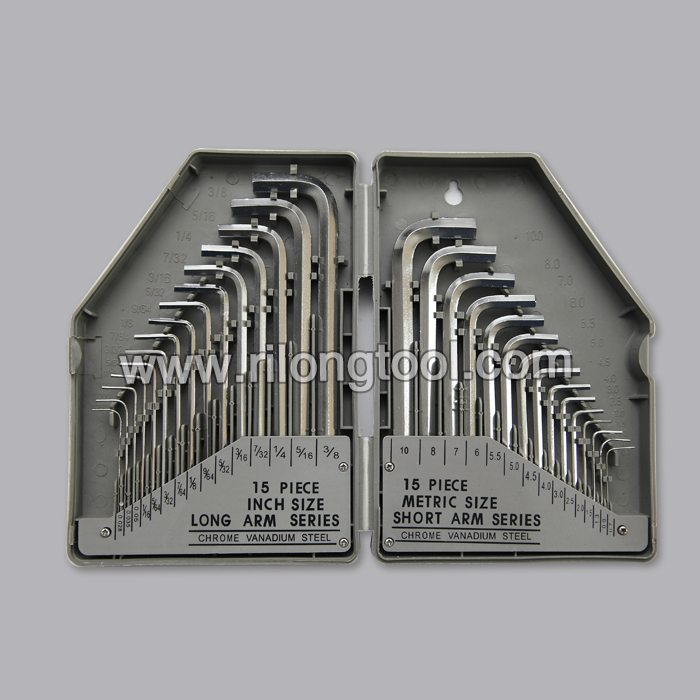
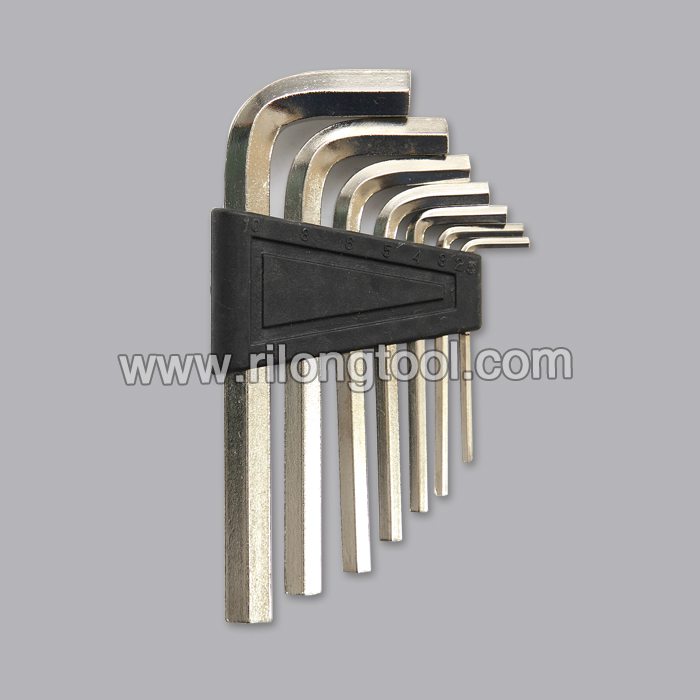
■Size: 1/16″-3/8″, 1.5mm-10mm

■Surface Treatment: Zinc-plated, Black Oxide

■Heat Treatment: Optional

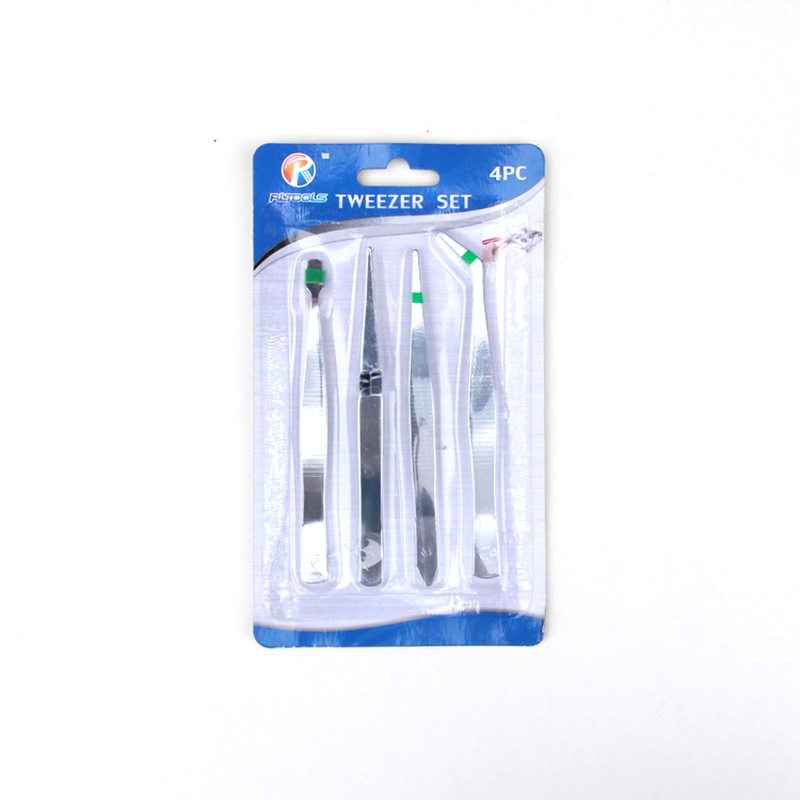
■Package: Plastic Frame

■OEM: Acceptable

■HS Code: 8204110000

■Samples: For FREE

■Delivery Time: Always 30 working days depending on the order quantity

■Packing: By standard cartons

Product Description


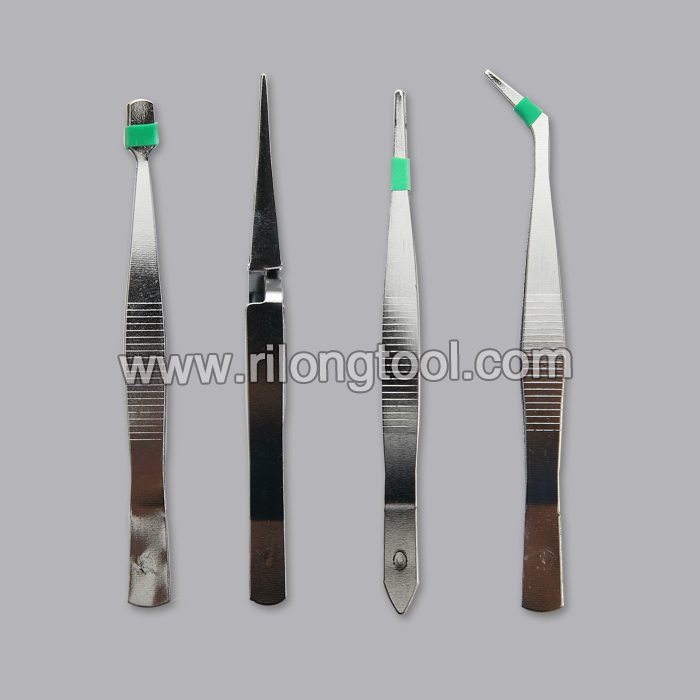
■Ningbo Rilong Hardware Tools Factory can provide various kinds of Hex Key with different sizes and packages.

Product Image

  • Previous:
  • Next:


  • I have seen plenty of these on YouTube and wanted to make my own. KipKay does a good one and this is virtually a straight copy, the main difference is that I use salvaged parts from an old remote control, an old mouse, and a couple of cheap toothbrushes.
    I did find that the batteries need to be good ones as both motors run off the same single AA battery when going forward or backwards and with the cheap motors I used this quickly drains cheap batteries.
    The switches take quite a lot of abuse so you make prefer to bolt them in place rather than use hot glue. I have noticed mine are beginning to split apart so I will probably bolt them down.

    This is another one I looked at https://youtu.be/a7SJiBc8bpo

    Here are a couple more of mine

    I have included the wiring diagram at the end of the video.

    The components are:
    2 small electric motors – 1.5 volts ideally
    1 flat strip of metal to mount the motors
    2 SPDT switches (Single pole, double throw)
    The full description of these types of switches is:-
    Single Pole Double Throw (SPDT) Type, 1NO + 1NC Contact,
    Momentary Action, Lever Arm Actuator, 3-Pin Terminals.
    You can probably salvage these from old electrical goods
    or if you can wait order them cheap from eBay
    2 AA batteries
    1 battery holder (for 2 AA batteries)
    1 length of connecting wire
    3 medium paperclips
    1 small wheel or a plastic bead
    Some heatshrink tubing would be helpful for making the wheels on the motors
    I didn’t have any and had to improvise.
    Optionally you may choose to add an on/off switch to save the batteries when not in use.

    Tools:-
    Soldering Iron
    Solder
    Hot Glue Gun
    Wire cutters/nippers
    Pliers

    Here is a selection of related playlists
    Electronic projects https://www.youtube.com/playlist?list=PLA5a2xPRSrB00lxaX8BD46F1QDJTe7Em4
    Crawlerbots and Robots playlist https://www.youtube.com/playlist?list=PLA5a2xPRSrB0ypbT8Tr-CZfXPIiaOHUlL
    Simple electronic projects playlist https://www.youtube.com/playlist?list=PLA5a2xPRSrB0qd7Hrqoc3II0OU-bx64TA
    Simple projects playlist https://www.youtube.com/playlist?list=PLA5a2xPRSrB2HXSqJPl6Kv9J_pHHp4cIF
    Electric Toy Cars playlist https://www.youtube.com/playlist?list=PLA5a2xPRSrB0yTUYmJSS3ML5xxaBzHl3e

    My Channel page https://www.youtube.com/user/GrandadIsAnOldMan
    Oldest videos https://www.youtube.com/user/GrandadIsAnOldMan/videos?flow=grid&view=0&sort=da
    Most Popular https://www.youtube.com/user/GrandadIsAnOldMan/videos?sort=p&flow=grid&view=0
    Newest videos https://www.youtube.com/user/GrandadIsAnOldMan/videos?sort=dd&view=0&flow=grid
    Playlists https://www.youtube.com/user/GrandadIsAnOldMan/playlists?flow=grid&view=1
    I have thousands of videos on YouTube, to find one try my search guides https://youtu.be/ceBSOoOHcgw or https://youtu.be/Zj4UgwkwYRk
    My “GrandadsOtherChannel” channel is generally where I will host the videos that give extra detail or longer versions of the videos I post on my main channel https://www.youtube.com/channel/UC2mp_L8RoxMyw3ewwSecZ6Q

    Facebook https://www.facebook.com/grandadisanoldman/
    Merchandise – Check both of these links if you are interested as the prices will vary and the shipping charges will be different.

    https://www.redbubble.com/people/grandadiaom/portfolio

    https://grandadisanoldman.cottoncart.com/


    PandaHall Presents: https://www.pandahall.com/. Free Coupons: PH17YTBEN3 (Save $3 for $30+); PH17YTBEN5 (Save $5 for $60+); PH17YTBEN8 (Save $8 for $100+); PH17YTBEN15 (Save $15 for $200+). Valid time: Jan. 1, 2017 to Jul. 1, 2017. PST
    Besides, when you first time join Pandahall, you can get 10 free coupon cash.

    In this video, we will teach you how to create lovely butterfly rose garden bracelet and earring set in an easy way. We are so glad to share this design with you. And it is suitable for beginners of jewelry making too. If you like our free jewelry videos, welcome to subscribe, we will upload more videos in our channel. :)

    How to Make the Bracelet:
    Materials list:
    –(10) 12mm clear, flat round, faceted beads: https://goo.gl/Yls4Gp
    –(18) 6mm rose quartz, round, faceted beads: https://goo.gl/3053Bx
    –(71) 4mm rose quartz, round, faceted beads: https://goo.gl/W7u9Ci
    –A butterfly charm: https://goo.gl/SygeBu
    –2″ of curb chain: https://goo.gl/zlTnHM
    –Ball headpins
    –A lobster claw clasp
    –(14) 5mm jump rings
    –(10) eye pins
    –Round-nose pliers
    –Wire cutter
    –Two pairs of flat-nose or long-nose pliers
    Instructions:
    1. Slide a 12mm flat round bead on an eye pin. Form a simple loop above the bead; trim excess wire. Repeat this step with the remaining 9 flat round beads.
    2. Close nine jump rings completely. You can do this by using both pairs of flat-nose or long-nose pliers and bending the jump ring back and forth until the two ends click together.
    3. Open a loop on a beaded eye pin. Attach a closed jump ring to the loop; close the loop. Take another beaded eye pin & open a loop. Attach the jump ring with the other beaded eye pin attached; close the loop. Keep connecting the beaded eye pins with a jump ring. You’ll end up with a chain of 10 beaded eye pins and 9 jump rings. For your reference, the bracelet so far should be about 6″, which is about 15-1/4 centimeters.
    4. Slide a 6mm bead on a head pin. Form a simple loop above the bead. Trim excess wire. This will be referred to as a 6mm bead unit. Make 17 more of these units.
    5. Slide a 4mm bead on a head pin. Form a simple loop above the bead. Trim excess wire. This will be referred to as a 4mm bead unit. Make 70 more of these units.
    6. Open a loop on a 4mm bead unit. Attach the loop to a jump ring on the beaded chain; close the loop. Attach six more 4mm bead units to the same jump ring. Also, attach (2) 6mm bead units to the jump ring. A total of (7) 4mm bead units and (2) 6mm bead units should be attached to one jump ring. Repeat this step with the remaining 8 jump rings.
    7. Open a jump ring and attach the curb chain and one end of the beaded chain; close the jump ring. Now open another jump ring. Attach a butterfly charm and the other end of the curb chain; close jump ring.
    8. Open a jump ring. Attach one end of the beaded chain; close jump ring. Open another jump ring. Attach the jump ring on the end of the beaded chain; close jump ring. Open another jump ring. Attach the clasp and the jump ring on the end of the beaded chain; close jump ring.
    9. Open loop on a 4mm bead unit. Attach to the jump ring closest to the beaded chain on the clasp end. Repeat three more times for a total of (4) 4mm bead units attached to the one jump ring.
    10. Repeat Step Nine, but this time attach the (4) 4mm bead units to the jump ring attached to the beaded chain and curb chain.

    How to Make the Earrings:
    Materials list:
    – 4mm rose quartz faceted round beads
    – (4) 5mm jump rings
    – Two earring posts: https://goo.gl/yjIndL
    – Two butterfly charms
    – Two 1″ lengths of curb chain
    – Ball headpins
    –Round-nose pliers
    –Wire cutter
    –Two pairs of flat-nose or long-nose pliers
    Instructions:
    1. Slide a 4mm bead on a head pin. Form a simple loop above the bead; trim excess wire. Repeat three more times for a total of four 4mm bead units.
    2. Open a jump ring. Attach a 1″ length of curb chain and one earring post; close jump ring.
    3. Open a jump ring. Attach a butterfly charm and the other end of the chain; close jump ring.
    4. Open a loop on a bead unit. Attach bead unit to the jump ring near the ear post. Attach another bead unit to the chain link right below the jump ring. Again, attach another bead unit to the chain link below the previous chain link. Continue until you have all six bead units attached to the chain.
    5. Repeat all steps for a second earring.

    Music credits: Deborah Gan, “Locked Out of Heaven”

    More videos here: https://goo.gl/QyrmiO

    Follow along and have fun!
    PandaHall: https://www.pandahall.com/
    PandaHall Learning Center: https://lc.pandahall.com/
    PandaHall Facebook: https://www.facebook.com/PandaHallcom
    PHLC Facebook: https://www.facebook.com/PH-learningcenter-400863680020092/
    PandaHall YouTube: https://www.youtube.com/user/PandaHallVideo
    PandaHall Google +: https://plus.google.com/u/0/+Pandahall/posts

    Send your message to us:

    INQUIRY NOW
    • [cf7ic]

    Related Products

    INQUIRY NOW
    • [cf7ic]
    INQUIRY NOW
    • [cf7ic]
    WhatsApp Online Chat !
    Close