18 Years manufacturer Various kinds of Industrial Brushes Latvia Importers
Short Description:
Product Detail
Product Tags
continue to improve, to ensure product quality in line with market and customer standard requirements. Our company has a quality assurance system have been established for 18 Years manufacturer Various kinds of Industrial Brushes Latvia Importers, Sincerely hope we are growing up together with our customers all over the world.
Basic Information
■Model Number: RL-B008
Additional Information
■Material: Steel
■OEM: Acceptable
■Samples: For FREE
■Delivery Time: Always 30 working days depending on the order quantity
■Packing: By standard cartons
Product Description
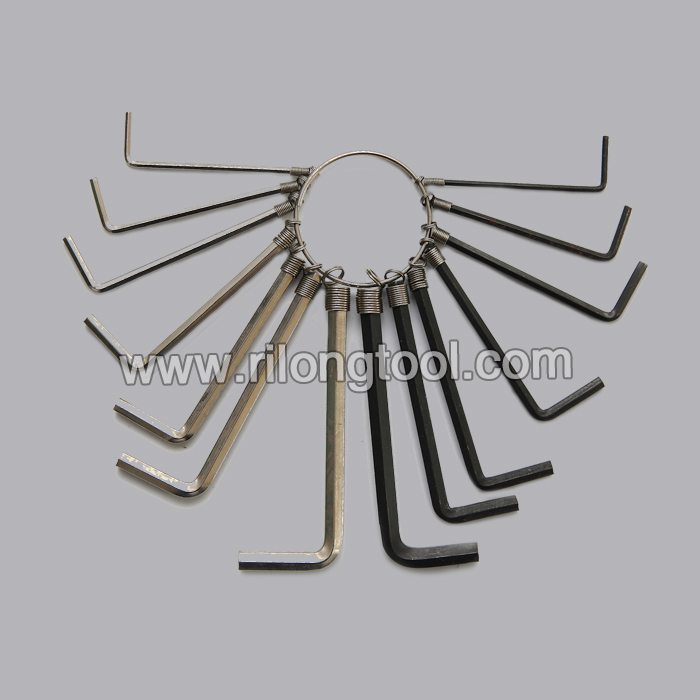
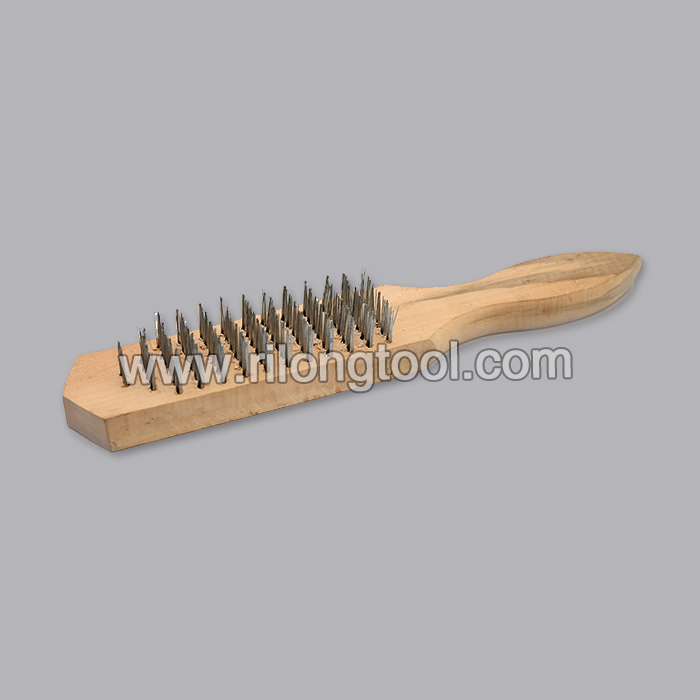
■Ningbo Rilong Hardware Tools Factory can supply various kinds of industrial brushes with very cheap prices.
Product Image
Features
The large cable strip cut machine is especially designed for processing power industry, electric control cabinet, battery cable with excellent performance
Specifications
wire sizes: 10-120 sqmm
Cutting Length: 10mm ~ 99999mm
Stripping Length: 1-30mm
Memory Function: Can store Max. 99 group programs
Pipe diameter: 4-40mm
Cutting Tolerance: (0.2±0.002)×L(L=Cutting Length)
Wire material: PVC, Teflon, Fiberglass cable, battary cable.
Speed: 6000pcs/hour
Display: English LCD dispaly
Drive Mode: eight wheel drives
Blade Material: Hard tungsten steel
Power Supply: 220V/50Hz
Power Rating: 2000W
Dimensions:1200mm*600mm*210mm
Weight: 280KG(without wire feeder), 560KG(with wire feeder)
Company name: Cheers Electronic Technical Co., LTD
Skype: Cheers.Machine
Email: Cheersmachine@126.com
Website:
https://www.terminal-crimping.com
https://www.wirecuttermachine.com
https://www.wire-strip.com
the best ethernet cable computer cutting machine wire cutter tools
Machine Shop Tool Making, Machining A Finger Plate Clamping Tool – Part 2, by Clickspring.
A Finger Plate clamping tool is a valuable tool in any workshop, and is a great mini mill and mini lathe project. In this second and final part of the Finger Plate clamping tool build, I finish off the tool, by making the clamping finger, lifting screw and drilling jig bushings.
Thanks for watching. If you enjoyed the video please give a thumbs up, and leave me a comment.
If you would like to help support the creation of these videos, then head on over to the Clickspring Patreon page: https://www.patreon.com/clickspring
For more info on this tool build, as well as other tool making info, visit the blog site at https://www.clickspringprojects.com
Project Plans available from the Clickspring Store:
https://www.clickspringprojects.com/store.html
Other Videos to Watch:
How To Make A Clock Part 1 – Making The Frames
How To Machine A Small Lathe Carrier
Ask Me A Question:
https://www.clickspringprojects.com/contact.html
Follow Clickspring:
https://www.facebook.com/Clickspring1
https://plus.google.com/u/0/113668471124073837794/posts
https://instagram.com/clickspring1/
https://www.tumblr.com/blog/clickspring1
https://twitter.com/clickspring1
https://www.patreon.com/clickspring
Transcript:
00:28 Anyway first things first, it needs to be marked out on a strip of mild steel plate. The symmetry of the part means that if I mark off the various dimensions along a center line,
00:56 I can then construct the rest of the shape using an engineers square and protractor. I must get around to buying some radius gauges for marking out. In the meantime, this washer will do the trick. You can see I’m opening up four holes.
02:21 The two outer ones are for later threading, and the two inner ones will form the end curves of the internal slot.
02:52 To make the slot, I started out with an undersized slot mill, and then once I had broken through, I moved the cutter closer to the line on each side, to bring the slot to size.
03:18 So thats the inside cutting complete, now for the edges. The band saw takes care of most of the waste stock. And I used the belt sander and filing machine to bring it closer to the line.
04:00 I’ve left it a little short of the line , to
allow for a bit of finishing later. Now for those chamfered surfaces. First the depth of cut is marked out. And then its off to the mill.
04:45 This part is like the base; the surface of the raw stock is kind of rough. So I gave it a bit of time on some 240 grit paper, to clean it up and to leave a nice surface finish. And that’s the clamping finger complete. You can see how it can be swung around the stud, to bring either end into use.
05:26 Now for the Lifting screw thumb wheel. This one was made very much like the clamping nut. I started with the knurl; trimmed off the end, and then drilled and threaded the center.
06:07 Once parted off, it becomes a bit hard to hold, so I used this cap screw as a mandrel, and did the rest of the turning while it was on that. I used a graver to form the dome. And then gave it very light touch with some emery paper.
06:45 A bit of loctite holds the threaded rod in place, and that’s the tool basically done. All I need to finish the job, is a set of bushings for the cross hole jig.
07:08 Now the bushings are basically just a shouldered cylinder, with a hole drilled down the center, matching whatever size drill you intend to use for the cross hole.
08:33 I’ve faced off the end of the rod to have a look at the hole; As best as I can tell, its where it should be. The drilling feels quite stable, and the tool is easy to hold.
08:49 I can see this tool is going to get a lot of use on the belt sander and filing machine too. And if I’m working on something that tends to grab like brass, I can lock it down on the vise,and know that its going to sit tight.
References:
Finger Plate Clamping Tool books and plans (let me know if you are aware of any others):
“Workshop Practice Series Number 31″ Stan Bray
https://www.teepublishing.co.uk/books/workshop-practice-series/
“Tools For The Clockmaker And Repairer” John Wilding
https://www.ritetimepublishing.com/
“The Model Engineers Workshop Manual” George H Thomas
https://www.teepublishing.co.uk/books/in-your-workshop/model-engineers-workshop-manual/
“Model Engineer Magazine” Edition Vol 104, Issue 2596, 1951 Commander W.T. Barker
https://www.itech.net.au/modelengineer/
“The Machinist’s Bedside Reader” Guy Lautard
pages 88-91
Machine Shop Tool Making, Machining A Finger Plate Clamping Tool – Part 2