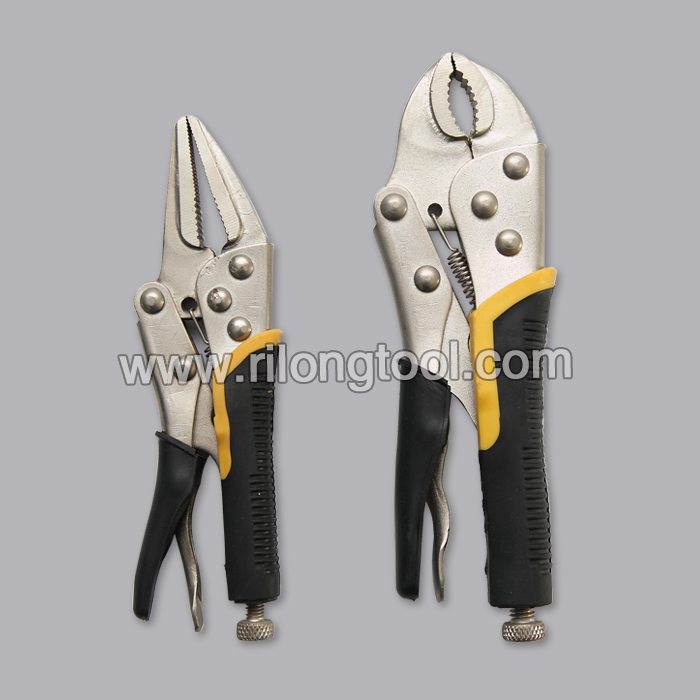
15 Years manufacturer 7″ Forehand Round-Jaw Locking Pliers Botswana Factory
Short Description:
Product Detail
Product Tags
Always customer-oriented, and it's our ultimate target to be not only the most reliable, trustable and honest supplier, but also the partner for our customers for 15 Years manufacturer 7″ Forehand Round-Jaw Locking Pliers Botswana Factory, Our company warmly welcome friends from all over the world to visit, investigate and negotiate business.
Basic Information
■Model Number: RL-DLQ003
Additional Information
■Material: A3# steel (Q235) or 45# steel
■Size: 7”
■Surface Treatment: Nickel-plated, Zinc-plated, Black Oxide, Electrophoresis
■Heat Treatment: Optional
■Package: Blister Card, Suction Card, Tie Card, Double Blister Card
■OEM: Acceptable
■HS Code: 8203200000
■Samples: For FREE
■Delivery Time: Always 30 working days depending on the order quantity
■Packing: By standard cartons
Product Description
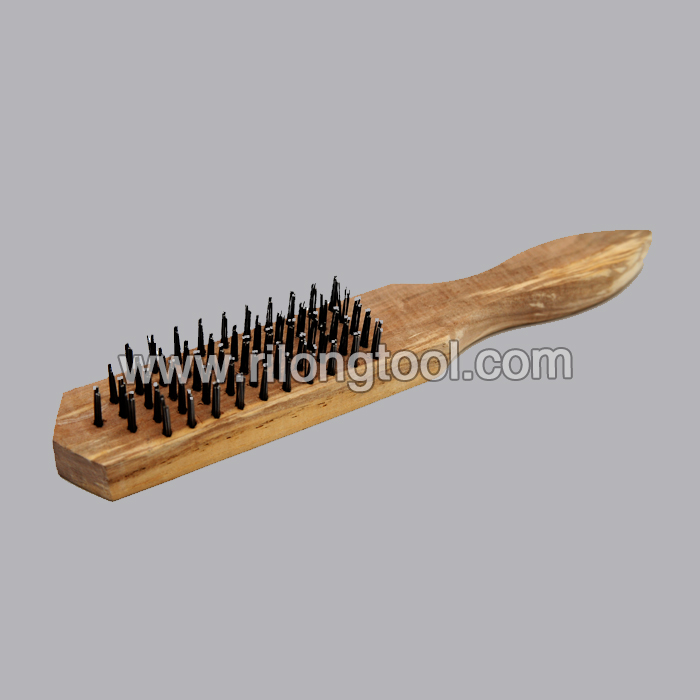
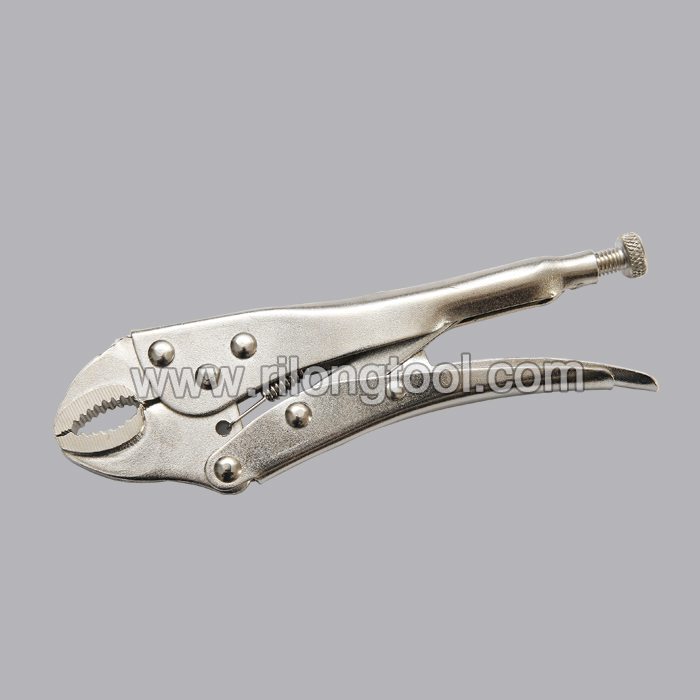
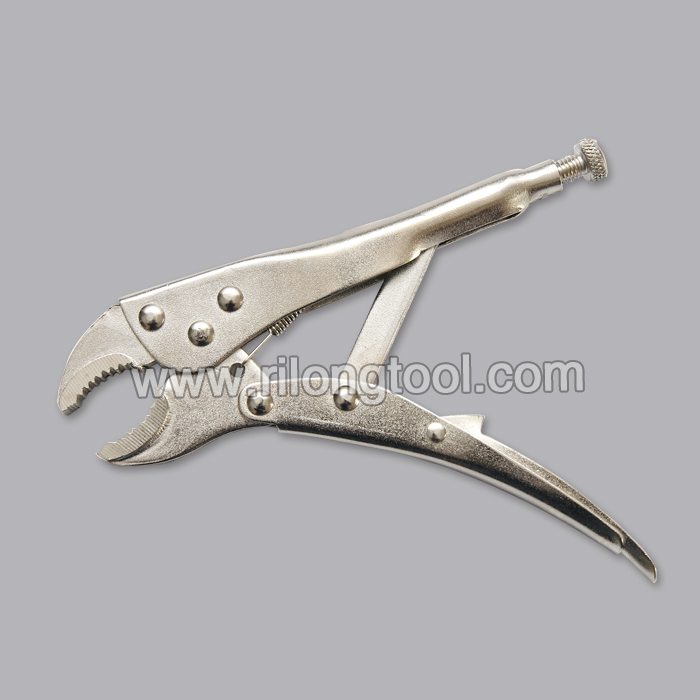
■Mainly used for clamping parts to rivet, weld, grind and so on, which is characterized by the powerful clamp force produced by the jaw. It can lock tight so that the parts won’t fetch away. Besides, jaws have a lot of levels to adjust for the use of different thickness of parts, and it also can be used as a wrench.
■Flexible using, long life and good tenacity.
■The screw tuning button can give the best clamp size easily.
Product Image
Get an Irwin kit here: https://amzn.to/2kPXRpR or here: https://amzn.to/2lqlcBx
I’m just showing you that it works, this is not a how-to.
I remove a stripped bolt with an Irwin extractor kit. I need to replace the drum brake cylinder but the bolt head was too rusted and stripped. Just hammer the bit onto the bolt, attach the ratchet to the socket, and be steady as you turn the ratchet, don’t wiggle.
Model # IRW10504634
GTIN 00100058645021
UPC 100058645021, 1 00058 64502 1
EAN 0100058645021, 0 100058 645021
Need a repair manual? Check out RepairSurge: https://www.repairsurge.com/?hop=adiycarguy
Subscribe: https://www.youtube.com/subscription_center?add_user=garykist
Facebook: https://www.facebook.com/adiycarguy TWITTER: https://www.twitter.com/garykist
INSTAGRAM: https://www.instagram.com/garykist @@@
“We are a participant in the Amazon Services LLC Associates Program, an affiliate advertising program designed to provide a means for us to earn fees by linking to Amazon.com and affiliated sites.” This helps you get products that you need/want, while helping me make better content for you at the same time!
The direct method involves sticking the glass tile pieces directly on to the surface you wish to mosaic.
Use an adhesive to stick the tiles, piece by piece directly onto the base.
When adhesive is set, grout the mosaic using a latex/grout mixture.
Mix latex/grout mixture to the consistency of tooth paste. Spoon the grout on to the panel, starting from the middle and working out. Use Handy Grouter to push grout into tunnels between tiles and push out air bubbles. Use this tool to also remove large amounts of excess grout from surface of tiles. At this stage it will be impossible to see the artworks as they will be completely covered in grout.
Now start the process of uncovering tiles under the layer of excess grout; this is achieved by gently rubbing each tile with the flat end of a pop stick (apply gentle pressure by putting index finger on flat end of the stick). Work with the wet grout immediately because if allowed to dry over night it will be too hard to remove. Use dustpan and brush to remove the grout which is being rubbed off.
Wet some sponges and clean the tiles. Polish with dry rags.
Mosaic Equipment & Their Uses
*Glass Tesserae: These are tiles made from opalescent glass. They can be used as they are, or easily cut or chipped into smaller pieces for intricate mosaics. Other objects that you can use are natural/glass stones, marbles, buttons, unglazed/glazed tiles, china & porcelain.
*Latex Additive: Use this with grout instead of water. The latex binds
the grout together to give extra strength and durability.
You can also use the latex/grout mixture as an adhesive for external mosaics. Does not make it waterproof.
One litre of additive with 2 kg of grout — only mix the quantity that you need as it will start to set.
*Grout Mix with water for interior work only. For exterior projects, add with the latex additive. The grout then is applied to fill all the spaces between the glass tiles/tesserae. Press the grout firmly into all the spaces, scrap off any of excess, and then as the grout is setting use a damp sponge to gently wash back the remaining excess grout.
*Mosaic Cutter: These ‘chip’ or ‘snap’ up the glass tiles into smaller pieces.
You place the glass tiles between the two cutting wheels then snap down onto the tile to break it into smaller pieces.
*Glass Nipper: With this nipper you can cut the tiles into shapes or accurate small pieces. Apply downward pressure on either side of this line to break the piece. You can use pliers to break small pieces away.
*Grouter: The flexible rubber of this grouter allows you to easily apply your grout mixture to all the spaces of your mosaic. It is strong but flexible enough to scrape back the excess grout.
*Safety Glasses: These should be worn as all times when you are cutting up your glass tiles. They prevent any glass splinters from getting in your eyes.