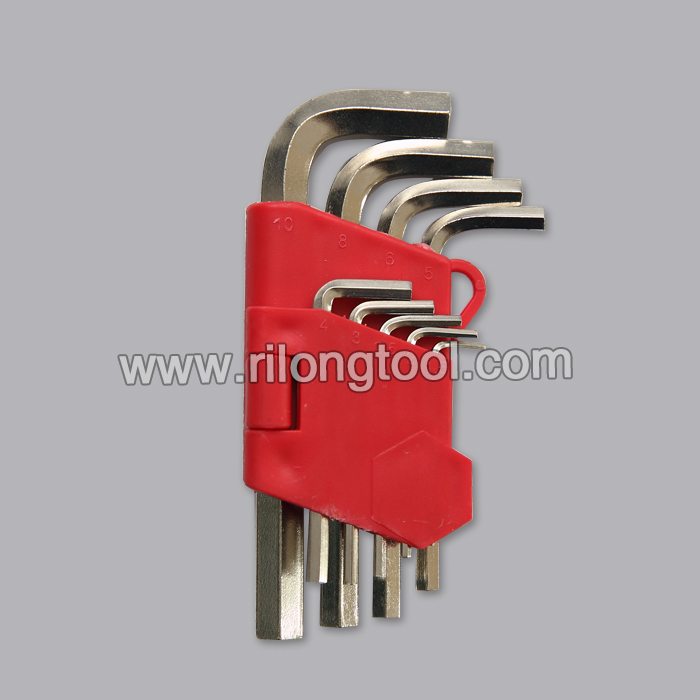
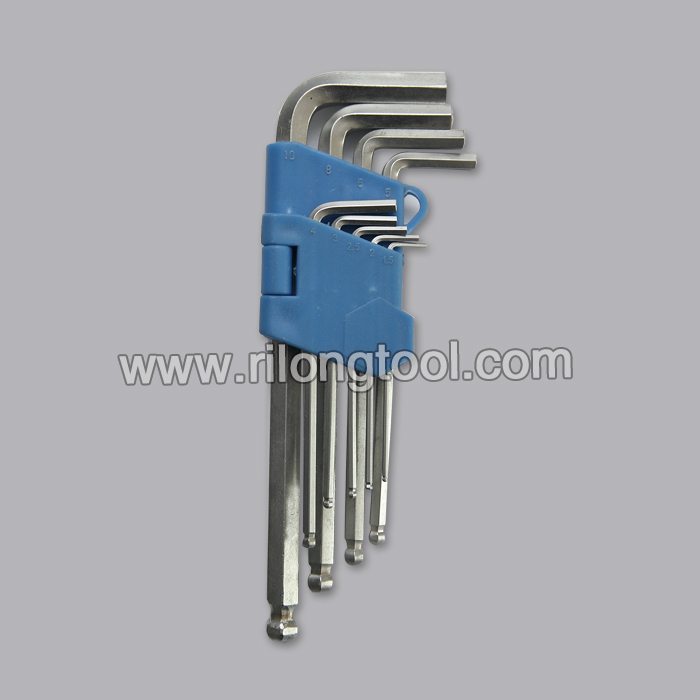
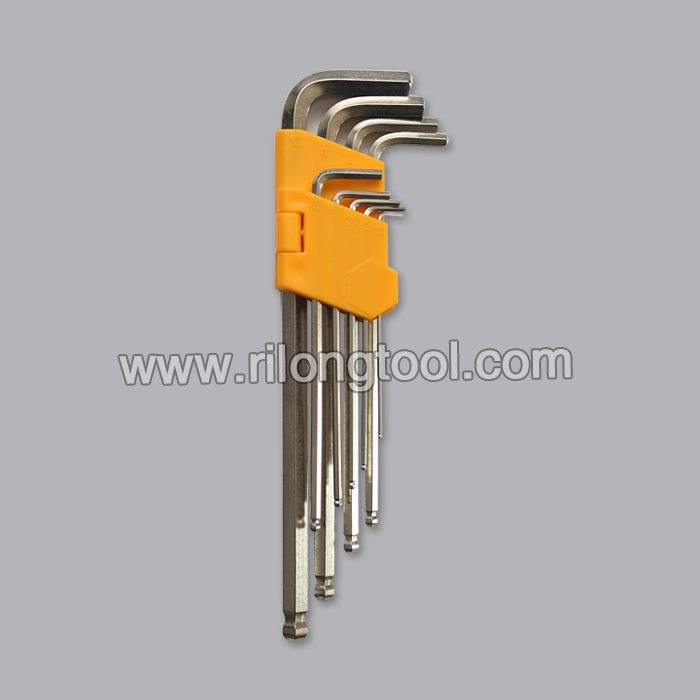
12 Years Manufacturer 9-PCS Ball-point Hex Key Sets packaged by folded plastic frame Cyprus Manufacturer
Short Description:
Product Detail
Product Tags
Persisting in "High quality, Prompt Delivery, Competitive Price", we have established long-term cooperation with clients from both overseas and domestically and get new and old clients' high comments for 12 Years Manufacturer 9-PCS Ball-point Hex Key Sets packaged by folded plastic frame Cyprus Manufacturer, We are sincere and open. We look forward to your visit and establishing trustworthy and long-term standing relationship.
Basic Information
■Model Number: RL-NLJ012
Additional Information
■Material: 45# Carbon Steel
■Size: 1/16″-3/8″, 1.5mm-10mm
■Surface Treatment: Zinc-plated, Black Oxide
■Heat Treatment: Optional
■Package: Plastic Frame
■OEM: Acceptable
■HS Code: 8204110000
■Samples: For FREE
■Delivery Time: Always 30 working days depending on the order quantity
■Packing: By standard cartons
Product Description
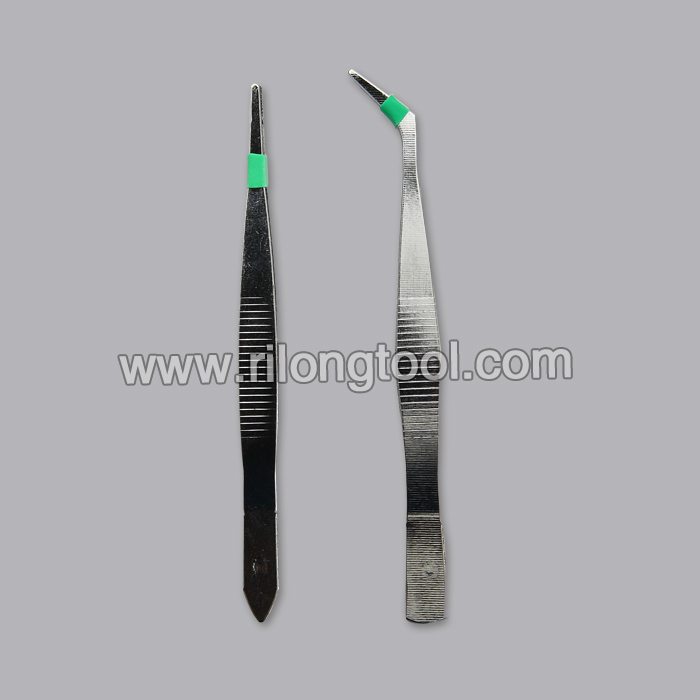
■Ningbo Rilong Hardware Tools Factory can provide various kinds of Hex Key with different sizes and packages.
Product Image
Top Rated Products for any Dog Owner:
FURminator deShedding Tool for Dogs: https://amzn.to/1JBydfH
Bil-Jac Little Jacs Liver Training Treats: https://amzn.to/1UrI76w
Earthbath All Natural Grooming Wipes: https://amzn.to/1JykFiY
Premier Gentle Leader Head Dog Collar: https://amzn.to/1FjRGxo
Earth Rated® Green Dispenser with Dog Waste Poop Bags: https://amzn.to/1KI1IyE
Watch more Dog Care & Grooming 101 videos: https://www.howcast.com/videos/163-How-to-Trim-Your-Dogs-Nails
Pedicures aren’t just for pampered pooches—your dog is descended from wolves, but her nails don’t have the chance to wear down as they would in the wild. A regular clipping every three or four weeks will save her from painful ingrown nails and sore paws.
Step 1: Check dog’s nails
Check to see if your dog’s nails need clipping. You shouldn’t hear her nails clicking against a hard floor when she walks. If there’s clicking, it’s time for a clipping.
Step 2: Position yourself
Your dog probably won’t enjoy this procedure, so she’s likely to require some form of restraint. Hold her in your lap, or spread a towel on a sturdy table or counter and place the dog on top. Stand on the side of the table opposite the nails you’ll be trimming and lean over her, so you can hold her down with your body, if necessary.
Tip
If your dog is large or very wriggly, it may help to have a second person hold her while you do the clipping.
Step 3: Clip nail
Holding one paw gently but firmly, clip the tip of the nail. Clip from underneath, holding the clippers at a slight angle in keeping with the curve of the nail.
Step 4: Clip carefully
Be careful to avoid the blood vessels and nerves that run through a dog’s nail, called the quick. If you cut into the quick, it will cause pain and bleeding.
Tip
If your dog’s nail is white, you can see the pinkish quick, so it’s easy to avoid. If your dog has black nails, snip a little bit at a time until, when looking at the nail in cross-section, you can see a darker dot in the middle.
Step 5: Stop bleeding
If you cut into the quick, place a tissue over the nail and apply pressure until it stops bleeding—or try dipping the nail into styptic powder or cornstarch. It’s unlikely that the bleeding will continue for longer than 5 to 7 minutes, but if it does, or if the blood is spurting, call your vet.
Step 6: Trim dewclaws
Don’t forget to trim the dewclaws, located slightly behind the paw on the inner part of the leg. Some breeds have more than one pair on their hind legs.
Step 7: Use emery board
If your dog still has some patience left, it’s a good idea to use an emery board to lightly file the nails smooth.
Step 8: Praise your dog
Praise your dog lavishly before you let her go. That way she’ll come to associate these beauty treatments with extra attention from her owner!
Did You Know?
Many companies now sell doggie nail polish—it’s safe for pet nails, requires only one coat, and dries quickly to keep squirmy dogs from smearing it on the furniture.
Kung Fu Maintenance shows you how to replace a leaking rotation style tub to shower diverter valve. Nice Channel Locks Set https://amzn.to/2mc5IhS
Nice Adjustable Wrench https://amzn.to/2mc4we8
Nice Ratchet Set Standard And Deep Sockets https://amzn.to/2kYetf6
Plumbers Sockets Set https://amzn.to/2lYWzwT
Terry Cloth Towel Rags https://amzn.to/2lZaFOM
Get the screwdriver used in so many KFM videos here https://amzn.to/2kHFoOF
Get the multi tool pliers used in so many KFM videos https://amzn.to/2kWTjPp
Get The Kung Fu Maintenance book here https://amzn.to/2lEQPFk
Or the Kung Fu Maintenance E book here for less than $5 https://amzn.to/2lEY8wD
Get the Kung Fu Maintenance album (good driving music) “Up Beat” here https://amzn.to/2l41pZ1
Get the Kung Fu Maintenance album (nice Instrumental music) “Entropy” here https://amzn.to/2kl2U0p
I don’t work for any of the product companies listed however I do make a small commission on items ordered through the links.
https://KungFuMaintenance.Com
https://Blog.KungFuMaintenance.Com
https://Arcade.KungFuMaintenance.Com https://VGBlog.KungFuMaintenance.Com
https://TheMaintenanceEar.KungFuMaintenance.Com
I’m going to show you how to replace a leaking diverter valve.
[WATER RUNNING]
It’s leaking right from the handle. Tighten that up. Replace this with this new one. What you do is lift this up underneath the index button. A little arrow for down. You turn it to tub, up for the shower.
Remove the screw that holds it in. Sometimes you have to wiggle it around. This one’s been leaking for a while, so great time to clean all that out there. And this just spins off. And then we can remove the extension.
And then we want to pull the whole thing out if possible, pull out the diverter. Sometimes you have to get in there with a Channellock. Don’t want to strip this end either. It looks like it could be Channellock.
Or Vice-Grips. Here is an old pair of Vice-Grips. Just clip these one the end and pull that out. There we go. And we want to reuse the washer that’s on here.
Here’s our new diverter. It’s got this stop here. We want to make sure that the stop is on the right side when we insert this. And you want to wear gloves and add plumber’s grease to the O-rings on the valve. Here’s the plumber’s grease here. And just apply the grease to the O-rings.
Put it all the way around. And then again, inserting this on the right side. Get rid of my glove now.