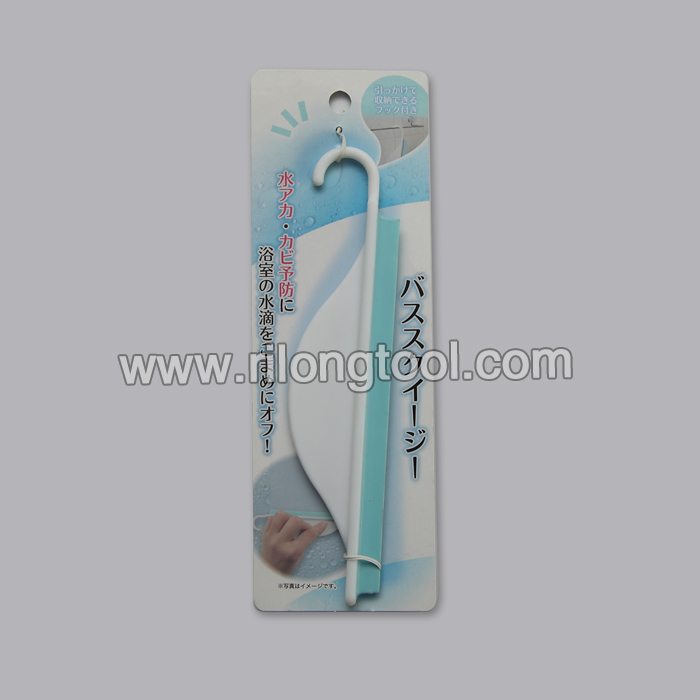
10 Years Manufacturer Plastic hooks for bathroom & toilet Export to Haiti
Short Description:
Product Detail
Product Tags
Our goal is to satisfy our customers by offering golden service, good price and high quality for 10 Years Manufacturer Plastic hooks for bathroom & toilet Export to Haiti, Sincerely hope we are growing up together with our customers all over the world.
Basic Information
■Model Number: RL-WY003
Additional Information
■Material: Plastic
■Package: Insert Card
■OEM: Acceptable
■Samples: For FREE
■Delivery Time: Always 30 working days depending on the order quantity
■Packing: By standard cartons
Product Description
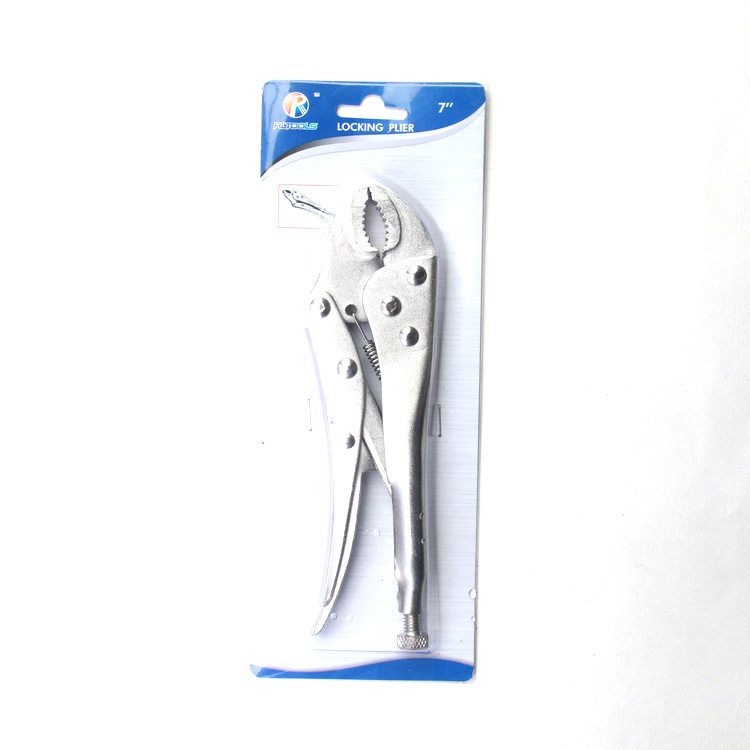
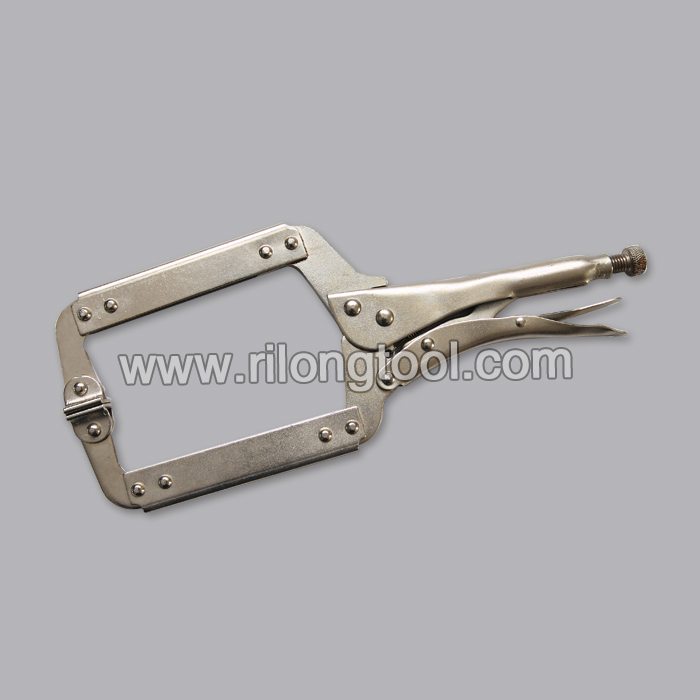
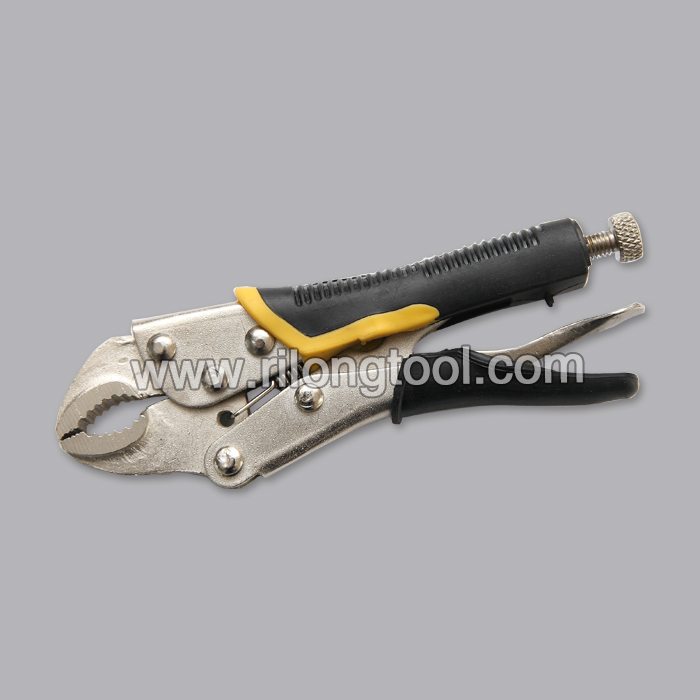
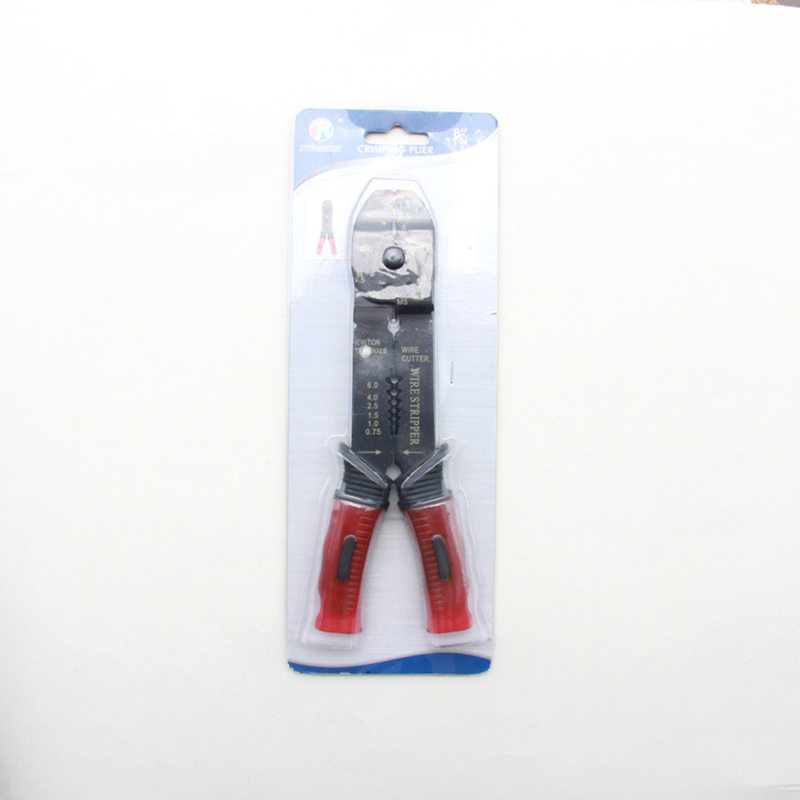
■Ningbo Rilong Hardware Tools Factory can provide various kinds of accessories products for bathroom and toilet.
Product Image
This is part 3 of my how to series on building a handbrake for the Thrustmaster TX for consols, Xbox one, and PS4/PS3. this video covers the handbrake and parts required.
Tools/supplies needed for this complete series:
-Philips screwdriver
-Soldering pen
-Flux core solder
-Flux
-Wire strippers/crimpers
-Small pliers
-2.5 metric Allen wrench
-4 to 6 wire connectors
-1/4″ Heat shrink tube, at least 5ft or Electrical tape
-2 pin LED jump plug connector or a 2 pin connector of your choice
-Heat gun/hair dryer, or some other sorce or heat to shrink the heat shrink tubing, if not using shrink tubing don’t worry about it.
-10ft of awg 22 or 24 speaker wire i used 22.
-Small momentary button
-3/4″ long x 4 rc servo horn screws (not sure on the size)needs to be the same as the screw you pull out of the wheels connector
-Cheap hydraulic hand brake
-The rest will be gone over in the videos.
HANDBRAKE- https://amzn.to/2tmhy0e
SHRINK TUBING- https://amzn.to/2tm3HXV
MOMENTARY BUTTON- https://amzn.to/2tVfd9E
CONNECTOR- https://amzn.to/2tmcwB8
SOLDERING KIT- https://amzn.to/2tVdIbA
WIRE STRIPPERS/CRIPMS- https://amzn.to/2sjYcUT
WIRING SERVICES-
If you would like me to do this for you, contact me at the e-mail below and we can go over the details.
CONTACT E-MAIL- Jesse0357.js@gmail.com
This video provides step-by-step repair instructions for replacing the ball bearing on an Echo hedge trimmer. The most common reasons for replacing the bearings is when the gear case is noisy or the blades will not work.
Buy part #90087236202 now: https://www.repairclinic.com/PartDetail/1997698?TLSID=1876
Additional hedge trimmer repair, troubleshooting tips, help finding your model number, and part replacement videos: https://www.repairclinic.com/RepairHelp/Hedge-Trimmer-Repair-Help?TLSID=1876
All of the information in this ball bearing replacement video is applicable to the following brands: Echo
Tools used: T-27 Torx bit, pliers, flywheel puller, washers, snap ring pliers
Buy part #38054 now: https://www.repairclinic.com/PartDetail/3527522?TLSID=1876
Buy part #131CBTP now: https://www.repairclinic.com/PartDetail/3527469?TLSID=1876
Buy part #426 now: https://www.repairclinic.com/PartDetail/3527540?TLSID=1876
Buy part #19069 now: https://www.repairclinic.com/PartDetail/1610631?TLSID=1876
Connect With Us!
https://plus.google.com/+repairclinic
https://www.facebook.com/RepairClinic
https://www.twitter.com/RepairClinic
https://pinterest.com/RepairClinic/
Join our free VIP email list for discounts and money-saving tips: https://tinyurl.com/pnnh3be
Check out our blog: https://www.DIY.RepairClinic.com
Don’t forget to like and comment on this video, and subscribe to our channel!